Virtual Private Network or VPN is a private network of securely interconnected computers over the insecure public internet. A user who wants to access this private network as if he is connected to a LAN, must use a VPN. Data transfer within this newly formed private network is encrypted. OpenVPN uses 256 AES encryption (use SSL/TLS certificates) which provides you with a highly secure virtual private network.OpenVPN can be used either in a routed or in a bridged VPN mode. It can also be set up to use TCP or UDP.

In this article you will learn how to deploy and configure the open source OpenVPN server on Ubuntu 18.04 and Ubuntu 16.04 (it also applies to Linux Mint and Debian).
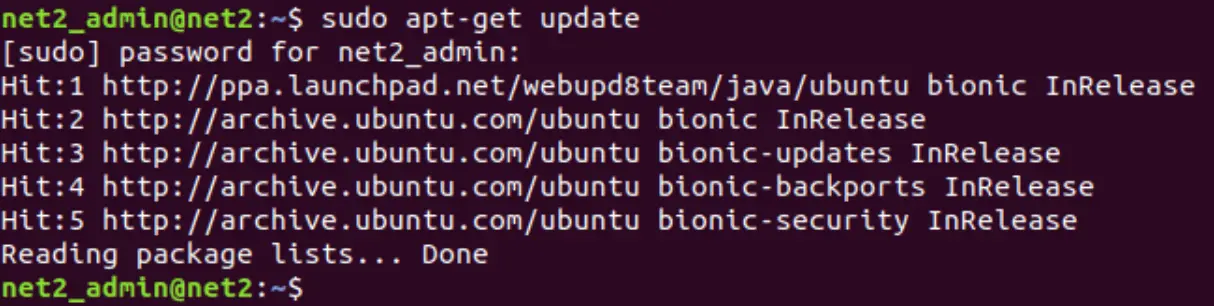
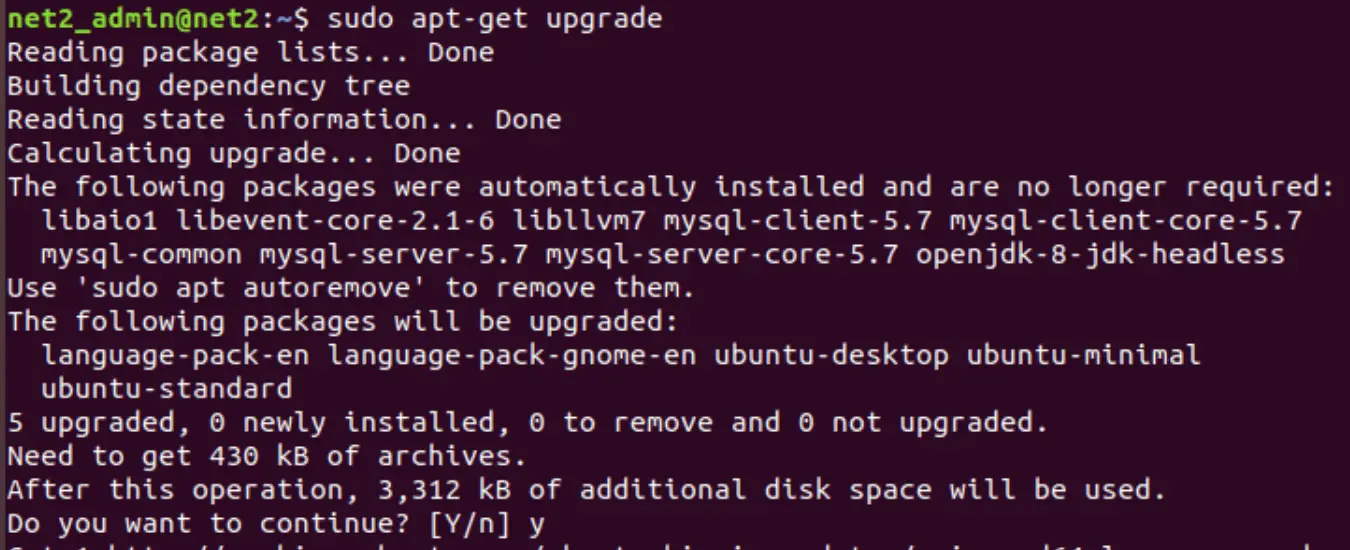
Step 1 : Update system package list
Before we begin, update your system apt cache as well as your system package list to the latest versions by running the commands:
Read: Fixing OpenVPN DNS Issues on Ubuntu 18.04
Step 2 – OpenVPN Server installation
Before you install the OpenVPN , you would first need to install easy-rsa packages which manage the SSL certificates that are required for data encryption between the client and the server. Issue the command below :
sudo apt-get install openvpn easy-rsa
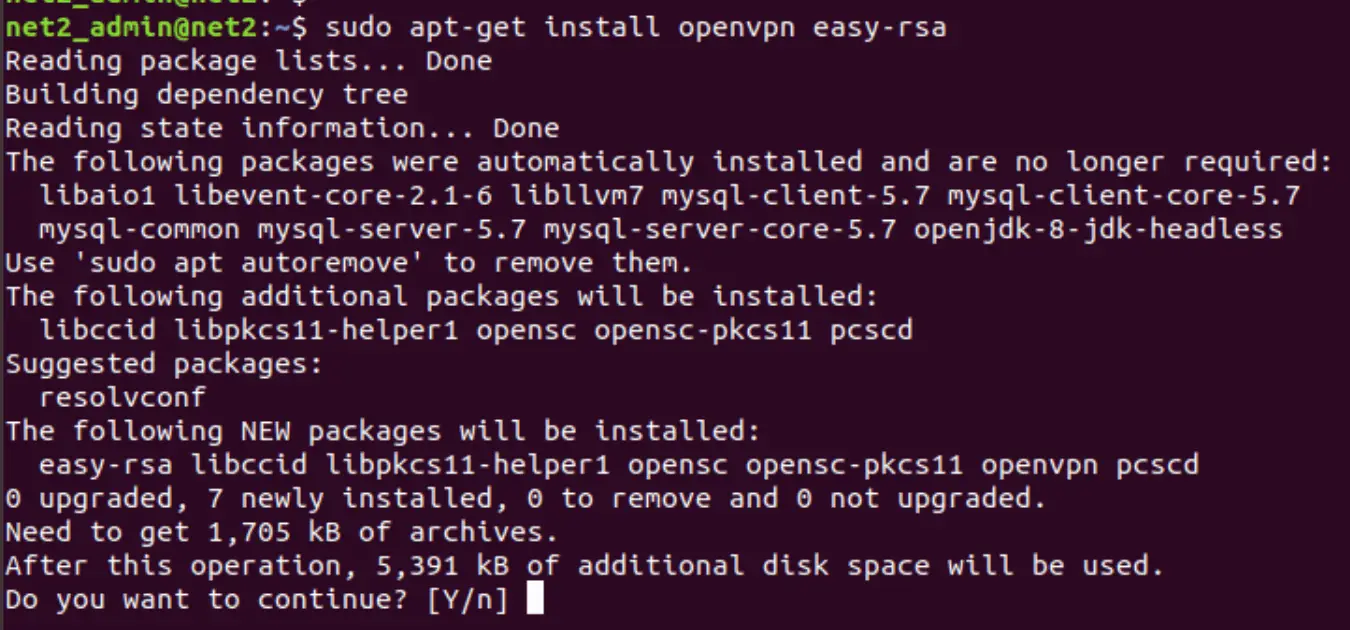
Press Y or y when prompted.
Now transfer or copy the OpenVPN sample configuration file to the file /etc/openvpn/server.conf which will be used as the server configuration file of OpenVPN . Issue the commands below :
sudo cp /usr/share/doc/openvpn/examples/sample-config-files/server.conf.gz /etc/openvpn/

sudo gzip -d /etc/openvpn/server.conf.gz

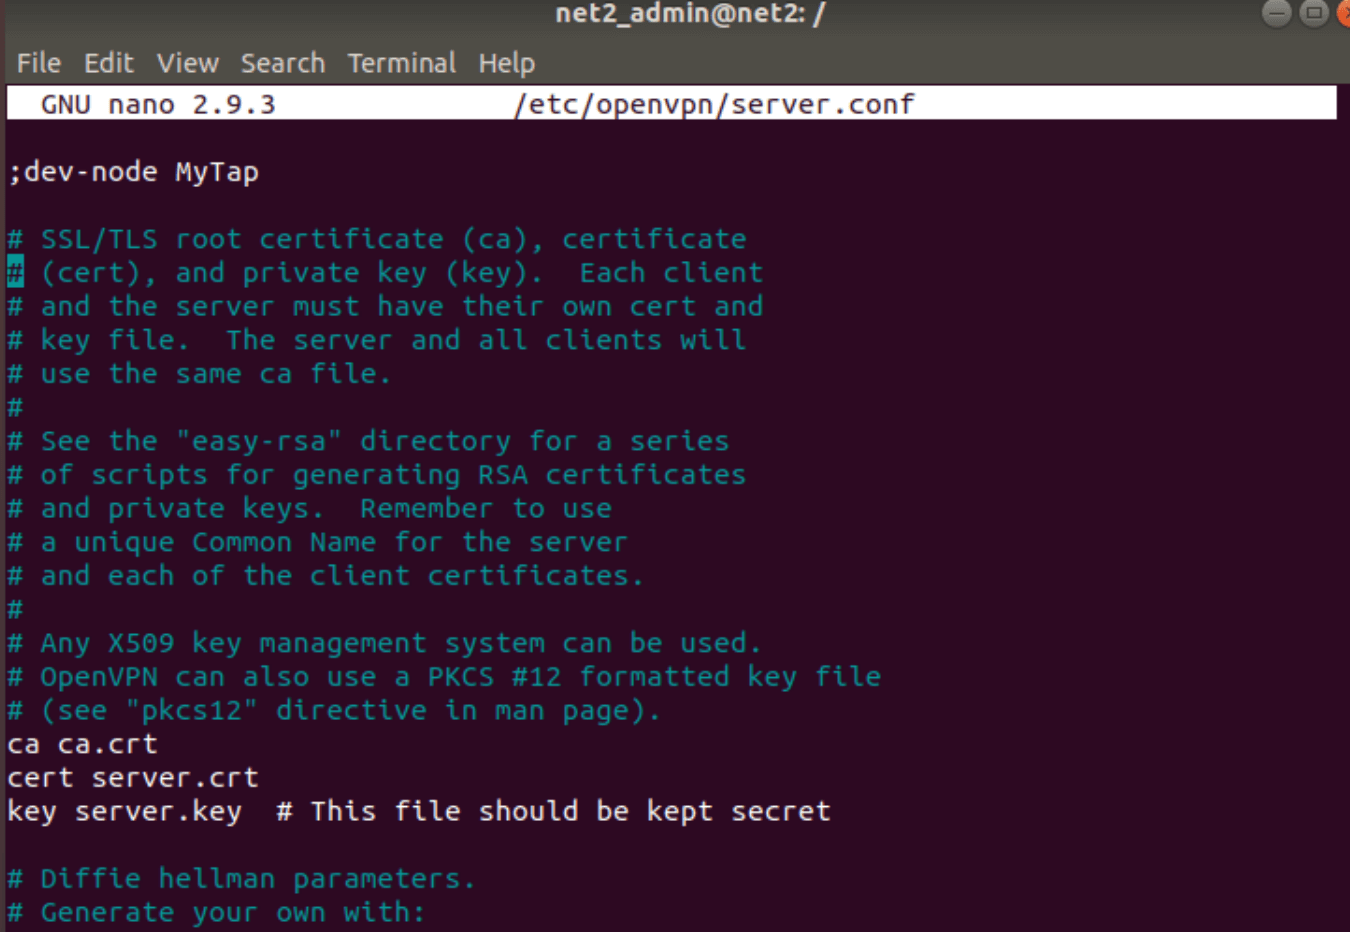
Step 3 – OpenVPN Server configuration
Now Edit the configuration file of the OpenVPN server using nano or using your favorite text editor.
sudo nano /etc/openvpn/server.conf
Now do not uncomment the following entries :
Here you will see the official port number 1194, but this can be configured as well.

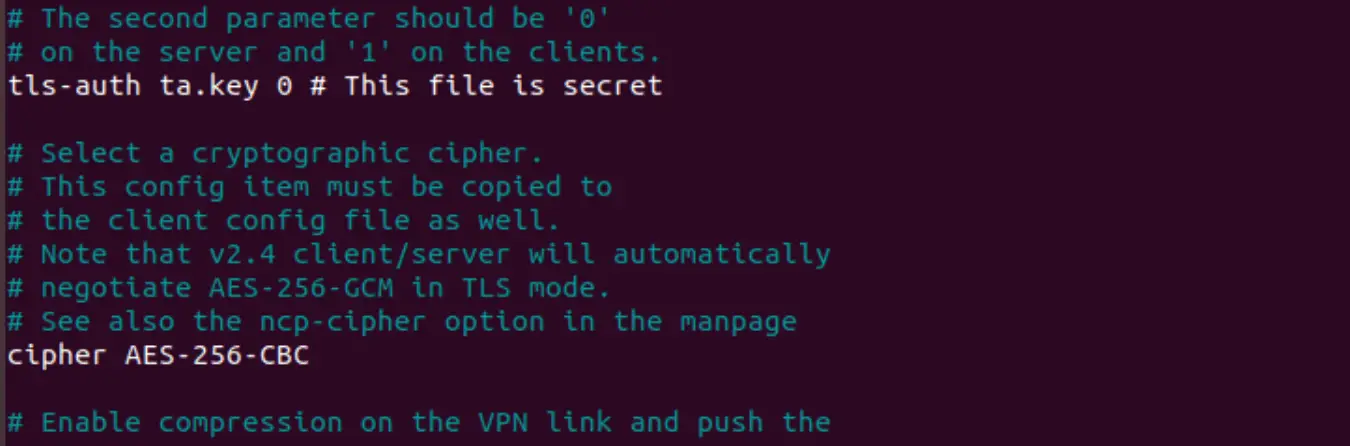
And make sure to add the remaining entries from the list below (uncomment when necessary) :
tls-auth ta.key 0
key-direction 0
cipher AES-128-CBC
auth SHA256
user nobody
group nogroup
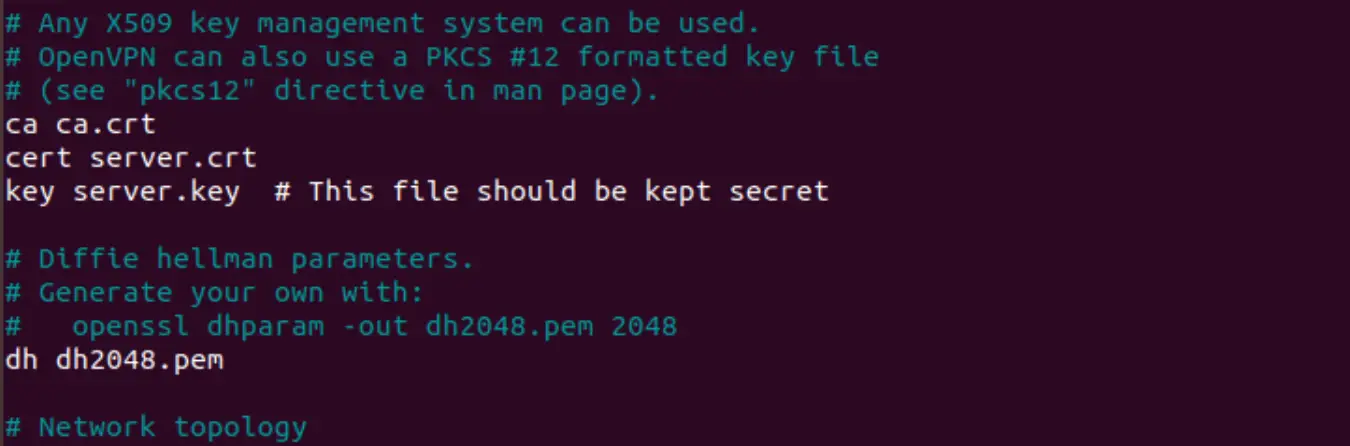
cert server.crt
key server.key
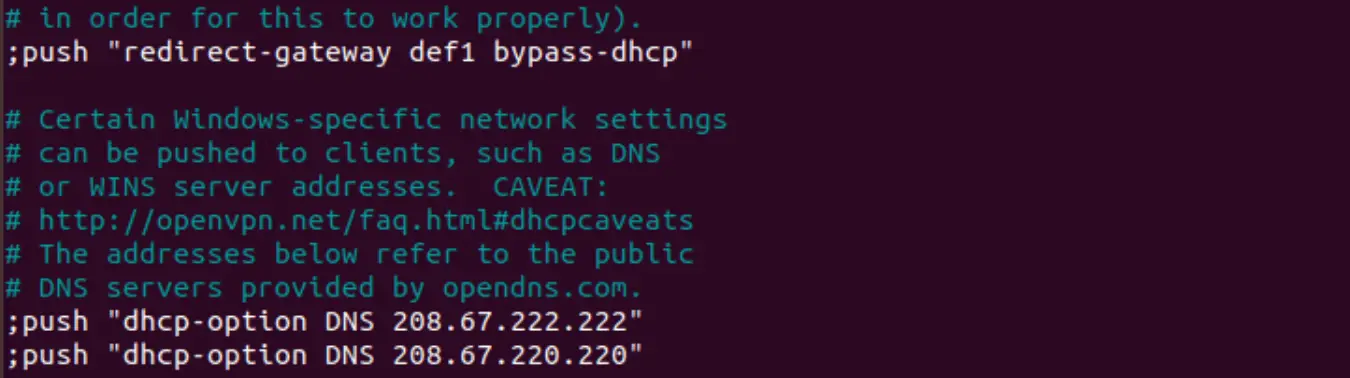
Uncomment the following :

The settings you made above will enable VPN connection between different systems. They will not however route clients internet traffic through VPN. Make sure also to uncomment the dhcp-option values below.
push “redirect-gateway def1 bypass-dhcp”
push “dhcp-option DNS 208.67.222.222”
push “dhcp-option DNS 208.67.220.220”
So that you obtain :
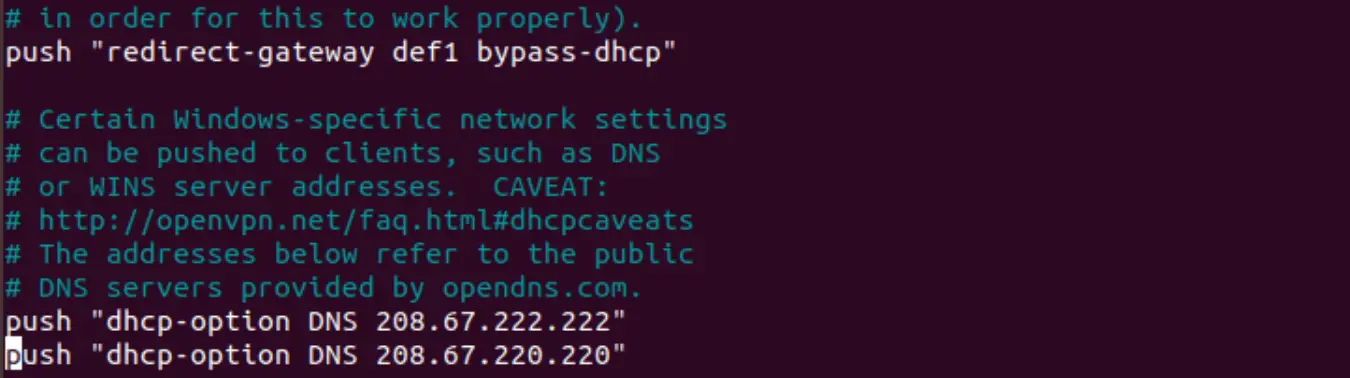
Now save and exit the file.
You may be interested to read : Network configuration in Ubuntu
Step 4 – Network configuration update
At this stage, you would need to enable users to access the server which is on the same network as the OpenVPN server. Enable IP forwarding feature on the server by running the commands below :
Edit /etc/sysctl.conf using your favorite editor and then uncomment the line below to allow IP forwarding.
#net.ipv4.ip_forward=1
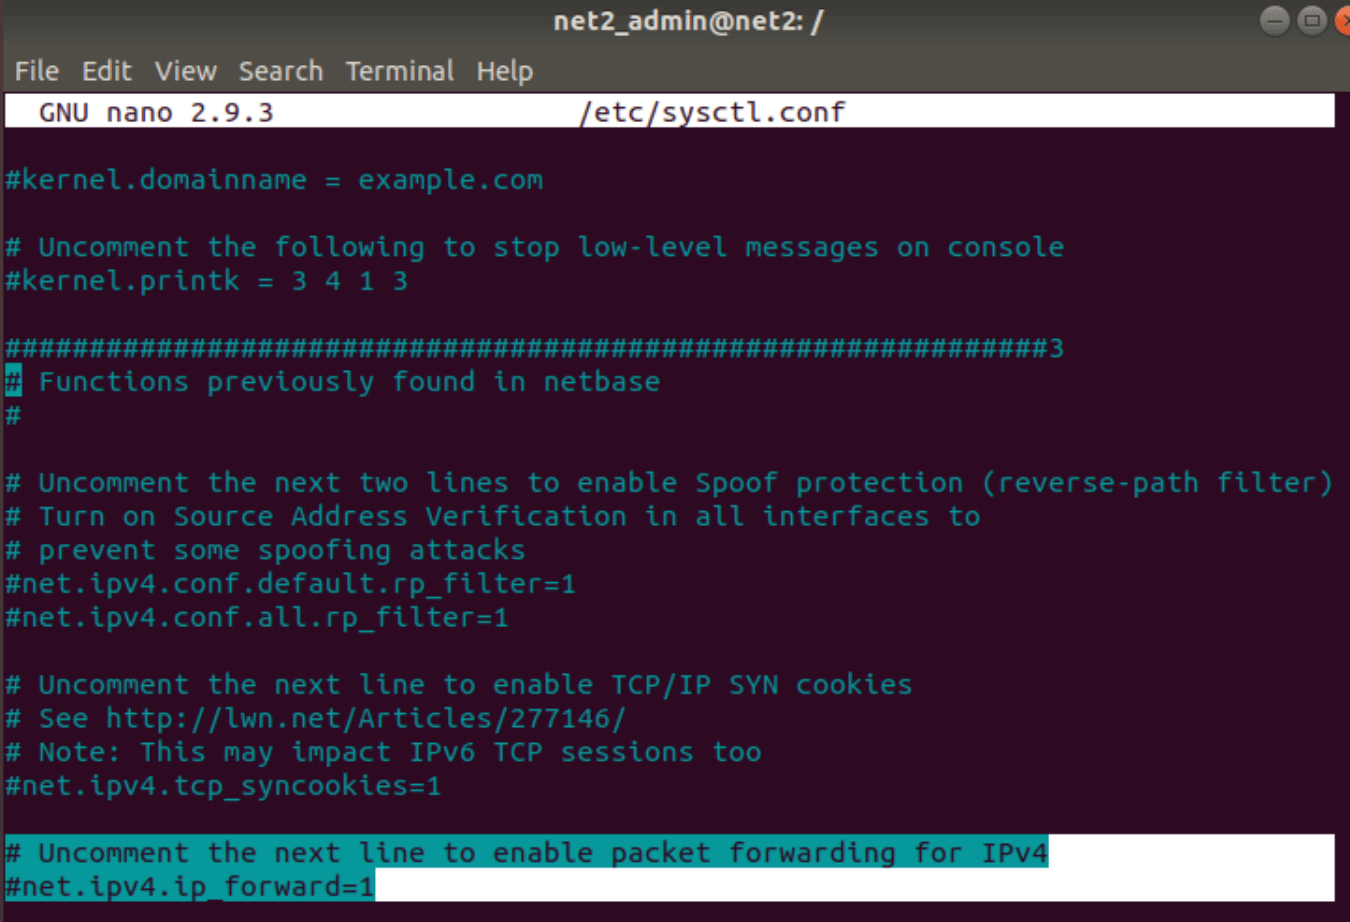
So that you get the following :

Save and exit the file.
You may want to read: How to keep Ubuntu clean
Now you will need to run the command below in order to reload sysctl.
sudo sysctl -p /etc/sysctl.conf

In order to get an operational OpenVPN server, that is the minimum configuration required.
Step 5 : Configuration of certificate authority
Establishing a PKI (public key infrastructure) is the first step in building an OpenVPN configuration. The PKI consists of the following:
- a public key (which is the separate certificate) and a private key for the clients and the server
- a master certificate known as the Certificate Authority (CA) used to sign the client and the server certificates.
OpenVPN uses bidirectional certificate-based authentication between the server and the clients.
To setup your own Certificate Authority (CA) and generating certificates and keys for an OpenVPN server and multiple clients first copy the easy-rsa directory to /etc/openvpn. This will ensure that any changes to the scripts will not be lost when the package is updated. From a terminal change to user root and:
mkdir /etc/openvpn/easy-rsa/

And then
cp -r /usr/share/easy-rsa var wpcf7 = {"apiSettings":{"root":"https:\/\/net2.com\/wp-json\/contact-form-7\/v1","namespace":"contact-form-7\/v1"},"cached":"1"};