Arch Linux is made for those who want to experience core Linux. It comes with base minimal system files for basic functioning allowing users to configure their own operating systems. Arch Linux comes with its package manager which improves user experience with up-to-date repositories. The minimal base system installation allows you install it on very Low-end hardware. It it more like a DIY operating system in which you can do a lot of experiments on your own. Many services are not installed on Arch Linux unless you need them. That means that no resources will be wasted on unnecessary system processes. By not downloading updates, you will also save internet bandwidth.

This article is a step-by-step guide on how to install Arch Linux on your machine. So let’s get started.
Read: Most popular Linux distributions
Before you start
Note: – There are some things that you should keep in mind. The minimal installation only requires 512 MB of ram and 1 GB of hard disk space but for good user experience, 2 GB of ram and 20 GB of hard disk space are recommended. A USB drive with at least 2 GB of space, basic knowledge of Linux commands, 64-bit compatible processor, and an active internet connection is all you need to get started with the installation process.
Creating Live Installation Media
Head over to the official website of Arch Linux and download the latest ISO available. You would then need to create a live USB of Arch Linux. For Linux users, we would recommend using UNetbootin for creating Live USB and for Windows users, Rufus is the best option to go with.
Booting into Arch Linux through Live USB
Once your USB is ready , use it to boot up. Press the hotkey to get to the boot menu. In the boot menu, select the USB. This will let you boot into the Arch Linux installation interface.
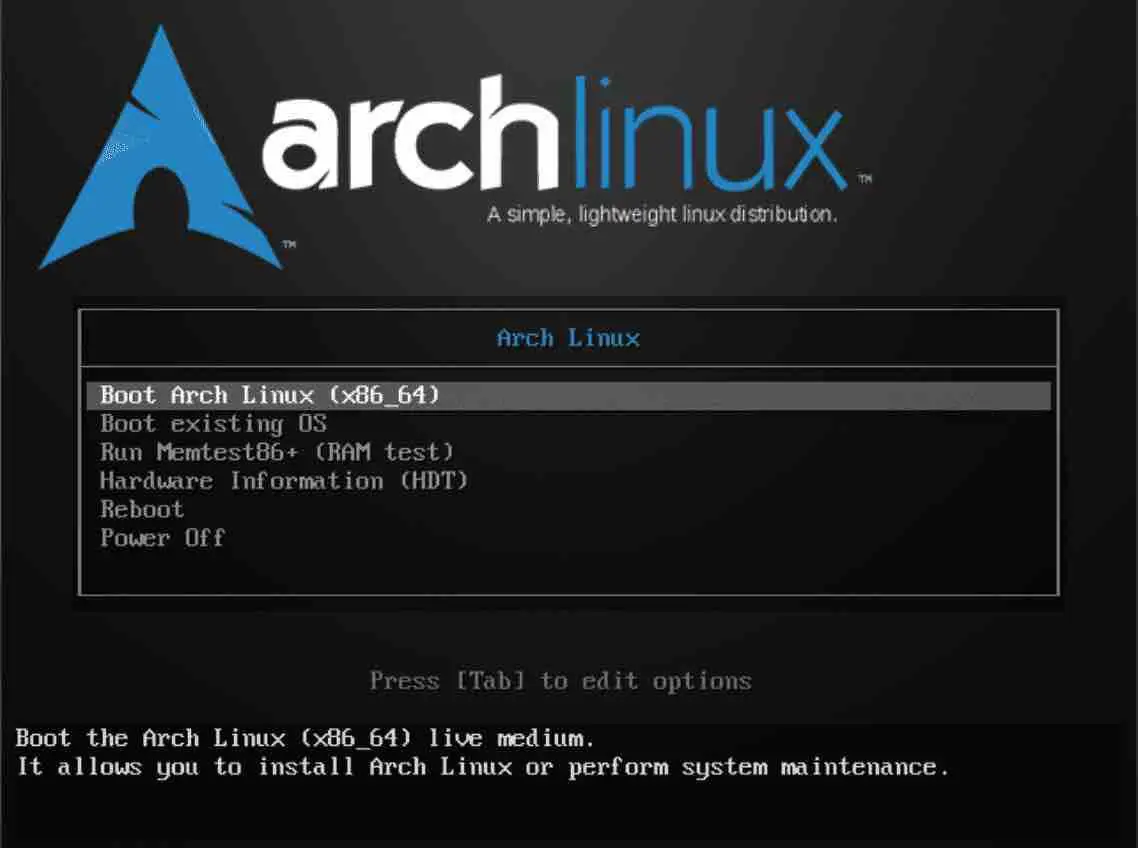
arch linux install guide
Select the first option provided, boot Arch Linux (x86_64). Note that there is no graphical interface like other operating systems; you will see only a command-line prompt. By default, it uses the US keyboard layout.
Setting up Internet connection
We prefer to use a wired internet connection because it is the only option to connect to the internet by default. You can use a wireless connection as well but it’s a bit complicated to set up. To update time via the internet, you will need to enable NTP. Type in the following command:
timedatectl set-ntp true
Create partitions
Create a new disk with the following command:
fdisk /dev/sda
In the command prompt hit ‘n’ and then enter to create a new partition. Next, type ‘p’ to make it the primary sector. You can use the fdisk-l command to list the disks and partitions. Now allocate size to the first and last partitions and hit enter after each allocation. This partition will be used as a root partition. Finally, you will need to create one more partition for ‘swap’.

Creating and mounting the filesystem and the Swap partition.
After setting up partitions, create a filesystem for the installation of Arch Linux. We will use the ext4 filesystem for the root folder in this case. Now in order to create a file system for root and swap partitions, type in the following commands:
For root partition:
mkfs.ext4 /dev/sda1

For swap partition:
mkswap /dev/sda2

Mount filesystem:
mount /dev/sda1 /mnt
Mount swap partition:
swapon /dev/sda2
Install Arch Linux minimal base system
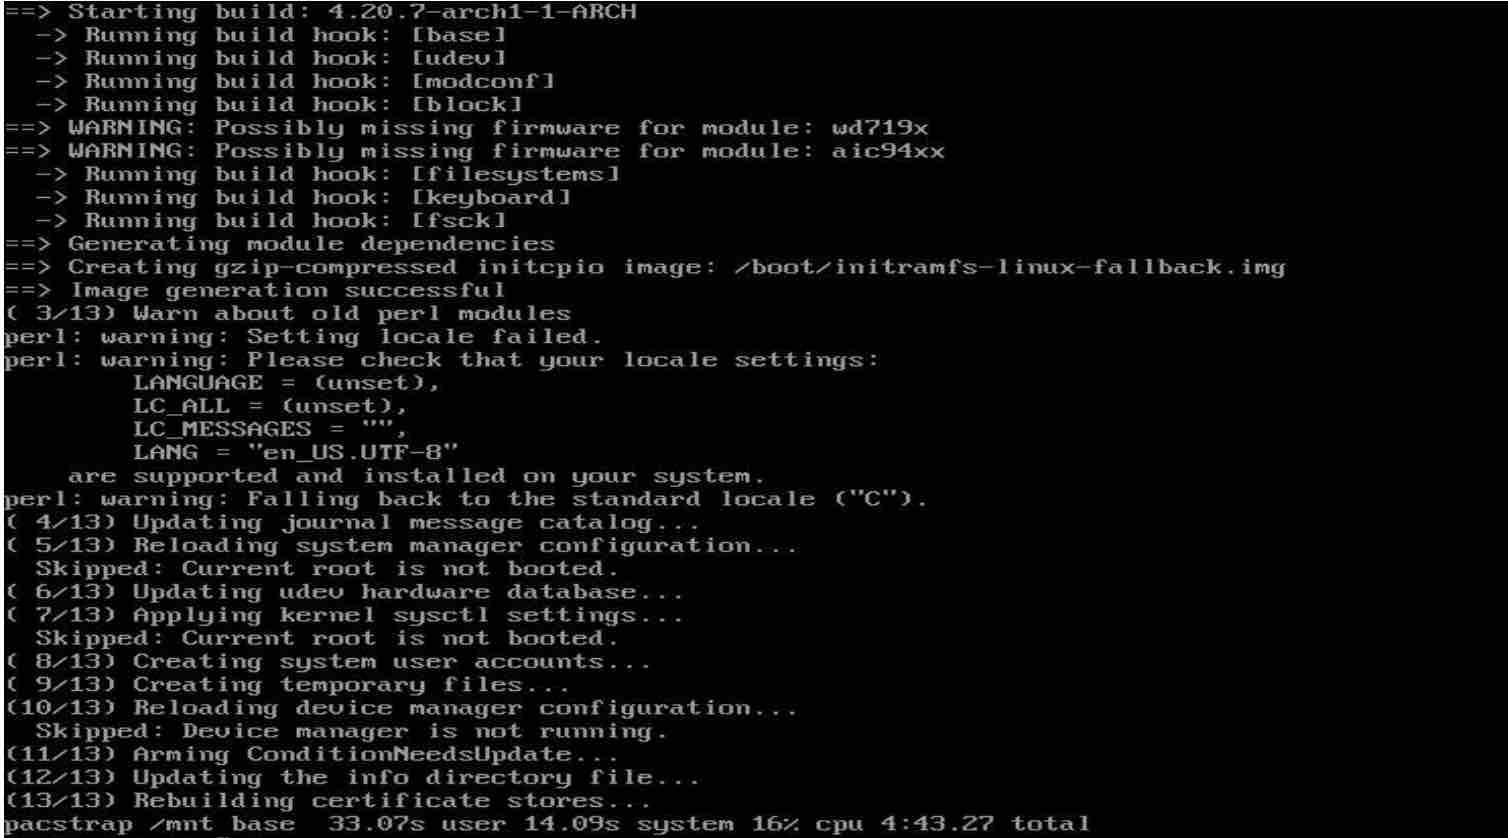
Now you are all set to install Arch Linux in your machine. Type:
pacstrap /mnt base base-devel
Create an fstab configuration file
genfstab -U /mnt >> /mnt/etc/fstab
Shift to newly installed Arch Linux
arch-chroot /mnt
Generate local and local configuration files
locale-gen

Then
echo “LANG=en_US.UTF-8” > /etc/locale.con
Set up hosts file and DHCP
Create a file for hosts by typing in the following command:
echo “HOSTNAME” > /etc/hostname
To enable DHCP, run the command :
systemctl enable dhcpcd
Set up password
You must set up a password for the root user. Issue the following command to do so:
passwd

Install Bootloader
Now you need to install and configure grub bootloader on the primary partition.
pacman –S grub os-prober
Then,
grub-install /dev/sda

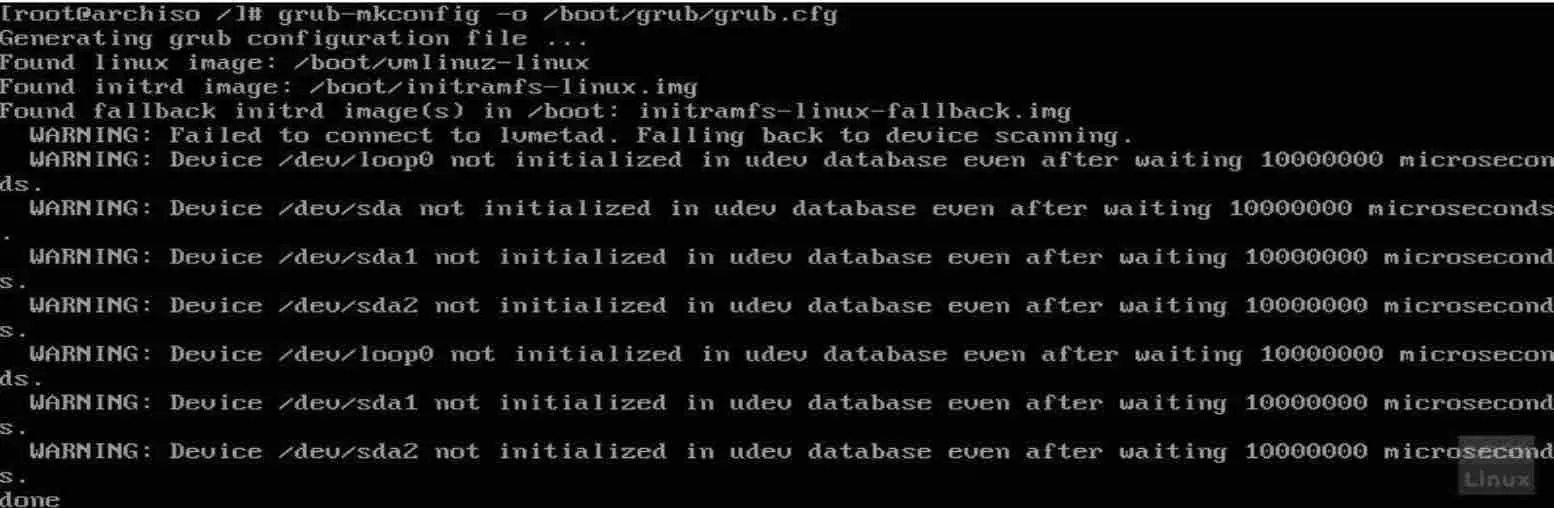
Then,
grub-mkconfig -o /boot/grub/grub.cfg
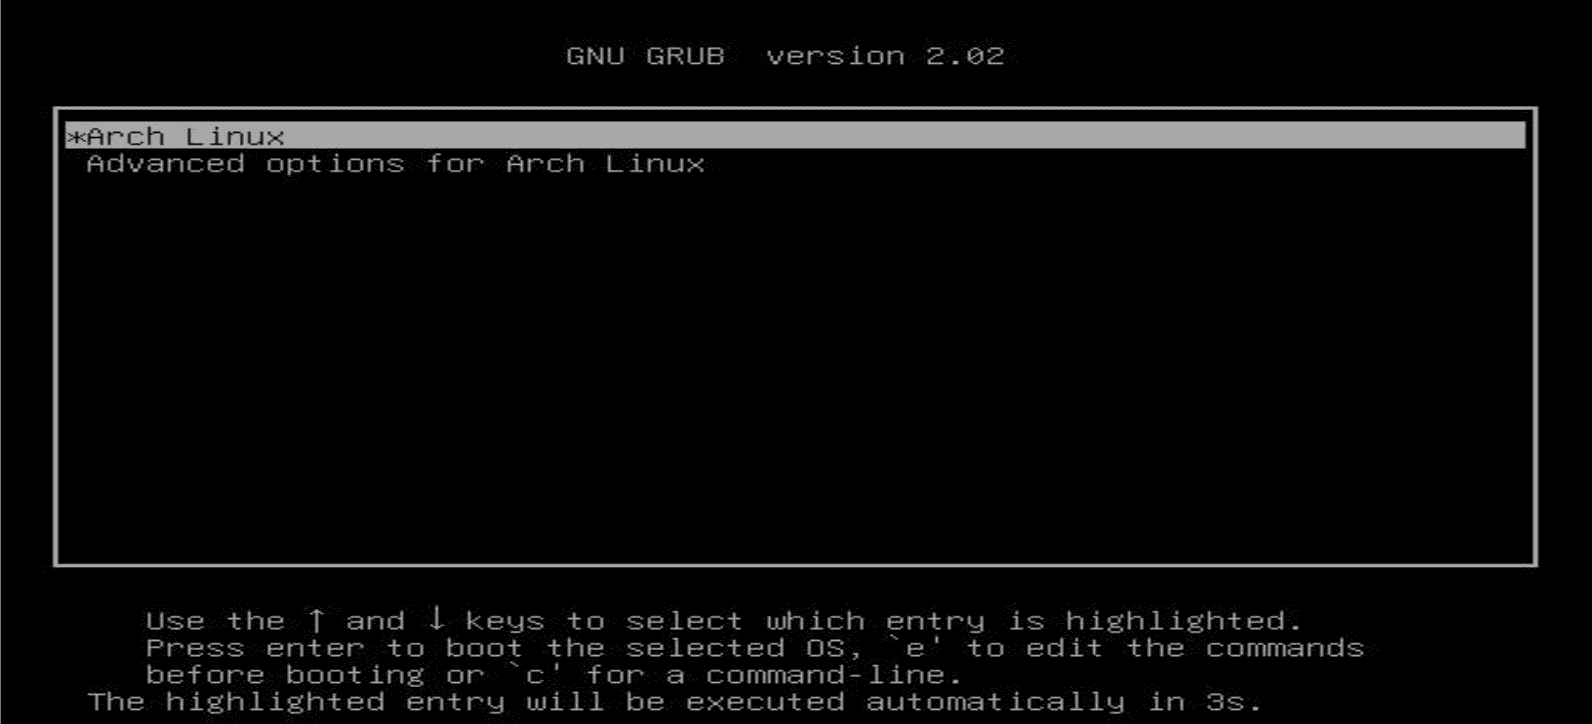
Reboot into the newly installed Arch Linux
Type ‘exit’ command to exit from the chroot and ‘reboot’ command for rebooting into the GRUB loader. After booting into the Grub bootloader ,select Arch Linux to boot up into it.
Now type in your password and log in.

Wrapping it up
As you saw in this article, it’s not an easy task to install Arch Linux. But it isn’t that hard either, just follow the instructions listed in this article and you are good to go. Once you have installed Arch Linux, you can completely customize it in the way you want.
If you like the content, we would appreciate your support by buying us a coffee. Thank you so much for your visit and support.