Here’s how to install BalenaEtcher quickly and conveniently. With it you can create pen drives and memory cards to boot from various systems. Learn how to Install BalenaEtcher on Ubuntu.
BalenaEtcher is a free and open source utility used to flash image files, such as .iso or .img files, as well as compressed folders to create SD cards and USB flash drives.
It is a software of great value for those who want to create their pen drives and boot cards. One of the reasons it has become popular is that it has versions for several systems.
On the application website you will be able to download all types of versions.
Here is the BalenaEtcher download link.
But here our focus will be on Ubuntu only.
Read: How to fix Bluetooth connection issues on Ubuntu 22.04
Let’s get started.
Features of Etcher
Validated Flashing
Etcher ensures that the data on the file and the disk are similar; as such, writing images to corrupted disks is impossible.
Beautiful Interface
The software’s Interface is easy on the eye and relatively easy to navigate even for the non-techies.
Hard Drive Friendly
This feature means that Etcher selects the required drive and if a drive is not connected, it will automatically prompt you to connect one.
Open Source
Made with HTML, JS, node.js, and Electron, Etcher is an Open Source application. You can jump in to contribute if your skills fit the bill.
Cross-Platform
Etcher allows you to flash an image from Windows, Linux, or Mac. You can use either of these platforms and it will run just fine.
Is Etcher Safe?
Etcher verifies the ISO image, meaning that you can’t accidentally corrupt USB. Just ensure that you download from the official website to avoid unnecessary issues that may arise with third-party sources.
What more to expect from Etcher
Developers are working on ways to increase writing speeds. Etcher plans to broaden its scope and cover more than just SD cards. There are also plans to build an image catalog embedded within the application that would allow users to explore a set of images from trusted publishers and stream them from the internet straight into their drives.
Flashing the same image to multiple drives will be made easier as progress on the multi-write engine is taking shape.
Read: How to install and uninstall applications on Ubuntu- A Beginner’s guide
BalenaEtcher Installation Procedure on Ubuntu
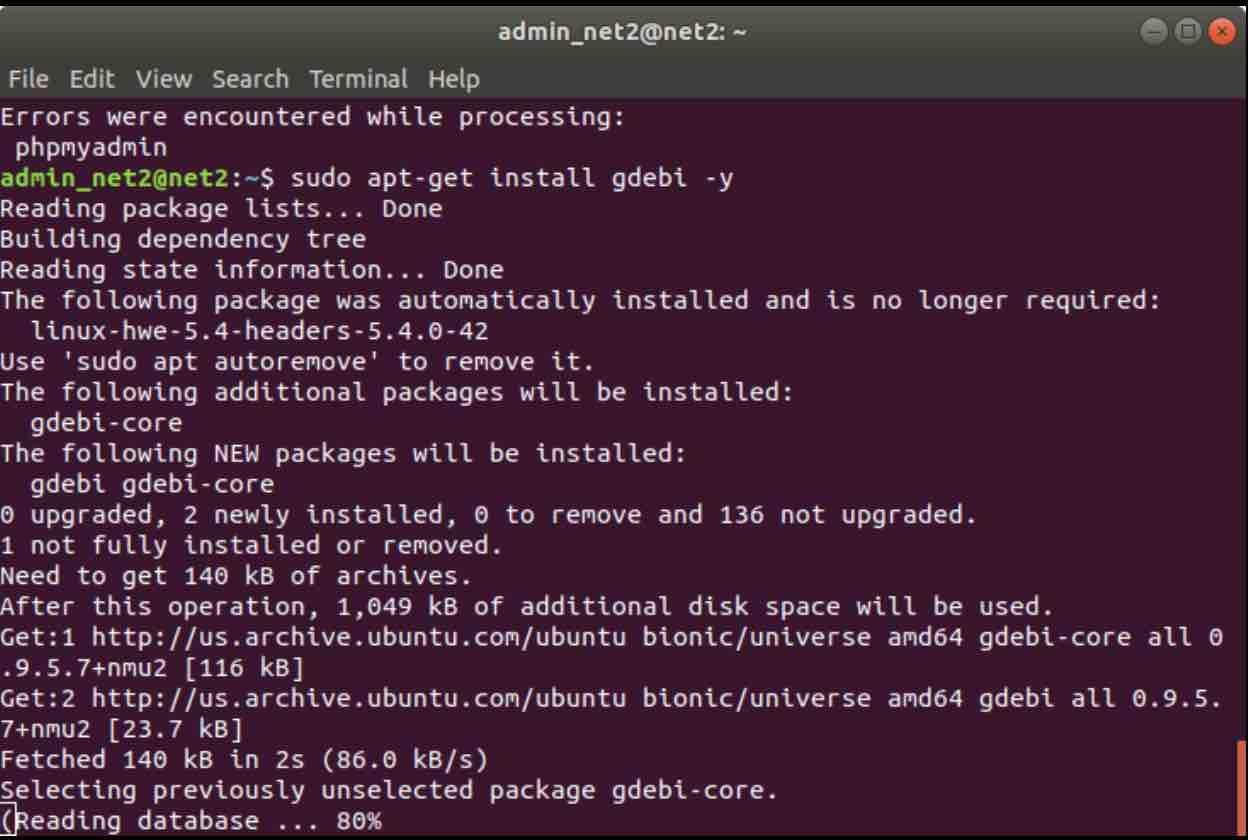
Before starting the installation process, you would need to install the ‘ gdebi ‘ tool If you don’t have it already. The command is simple :
sudo apt-get install gdebi -y

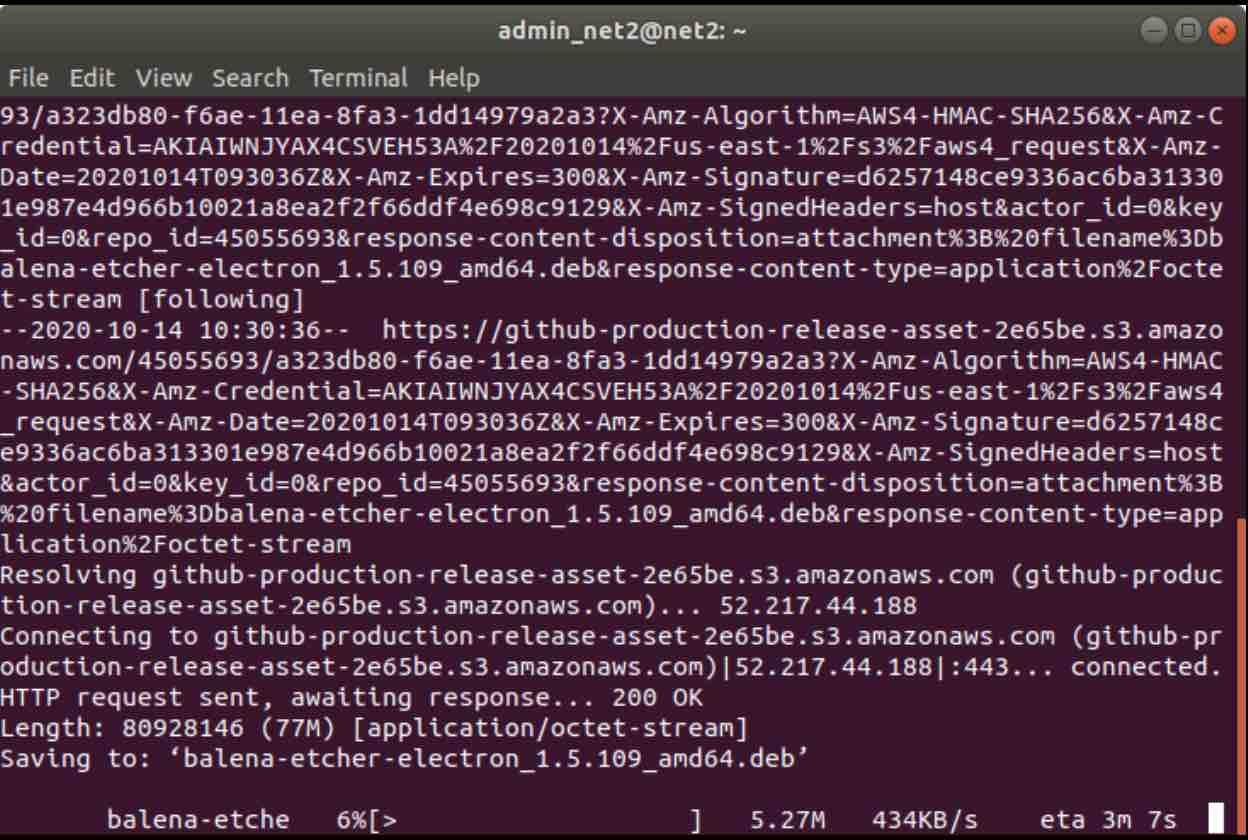
After the tool is installed, you would need to download the package. Some prefer to use the browser to download, others prefer the command line:
wget –show-progress https://github.com/balena-io/etcher/releases/download/v1.5.109/balena-etcher-electron_1.5.109_amd64.deb

Regardless of your choice, the package will be downloaded to your system. To install it, use the tool you have installed earlier :
sudo gdebi ~ / Downloads / balena-etcher-electron_1.5.109_amd64.deb

How to use BalenaEtcher on Ubuntu
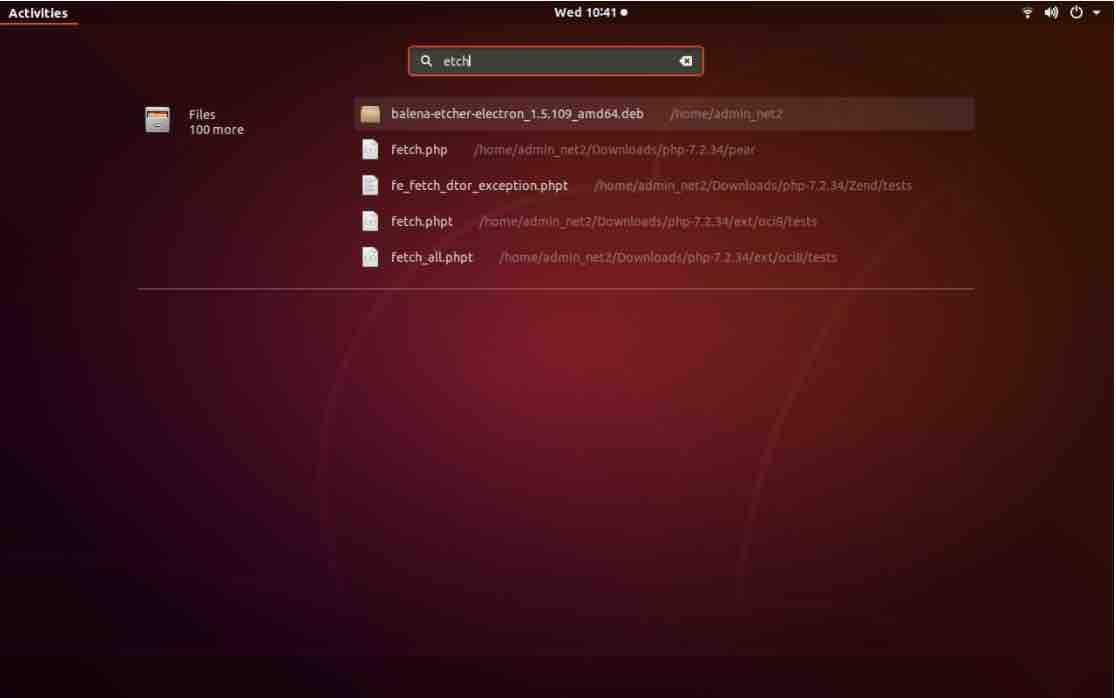
After completing the installation, the application should be listed in the menu of your system, then just locate it by name:

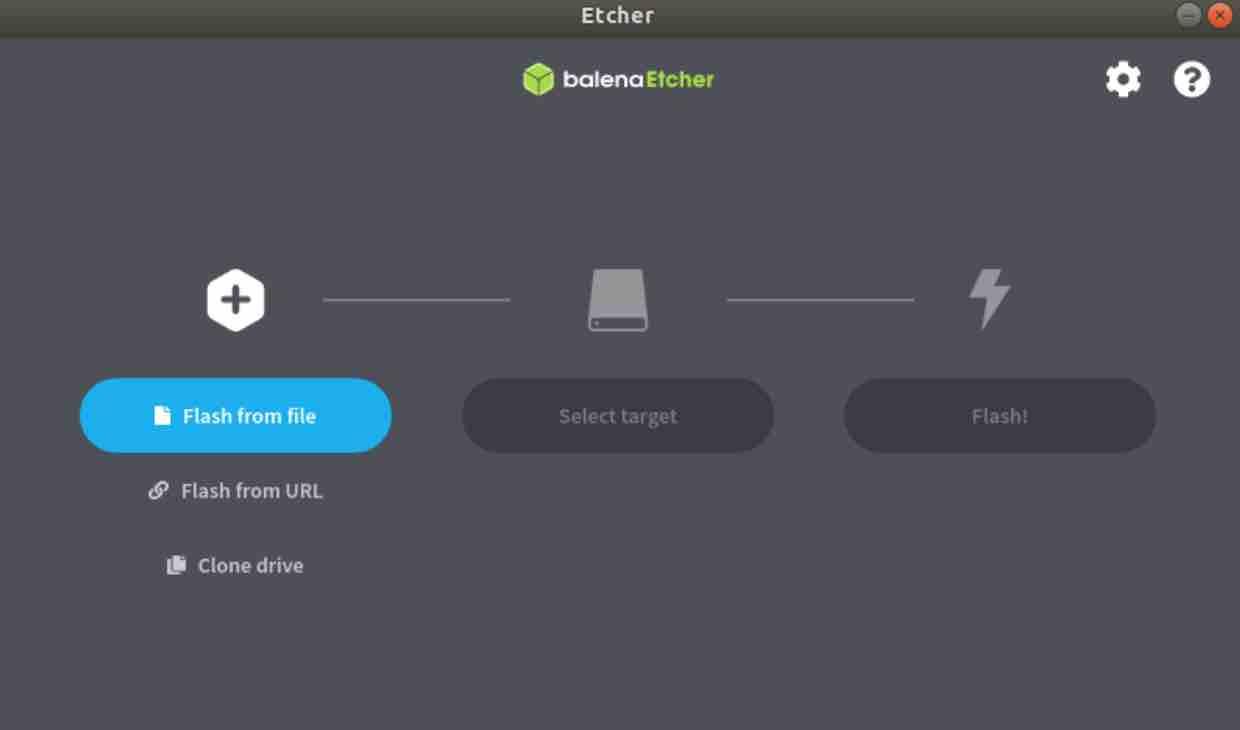
Once it is up and running, click on flash from file, choose which ISO you want to flash, then in the Select Drive item, choose where the ISO will be flashed, in this case on a USB stick and then click on Flash and wait.

If you like the content, we would appreciate your support by buying us a coffee. Thank you so much for your visit and support.

Very Helpful! Thanks!