Updated on 5/5/2022– For users who work with the command line in Linux most of the time, it could be convenient to view images within their terminal session. In this article we will cover some command line applications that enable users to display images in the terminal. Make sure to protect your eyes from your screen’s damaging blue rays while reading the article.
Using FIM (FrameBuffer Improved)
FIM is a utility used to display images or graphics on the Linux terminal. Most beginners never thought it was possible to display images (PNG, JPG, BMP…) on the console. FIM, a scriptable and a highly customizable open source image viewer enables users who spend most of their time working on the terminal. It gives them the possibility to control how images can be zoomed or resized using keyboard shortcuts.
Read: How to display a colored man pages in Ubuntu 20.04
FIM installation
Much like most packages, FIM can be found in Ubuntu default repositories. In order to install it , run the command :
sudo apt-get install fim
In case the package cannot be found in the Ubuntu default repositories, you can always download it so that you can compile it from the source. Refer to this page for guidance.
How to use FIM
Once FIM is installed successfully, you can try to display an image using the command:
fim lion.jpg

Ubuntu image viewer command line
From the obtained snapshot above, one would notice that no known picture viewer was used except FIM which used the system’s framebuffer to show the image.
To quit Fim, simply press ESC or q.
Opening multiple images
To display several images at once in your current folder, you could open them all using wildcards as shown below :
fim *.png
In case your images are located in another directory, simply execute the command below:
fim directory_with_images/
Read: How to resize images on Ubuntu 18.04
Recursive image display
FIM allows also to open images in a recursive manner in a directory as well as its sub-directory as shown by the command below:
fim -R directory_with_images/
FIM Keyboard shortcuts
There are many keyboard shortcuts that help manage the images in the console.
For instance, to zoom in or out, press the +/- keys . To load next or previous images, use the PgUp/PgDown keys. Below are some common shortcuts along with their functionalities:
a : Auto-scale
w : Fit % width
h : Fit % height
PageUp / PageDown : Prev/Next picture
+/- : Zooming in/out
j/k : Panning down/up
f/m : flipping/mirroring
r/R : Rotation (Clock-wise or anti clock-wise)
ESC/q : Exit or Quit
For more details, refer to man pages by running
man fim
Using eog (Eye of Gnome)
The Eye of Gnome or eog is the default image viewer in Ubuntu. It is readily available on most recent Ubuntu versions by default. It supports several image extensions and can display single images or multiple images.
Read: How to change font type and size in Ubuntu terminal
Installing eog
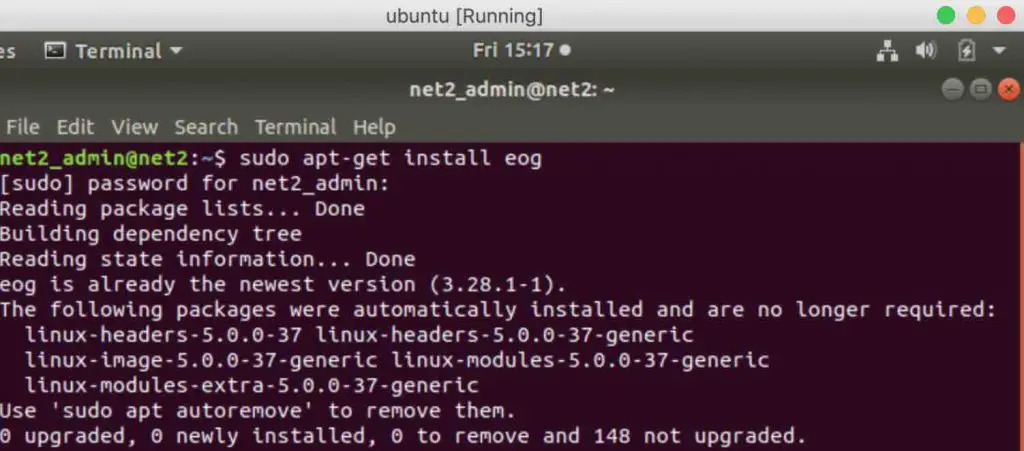
As a Gnome application, eog can be found in the Ubuntu Bionic Main repository. As you will see below, It can be easily installed using the usual apt-get command :
sudo apt-get install eog
Displaying images in the terminal
Apart from being a desktop utility, eog is also able to display images on the console directly. Run the command below on your favorite picture:
eog lion.jpg
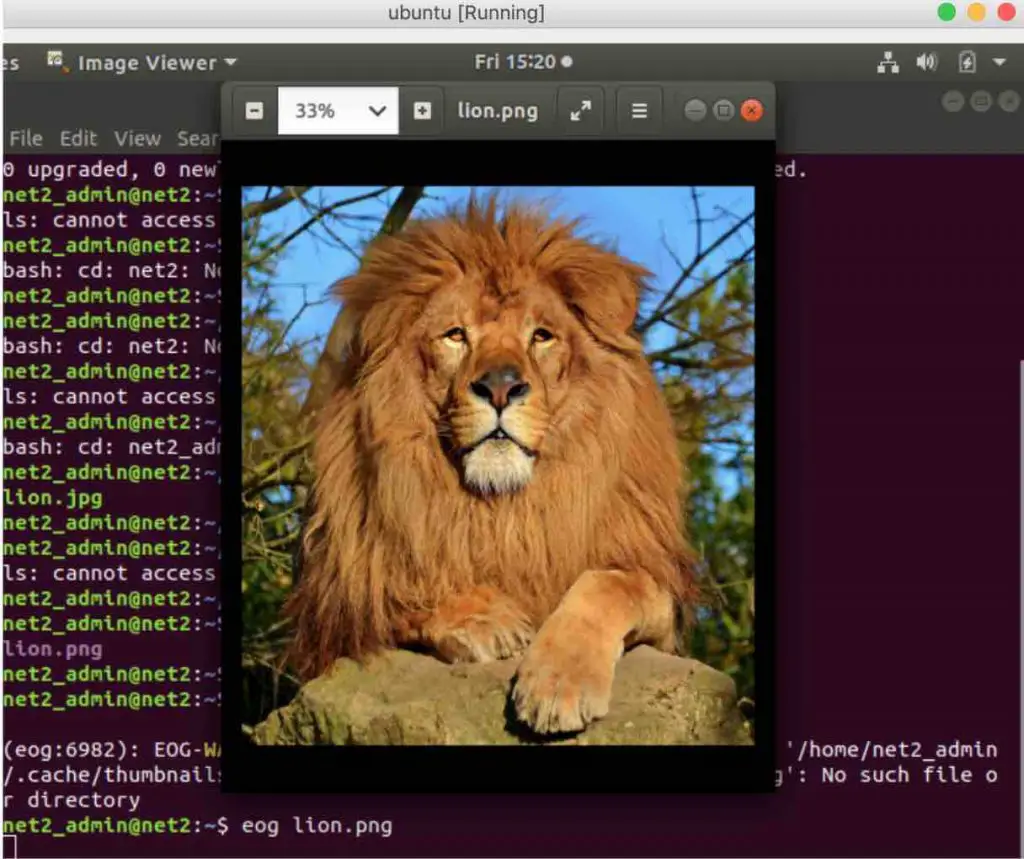
Open image from terminal
Using lsix
lsix is a tool used to display thumbnail images in the console. lsix, which uses ImageMagick, supports many image formats. lsix , which is written in BASH, intelligently detects the current console background color in order to display the thumbnails clearly.Since lsix uses sixel graphics, it self-detects if the current terminal supports this type of bitmap graphics format (sixel).
Installing lsix
As lsix relies on ImageMagick, would you need to ensure first that it is already installed. It is readily available for instance in the Ubuntu default repositories as well as other Linux distributions.
In order to install it on Ubuntu or Debian, run the command below :
sudo apt-get install imagemagick
As mentioned earlier, lsix is a BASH script and thus no installation is required. You would just need to download it and append it to your $PATH.
To download the latest version of lsix from its official github page, run the command:
wget https://github.com/hackerb9/lsix/archive/master.zip
Once this has finished, extract the downloaded zip file using the command:
unzip master.zip
This will extract all the file contents into a directory called lsix-master. All what you need now is to copy the lsix binary file from this folder to your $PATH, as mentioned earlier.
Last but not least, make the lsix binary file executable by running the command :
sudo chmod +x /usr/local/bin/lsix
Assuming you have copied the file into the directory /usr/local/bin/ .
Start showing thumbnails
Since Sixel graphics is not enabled by default and since it is supported by Xterm you would need to start Xterm with Sixel mode using the command below :
xterm -ti vt340
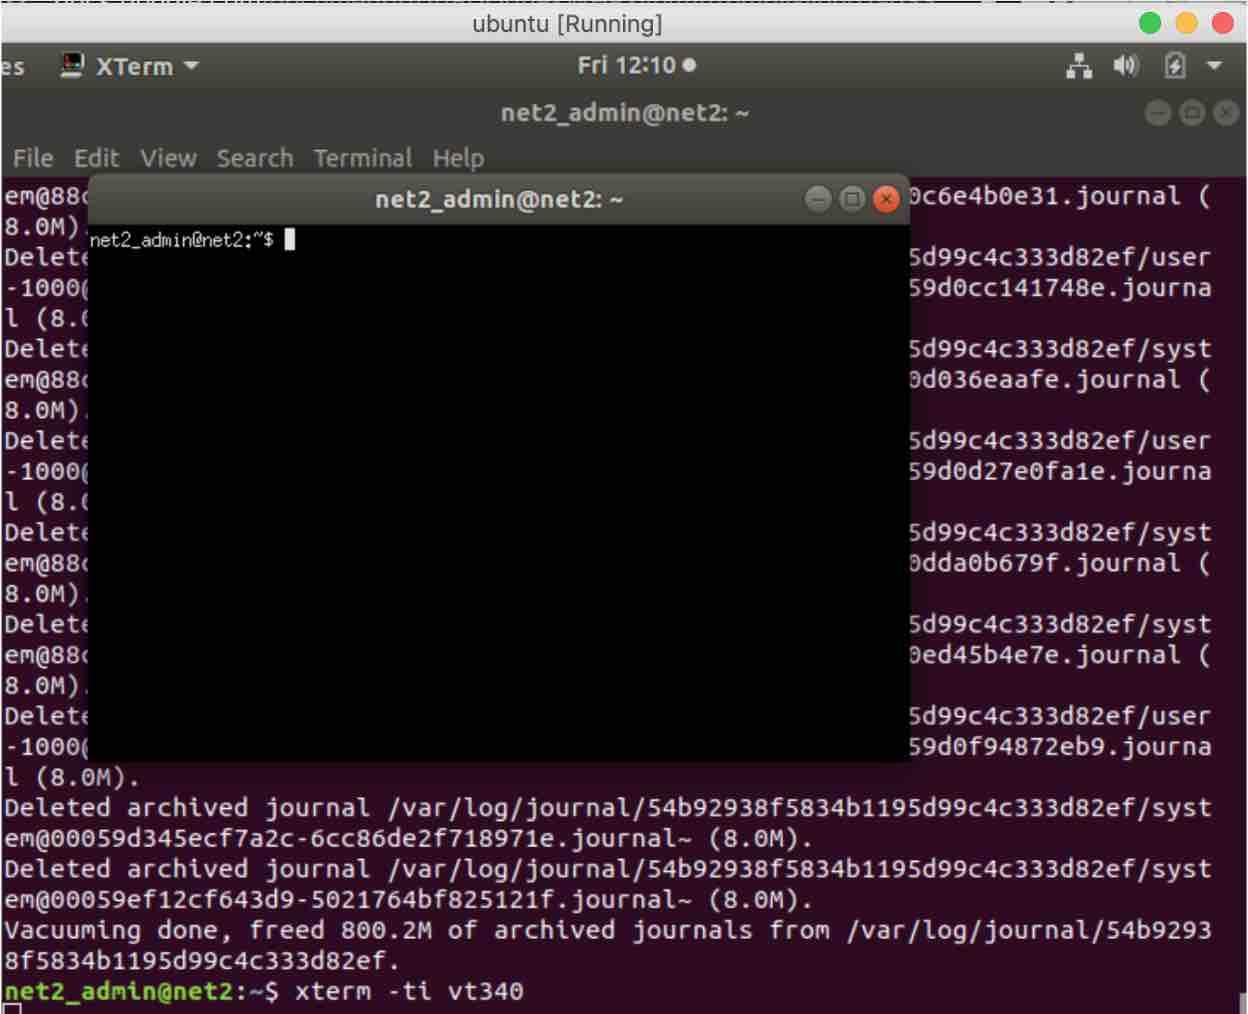
Ubuntu open image from terminal
Now to display thumbnails, you only need to invoke lsix command followed by your image as shown below :
lsix lion.png
To display the thumbnails in your current directory, simply execute:
lsix
To display for instance only JPG images, use the command below :
lsix *.png
Read: How to compress JPEG or PNG images in Linux using the terminal
Using feh
Feh is a small light and fast utility used to display and manipulate images. feh , an extremely configurable tool, is mainly intended to be invoked in the console. It allows you to display images stored locally or on the internet (by url). It is used either to display images on the screen or to display wallpaper , such as those taken from Wallpics, as a background. Run the command man feh to find out more about the usage of this program.
To run feh, execute it from the terminal prompt by specifying a particular picture:
feh lion.png [feh linux command]
The command will display the image in a frame.
Using Viu
Viu is a command line utility that help view images from within the Terminal. It is open source and free image viewer. Viu allows you to display images with the following formats : png, jpg, igif etc.
Read: Five best code editors for Linux
Viu installation
As Viu is written in Rust programming language, you should be able to install it via Cargo package manager. Once Rust is installed, execute the command below in order to install Viu :
cargo install viu
Viu can also be acquired as a pre-compiled binary that can be downloaded from the following page. Once the Viu binary file has been downloaded, would you need to make it executable by running the command:
chmod +x viu
You could afterwards put it in the /bin directory for instance :
sudo mv viu /usr/local/bin/
How to use Viu tool
Much like Fim, Viu is easy to use. Simply type in viu in your terminal followed by the picture full path as follows:
viu your_image.png
To customize the dimensions of the image , you could use -w (Width) or -h (Height) switches as shown below:
viu your_image.png -w 90
Multiple images display
To display several images in a directory, use a command like the one below :
viu Home/pictures\ *
Multiple image formats support
Viu can also display different types of images. For instance, the command below will display the jpg image:
viu lion.jpg
For more information about Viu, type in the command:
viu –help
Conclusion
You have three tools that allow you to display images in the terminal. This is handy when you spend most of your time writing commands. lsix is especially useful when it comes to displaying thumbnails though its installation is not as straightforward as the other tools. In case you are on Gnome, you can use eog , or feh as well. If you have imagemagick installed, you can use its display command-line utility. cacaview is yet another lightweight utility that can also be used for the same purpose.
If you know other similar utilities, do not hesitate to mention them in the comments area below.
If you like the content, we would appreciate your support by buying us a coffee. Thank you so much for your visit and support.
Your not displaying the images ‘in the command line’ at all, you are opening gui based applications to display them.
You are not leaving the terminal when you invoke the commands above
Your headline infers that you are displaying them ‘in’ the command line, you need to replace to ‘in’ with ‘from’. 😉
This is not “in” the terminal, this is “from” the terminal.