If you have been using a Linux distribution, you might have encountered filesystems errors somehow. Filesystems can be identified as a hierarchy of directories (or a directory tree) which determines the way files are stored and organized on a computer system.For example, a given Linux installation can be installed using only the ext1 filesystem instead of using both ext2 and ext3 filesystem types. To each filesystem is assigned a set of rules which control the allocation of space (on the disk) to files and the way data about each file is associated (known as meta data) with that file (like filename, file directory its permissions and its date of creation ). These filesystems can become corrupt over time and will therefore result in random system crashes, apps malfunctioning and frequent reboots.
Fsck comes to the rescue here. fsck is the short form for ‘file system consistency check’.
If you ever run into a filesystem error and want it solved then you are at the right place. First, we will learn how to use fsck in the command line. Keep in mind that you should never check a mounted filesystem with this command since this might damage those filesystems. In the newer versions of Linux distros, fsck won’t run if partitions are mounted.
Read: How to fix “sub process usr/bin/dpkg returned an error code 1″ Error in Ubuntu
Check all file systems at once
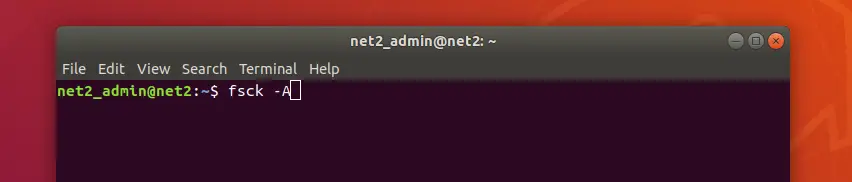
If you use a different filesystem in your PC and want to check all filesystems at once, you can use the following command:
fsck –A
Ubuntu fsck
Read: How to solve “fsck error on boot: UNEXPECTED INCONSISTENCY”;
This command will grab all the partitions and filesystem information from /etc/fstab file and scan them for errors.
Keep in mind though that this command will also check errors for the mounted filesystem. As I said earlier, there is a higher chance you might damage the it. To overcome this problem, you should use this command with –M flag. This will prevent checking mounted filesystem.
fsck-M
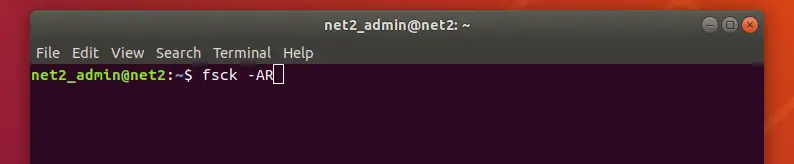
To prevent fsck from checking root, use –R flag. This will only work with the flag –A.
fsck –AR
fsck Ubuntu
Perform automatic repair
fTo perform an automatic repair after fsck errors check, use the following command:
fsck -p /dev/sdxy
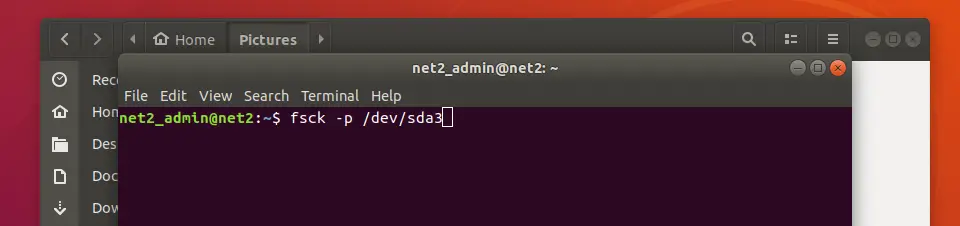
Keep in mind to replace x with the drive number and y with the partition number.
You may want to read: How to find the largest files on Linux
Check a particular filesystem
You can check a particular file system with fsck. First, you will need to check the file system of a partition using the following command:
sudo parted -l
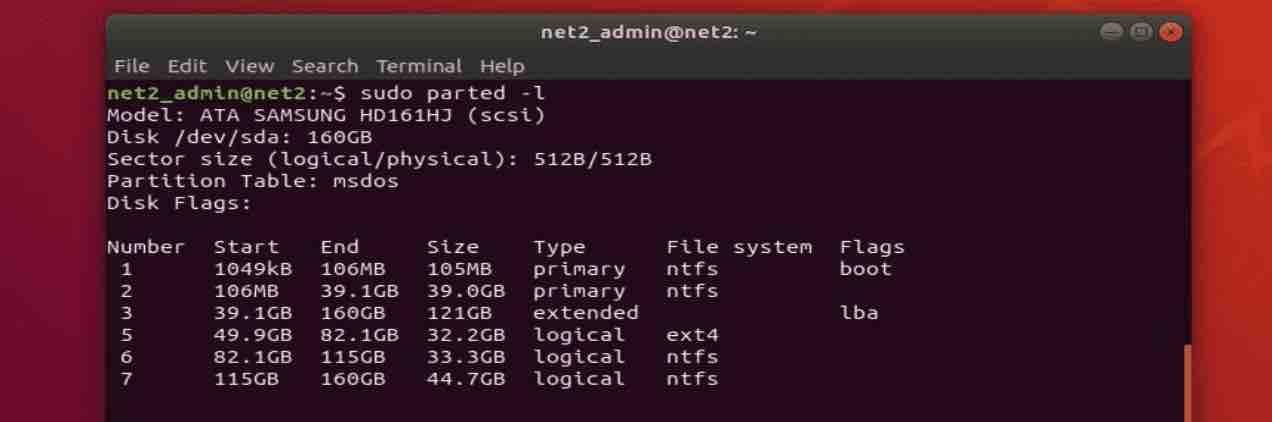
Then, via the command below , you can then check the desired filesystem :
fsck /dev/sdxy
Here, ‘x’ is drive number and ‘y’ is partition number.
Check root partition for errors with fsck
If you check root partition with fsck while it is mounted then you might damage it and you won’t be able to boot anymore. You can overcome this problem by simply adding an empty file named “forcefsck” in the root directory. This will force fsck to run at boot up. Issue the following command :
sudo touch /forcefsck
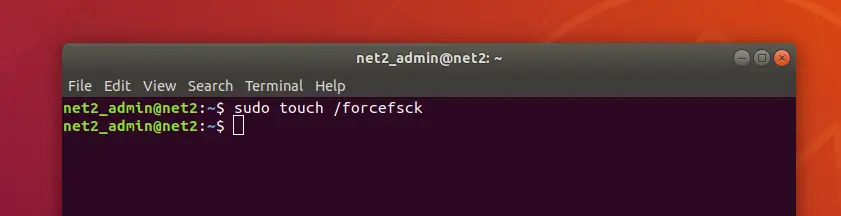
To prevent fsck to run at every startup, you simply need to delete the ‘forcefsck’ file in the root directory.
You may want to read: How to become root user in Ubuntu
Running fsck for a specific filesystem
If you have different filesystems on your drive and want to check a specific type of filesystem then you can use –t flag. For example, if you want to check ‘ext4′ partitions then run the following command:
fsck -t ext4 /dev/sdxy
You can use –A flag to check all the specified file systems.
(x=drive and y=partition)
Using fsck to check external portable drives
fsck can be used to check external media storage devices. This will help in repairing corrupted SD cards and other portable media storage devices. Use the following command to run a check on portable drives:
Unmount the drive first
umount /dev/sdxy

Then,
sudo fsck /dev/sdxy

Using the above commands will allow you to check external file storage devices.
Best way to run fsck without having to worry about damaging your drives.
If you want to use fsck but you are wary you might damage partitions then you should create a live bootable media and boot into Linux. This way your drives will not be mounted and you won’t need to worry about damaging them.
Read: How to fix : Unable to install GParted on Ubuntu ?
Using GParted for file system repair
Fsck is a command-line based file system repairing tool. But if you get confused using the command line fsck or don’t know much about the command line then you can use g-parted. This GUI based tool is very powerful to check and fix file system errors.
You need to install GParted first. Just issue the following command:
sudo apt-get install gparted
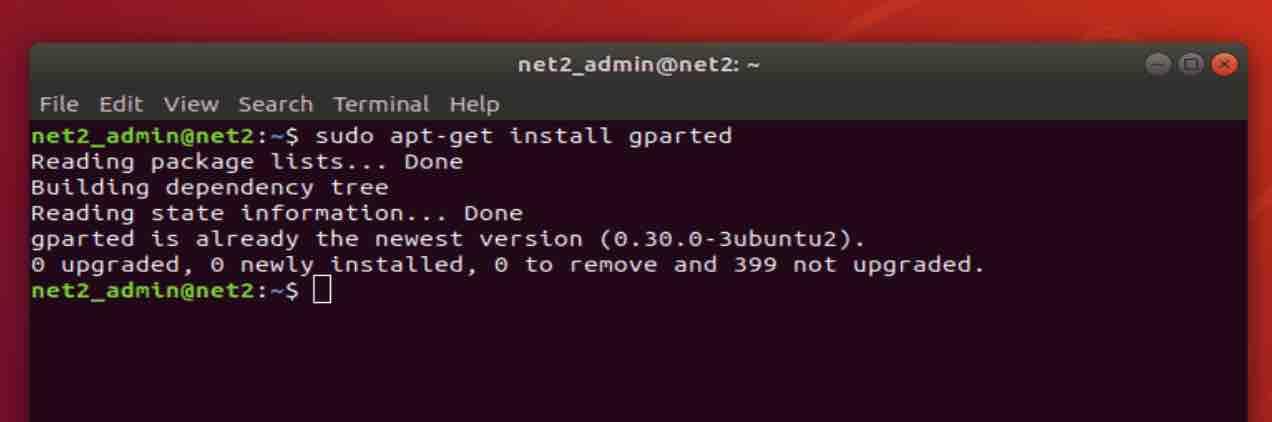
In the above picture, GParted was already installed. Now open GParted and right-click on the file system you want to check.
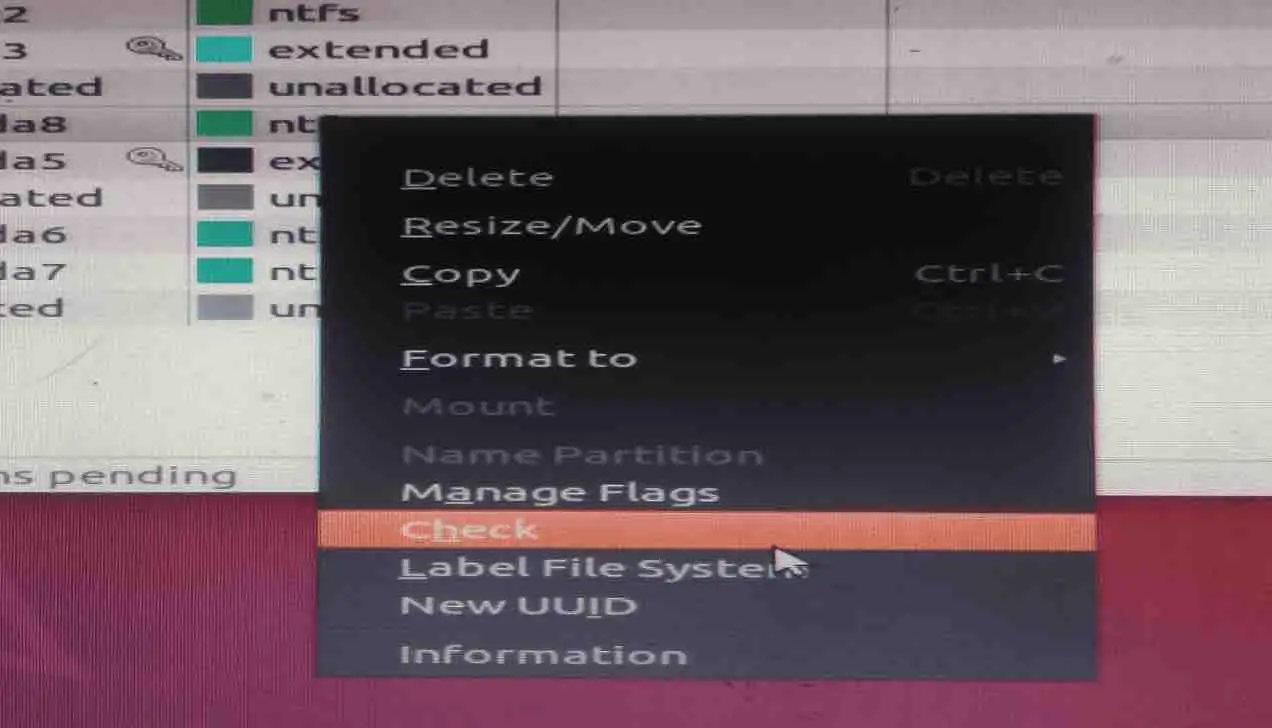
After clicking Check, GParted will check and fix ubuntu partition errors.
Conclusion
Overall, fsck is a powerful tool to solve all types of system errors. But this tool is not for beginners who do not feel at ease with the command line well. For those who are uncomfortable using the terminal, you can use GParted since it is as powerful as fsck.
If you like the content, we would appreciate your support by buying us a coffee. Thank you so much for your visit and support.


Partition names are different for SSDs. The correct names can be obtained with “fdisk -l” (as root, if the disk or ssd is partitioned in the old way, with MBR).