BalenaEtcher, formerly known just as Etcher, is a fantastic free and open-source utility. Its main job is to flash these image files, and even compressed folders, directly onto SD cards and USB flash drives.
It’s become super popular, partly because it’s available for multiple operating systems, including Windows, macOS, and of course, Linux. You can always find the latest versions for all platforms on their official website.
Here’s the direct link if you want to check out the BalenaEtcher download page. However, in this guide, our main mission is to walk through the BalenaEtcher installation process on Ubuntu step-by-step, making it as clear and simple as possible for you.
Key Features of BalenaEtcher
You might be wondering what makes BalenaEtcher stand out. From my experience, it’s a combination of reliability and ease of use. Here are some of its core strengths:
- Validated Flashing: This is a big one. Etcher doesn’t just write the image; it verifies that the data written to your USB drive or SD card perfectly matches the original image file. This means you can be confident your bootable media is error-free and it helps prevent you from unknowingly using a corrupted drive for an important task.
- User-Friendly Interface: The design is clean, modern, and incredibly intuitive. You don’t need to be a tech guru to figure it out. The process is usually just three simple steps, which is great even if you’re new to flashing images.
- Hard Drive Friendly: We’ve all heard horror stories about accidentally formatting the wrong drive. Etcher helps you avoid this by clearly showing available drives and making it harder to select your system’s hard drive by mistake. If no suitable removable drive is connected, it’ll prompt you.

- Open Source: BalenaEtcher is developed with web technologies like HTML, JavaScript, Node.js, and Electron. Being open-source means its code is publicly available for anyone to inspect, modify, or contribute to. If you’re a developer, you can even help make it better!
- Cross-Platform Compatibility: Whether your main computer runs Windows, macOS, or a Linux distribution like Ubuntu, Etcher works consistently across all of them. You can create a bootable Linux USB on Windows, or vice-versa, without any fuss. This is a huge plus for
Read: How to Fix WIFI not working on Ubuntu 22.04
Is BalenaEtcher Safe to Use?
Absolutely! One of the common questions is, “is Etcher safe?” Yes, it is. The data validation feature I mentioned is key here, as it ensures the integrity of the flashed media and protects against accidental corruption during the writing process. My tip: always download BalenaEtcher directly from the official website. This helps you avoid any potential issues that might come with unofficial or third-party sources.
What’s Next for BalenaEtcher?
The developers at Balena are always working on enhancing Etcher. Here’s a little peek at what they’re cooking up:
- Improvements in writing speeds are on the roadmap, making the flashing process even quicker.
- They plan to expand support beyond just SD cards and USB drives.
- An exciting future feature is an integrated image catalog. This would allow users to browse and stream OS images from trusted publishers directly within the application to their drives.
- For power users, a multi-write engine is under development, which will make it much easier to flash the same image to multiple drives simultaneously – a real time-saver!
BalenaEtcher Installation Procedure on Ubuntu
Alright, let’s get our hands dirty and install BalenaEtcher on your Ubuntu machine. The process for getting BalenaEtcher set up on Ubuntu is pretty smooth.

Before we grab BalenaEtcher itself, there’s a handy tool called `gdebi` that we should ensure is installed. `gdebi` is great because it installs local `.deb` packages and automatically handles their dependencies. If you don’t have it, open your terminal (Ctrl+Alt+T) and type this command:
sudo apt-get install gdebi -y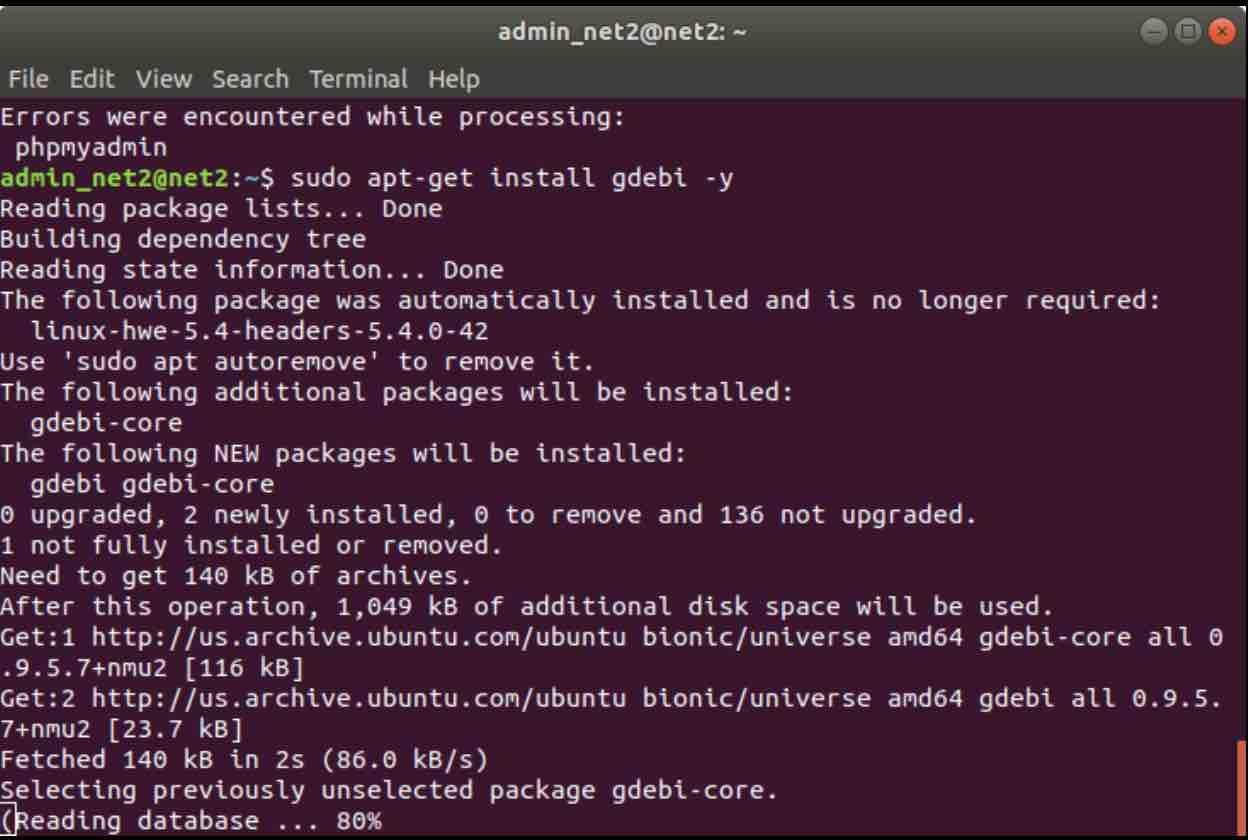
Once `gdebi` is ready, the next step is to download the BalenaEtcher `.deb` package. You can do this through your web browser from the official BalenaEtcher website, or, if you prefer using the terminal (like I often do!), you can use the `wget` command.
Here’s an example command to download a specific version (it’s always a good idea to check the BalenaEtcher GitHub releases page for the absolute latest version, as the version number below might get outdated):
wget --show-progress https://github.com/balena-io/etcher/releases/download/v1.5.109/balena-etcher-electron_1.5.109_amd64.deb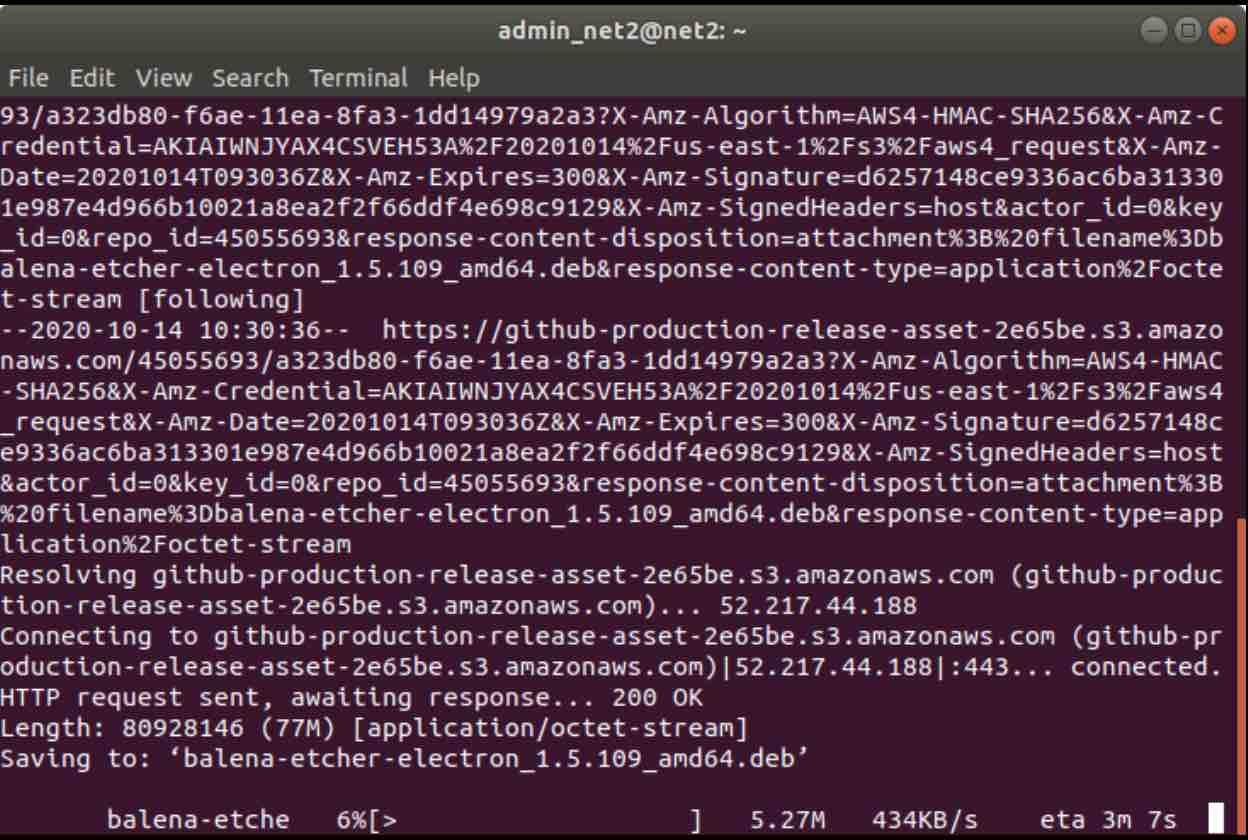
This command will download the package into your current directory. If you downloaded it via a browser, it’s likely in your `Downloads` folder.
Now, to install BalenaEtcher, navigate to the directory where you saved the `.deb` file (I’ll assume it’s in `~/Downloads/` for this example, but if you used `wget` in your home directory, it’ll be there). Then, use `gdebi` to install it:
sudo gdebi ~/Downloads/balena-etcher-electron_1.5.109_amd64.debIf the file is in your current terminal directory, you can simplify the command to:
sudo gdebi balena-etcher-electron_1.5.109_amd64.deb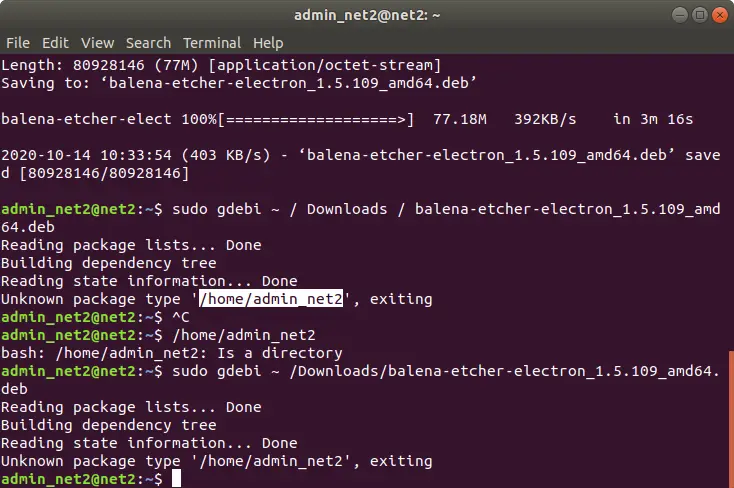
`gdebi` will ask for your password and then prompt you to confirm the installation (usually by typing ‘y’ and pressing Enter). It will then take care of installing BalenaEtcher and any necessary dependencies.
How to Use BalenaEtcher on Ubuntu
Great! With BalenaEtcher installed, you’re now ready to create bootable USB drives on your Ubuntu system. Using it is a breeze.
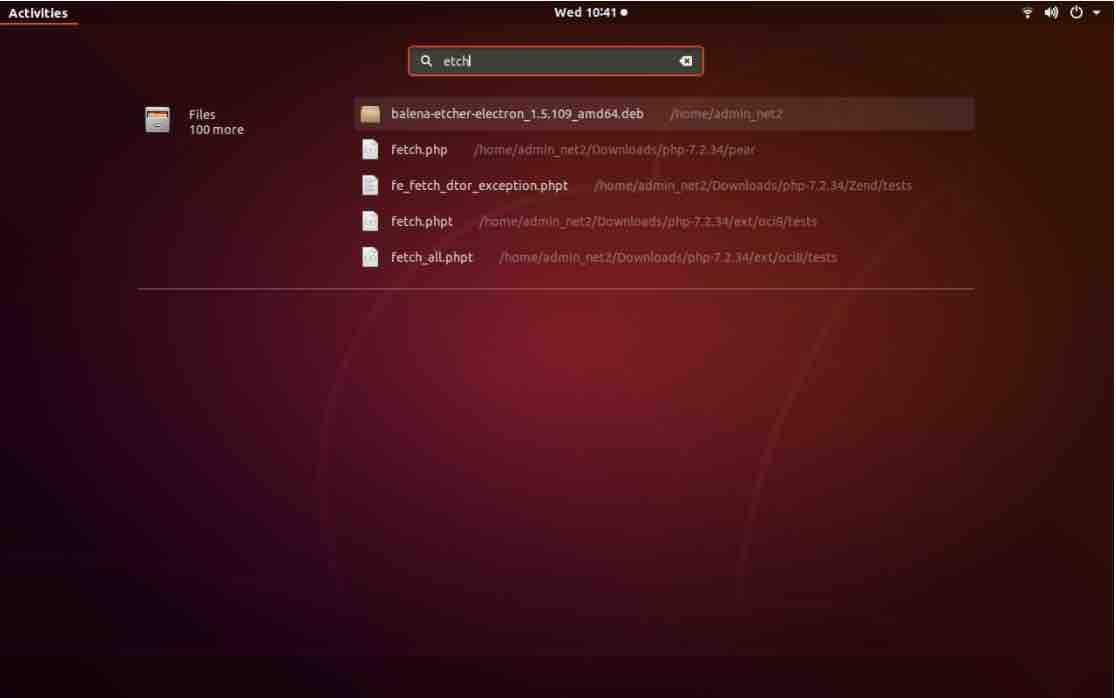
After the installation completes, BalenaEtcher should appear in your system’s application menu. You can usually find it by searching for “BalenaEtcher” or just “Etcher”. Click on it to launch the application.
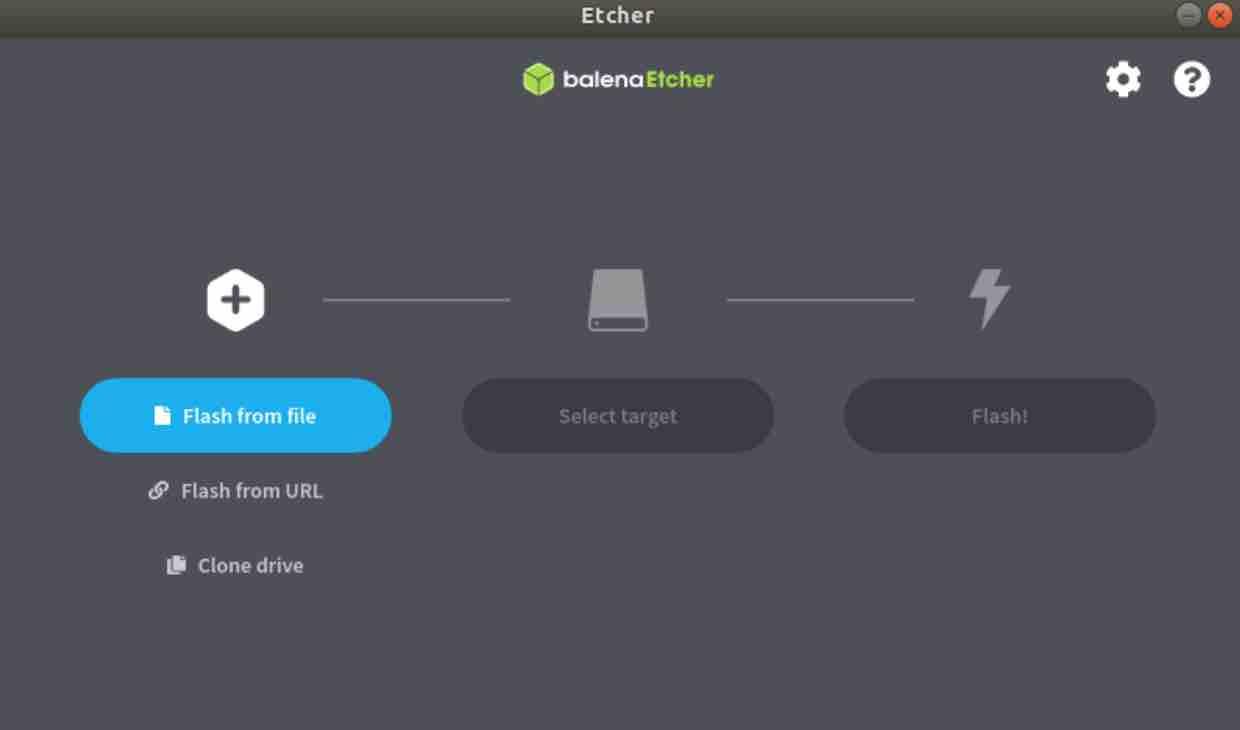
Once BalenaEtcher opens, you’ll be greeted by its very straightforward interface, which typically involves three main steps:
- Flash from file: Click this button first. A file browser will open, allowing you to navigate to and select the image file (e.g., an `ubuntu-desktop.iso`, `raspberry-pi.img`, or any other bootable image) you want to flash.
- Select target: After selecting your image, you need to choose the destination drive. BalenaEtcher is pretty smart and will often auto-select a connected USB drive or SD card. However, if you have multiple removable drives plugged in, double-check very carefully that you’ve selected the correct one! You don’t want to accidentally overwrite the wrong device.
- Flash!: With your image file selected and your target drive confirmed, the final step is to click the “Flash!” button. BalenaEtcher will then start writing the image to the drive, followed by a verification process. Just sit back and wait for it to complete. It will notify you once the process is successfully finished.
Conclusion
After successfully installing and using BalenaEtcher on your Ubuntu system, you’ve added a powerful and reliable tool to your technical toolkit. Whether you’re creating bootable Linux distributions, flashing Raspberry Pi images, or preparing recovery media, BalenaEtcher streamlines what was once a complex process into something accessible for users of all skill levels.
The application’s focus on data validation ensures your bootable drives are created without corruption, while its intuitive interface eliminates many of the common pitfalls associated with image flashing. For system administrators managing multiple devices or hobbyists experimenting with different operating systems, BalenaEtcher’s efficiency and cross-platform availability make it an invaluable resource.
Remember to always download BalenaEtcher from official sources and verify that your target drive is correctly selected before flashing. With regular updates from the development team at Balena, you can expect this tool to continue improving with even more features in the future.
If you like the content, we would appreciate your support by buying us a coffee. Thank you so much for your visit and support.