PulseAudio manages the audio output from your Linux programs. It acts as a sound server, or a middleman, that can adjust the audio before it reaches your speakers.
PulseAudio can combine audio from multiple programs (mixing), change the audio format, adjust the number of channels, and even send audio from one computer to another.
This guide explains how to manage sound on Ubuntu 24.04 using PulseAudio.
Enabling different Software Sources
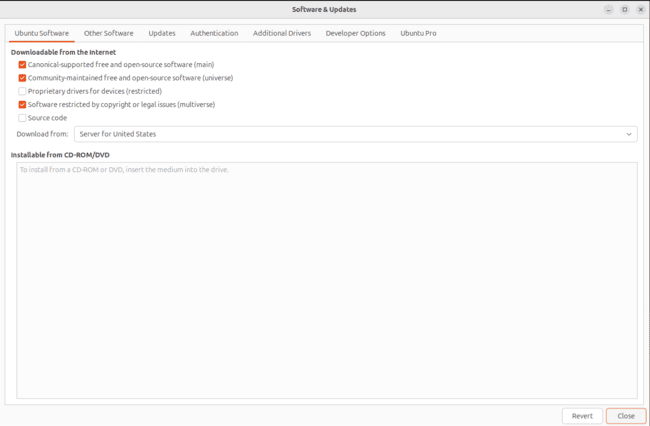
First, make sure that the ‘main’, ‘universe’, ‘multiverse’, and ‘restricted’ software sources are enabled on your Ubuntu 24.04 system. This is important because some packages you’ll need to install will be downloaded from these sources.
To do this using the graphical interface, search for the “Software & Updates” application by typing ‘software’ in the activities overview, as shown below.

Read: How to use Bluetooth Headset on Ubuntu 20.04
When the application opens, confirm that the checkboxes are selected as shown in the image below.
Now, close the “Software & Updates” application and run the following command in the terminal to refresh the list of available packages:
sudo apt update
Read: How to display your sound card details using the terminal on Ubuntu 22.04
PulseAudio Installation
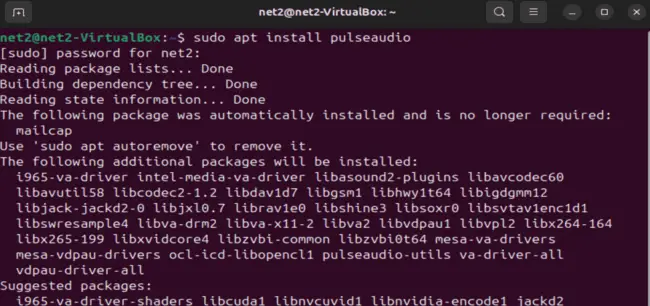
Install PulseAudio using this command:
sudo apt install pulseaudio
You will need to restart your computer afterward.
Read: How to troubleshoot sound issues in Ubuntu 22.04
PulseAudio Volume Control: Pavucontrol
To configure sound volume with a graphical interface, you’ll need to install the PulseAudio Volume Control (Pavucontrol). Run this command to install it:
sudo apt install pavucontrol

Type ‘y’ and press Enter to proceed.
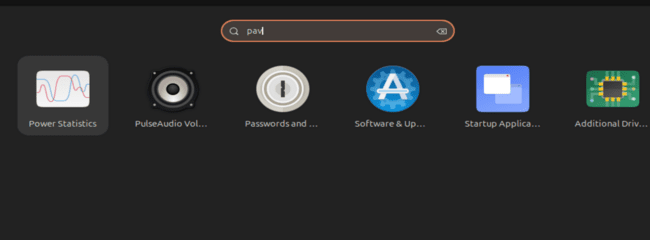
To launch Pavucontrol, go to the activities overview and type ‘pulse’ in the search box, as shown below:
Read: PipeWire on Ubuntu 22.04: A Complete Installation and Configuration Guide
Click on the Pavucontrol icon. The following window will appear:
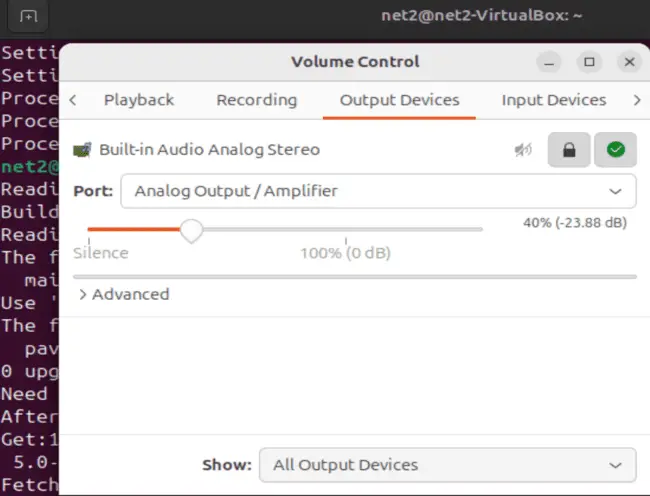
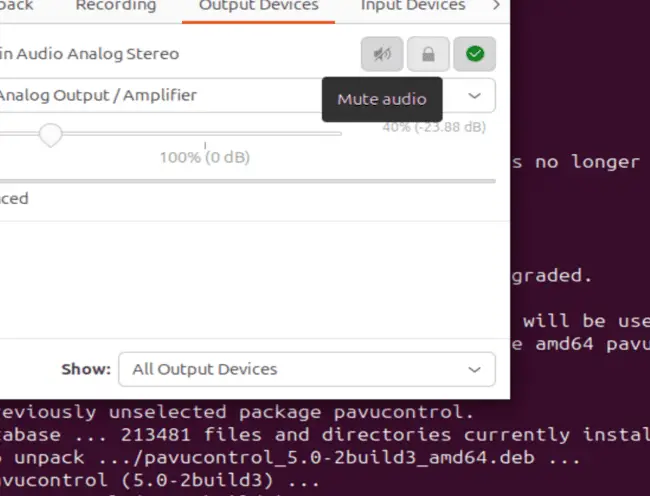
In the “Output Devices” tab, you can adjust the sound output by moving the slider left or right.
To mute or unmute the audio, click the toggle button, as shown below, in the “Output Devices” tab.
PulseAudio lets you manage your speakers independently. Clicking the lock button in the “Output Devices” tab will reveal two sliders, as seen in the image below:

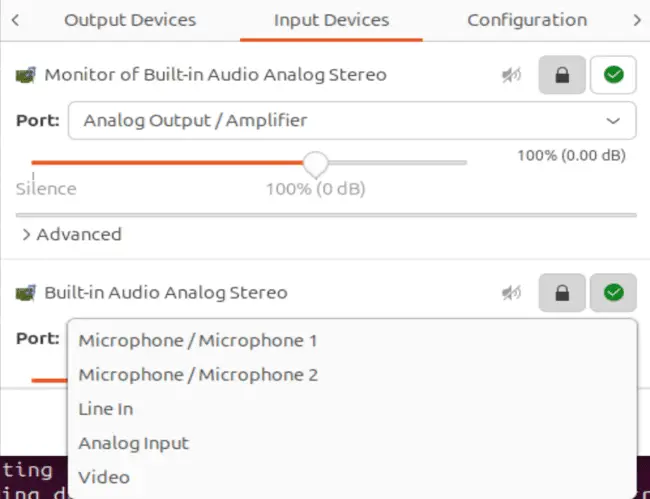
In the “Input Devices” tab, you can manage the audio from your input sources using the slider, as shown here:

You can choose different input devices (like Microphone, Line In, Analog Input, or Video) from the “Port” dropdown menu in the “Input Devices” tab.
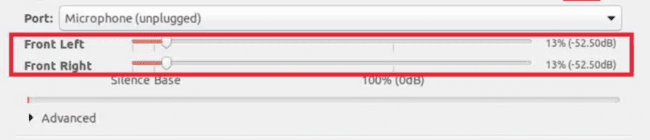
Just like with output, clicking the Lock button will display two separate sliders:
If you have multiple input devices, you can choose which ones to display using the “Show” dropdown menu in the “Input Devices” tab.

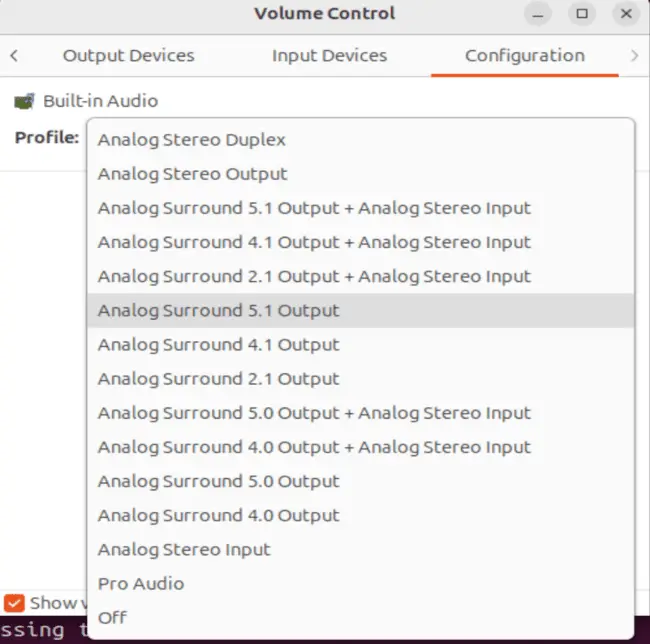
You can also select different sound profiles in the “Configuration” tab. By default, “Analog Stereo Duplex” is selected.
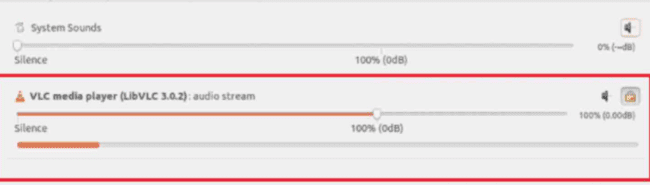
The “Playback” tab allows you to manage the audio for specific applications. Any running media player will appear here, and you can adjust its volume using the slider.
Read: How to download YouTube video or audio
For example, if you’re using VLC Media Player, it will be listed in the “Playback” tab:
You can also manage audio during recording. Recording controls are located in the “Recording” tab. Here’s an example using GNOME Recorder:

If you like the content, we would appreciate your support by buying us a coffee. Thank you so much for your visit and support.