There are many GUI applications on Linux that help optimize and compress images while retaining the original quality. In this article we will use two command-line based utilities , jpegoptim and OptiPNG. Let’s get started.
Installing and using jpegoptim
Jpegoptim is a command line utility that help compress and optimize jpg, jpegs as well as jfif files without losing the original quality. Lossless optimization is supported as well.
Install jpegoptim
Since Jpegoptim is available on the official Ubuntu repository, it can be installed using the apt-get package manager tool.
Before starting the installation however, it would be best to update your system’s repository list so that you get the latest available of the application. To do this run the sudo command :
sudo apt-get update
Now to install jpegoptim , run the command below :
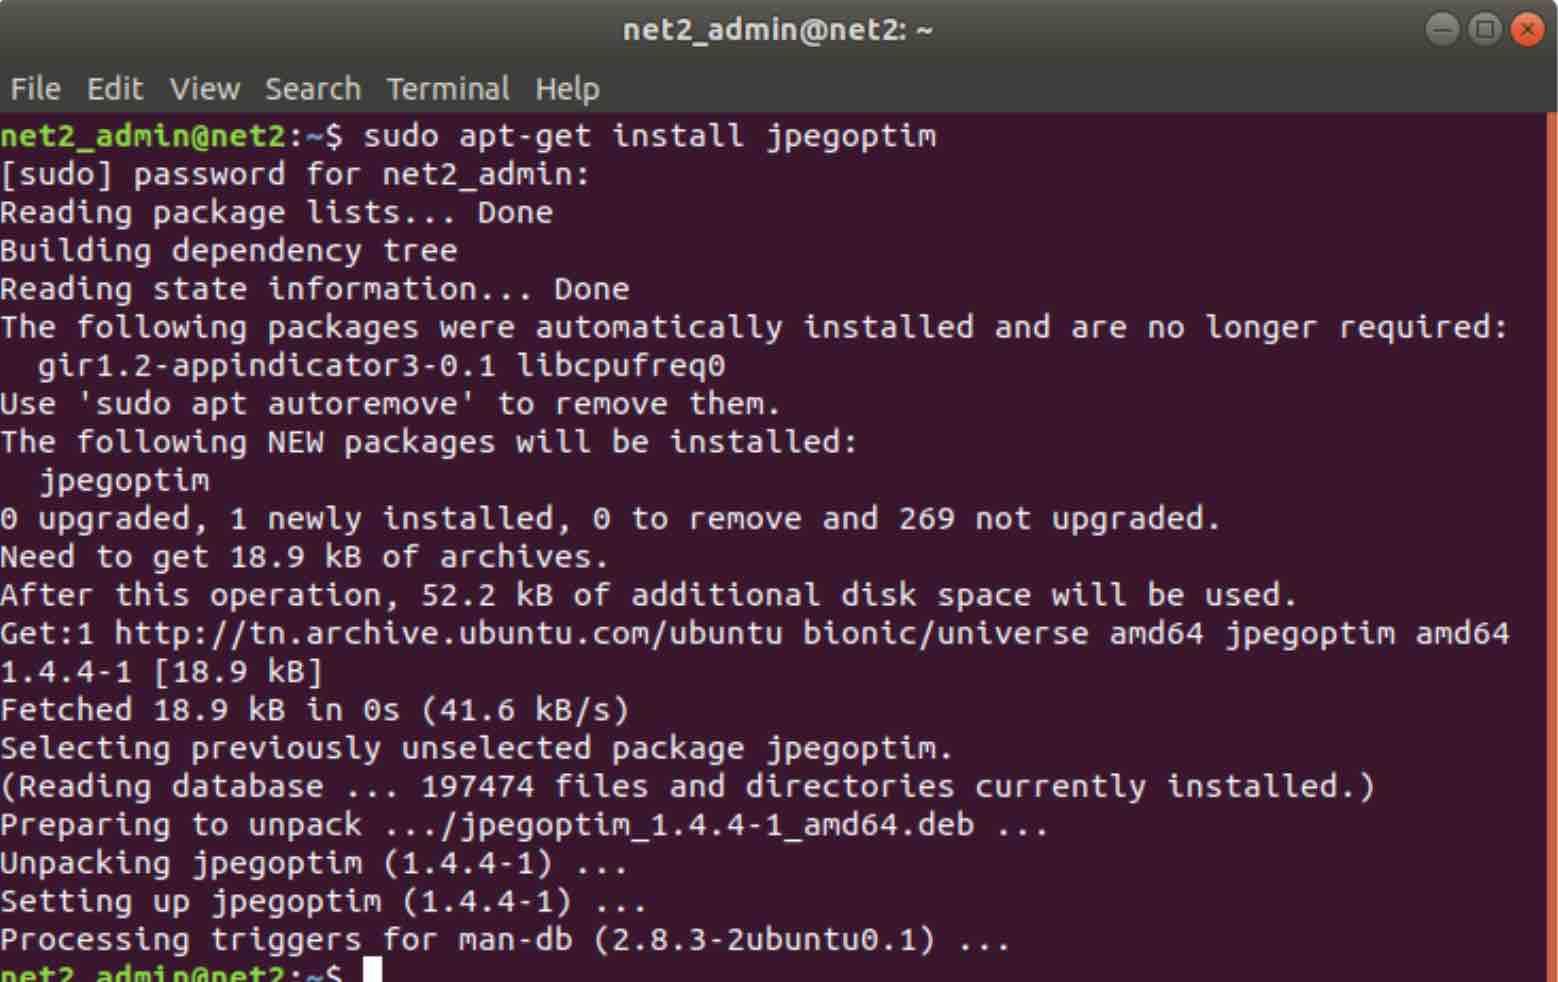
sudo apt-get install jpegoptim
jpeg compressor Jpegoptim installation
Read: Best pdf converters in 2023
Compressing images using Jpegoptim
To compress an image using Jpegoptim without losing the original quality, the syntax is as follows :
jpegoptim image_file_name.jpeg
For instance the command below will optimize our example file (lion.jpg). However before doing so let us first find out the size using the du command:
du -sh /home/net2_admin/lion.jpg

As you can see, the actual size of the jpg image above is 1.7M.
Read: How to find the largest files on Linux
If we now run the command below to compress the image lion.jpg :
jpegoptim /home/net2_admin/lion.jpg

Compress jpeg|Compress jpg
This has resulted in optimizing the original image by 15.45%. Since this overwrites the original file, make sure to perform a backup before launching the command above.
Now try to open the compressed image to see if there are quality differences. Normally the original and compressed images should have the same quality.
Read: 4 Benefits of Compressing Files and Folders Using Tar Backup in Linux OS
If you think you can optimize further the compressed image, you can re-run the command above but this will not make any difference as you can see below :

Saving the compressed image to a folder
To prevent replacing the original image when you run the command above, you can save the compressed image to another directory as follows.
$ jpegoptim -d ./[destination_directory] -p [image_file_name].jpg
For example:
jpegoptim -d ./net2_images_folder -p new_file_name.jpg
This will compress new_file_name.jpg file and save it to the older net2_images_folder.
If you do not care about the quality after compression, you can specify how much loss in quality suits you. There are actually two options to “lossily” compress your images :
Read: How to use the Tar command in Linux to compress and extract files
a. Image compression to a specific size
Using this utility, you would also be able to compress the original image to a desired size. This however will disable the lossless optimization and will therefore result in quality loss as expected.
For instance, let’s compress the image above from 1.7MB to around 500KB.This can be done by using the command :
jpegoptim –size=500k /home/net2_admin/lion.jpeg

The size has indeed been reduced.
b. Using the -m flag:
This option will disable lossless optimization mode and will thus lower the original quality. To specify the compression percentage, run the command as follows :
jpegoptim -m[percentage] your_original_image.jpg
Image pre-compression simulation
Before compressing an image, you have the possibility to simulate image compression so that you get an idea about what to expect. The following command will provide an estimate about the expected size after compression :
jpegoptim -n /home/net2_admin/lion.jpeg

The expected reduction will be around 15.45% as shown in the simulation command above. Notice the original file size has not been changed.
Read: Best Free Graphic Design software for Linux
Compressing images in batch
A – Using a single command
To compress many images in a directory, change to that directory and run the command below in order to compress all the images at once:
jpegoptim *.JPG
To compress multiple images , run the command as follows:
jpegoptim img1.JPG img2.JPG img3.JPG
B – Using a script
To compress many images at once, it is also possible to use a script. This shell script will be able to compress all jpg images in the current directory and store them in a folder with the name “compressed_images”.
To create the script, run the command below which will open an empty script file named compressmyjpg.sh :
nano compressmyjpg.sh
Once it is in edit mode, add the following codeline :
#!/bin/sh
for i in *.jpg; do jpegoptim -d ./compressed_images -p “$i”; done
After you are done with the script, exit and save. To it executable by the current user, execute the command below:
chmod +x compressmyjpg.sh
To run the script, you would need to change to the directory where your images are available. As mentioned above, make sure to have the destination folder named compressed_images created already.
Now you should be able to execute the script as follows:
/YOUR_DIRECTORY/compressmyjpg.sh
Once this is completed, you should be able to see all the compressed images in the directory “compressed_images ”.
For additional information about jpegoptim, visit the man pages by running :
man jpegoptim
Installing and using OptiPNG
OptiPNG is a command line utility used to compress PNG images without losing the original quality.
To install OptiPNG, run the command below :
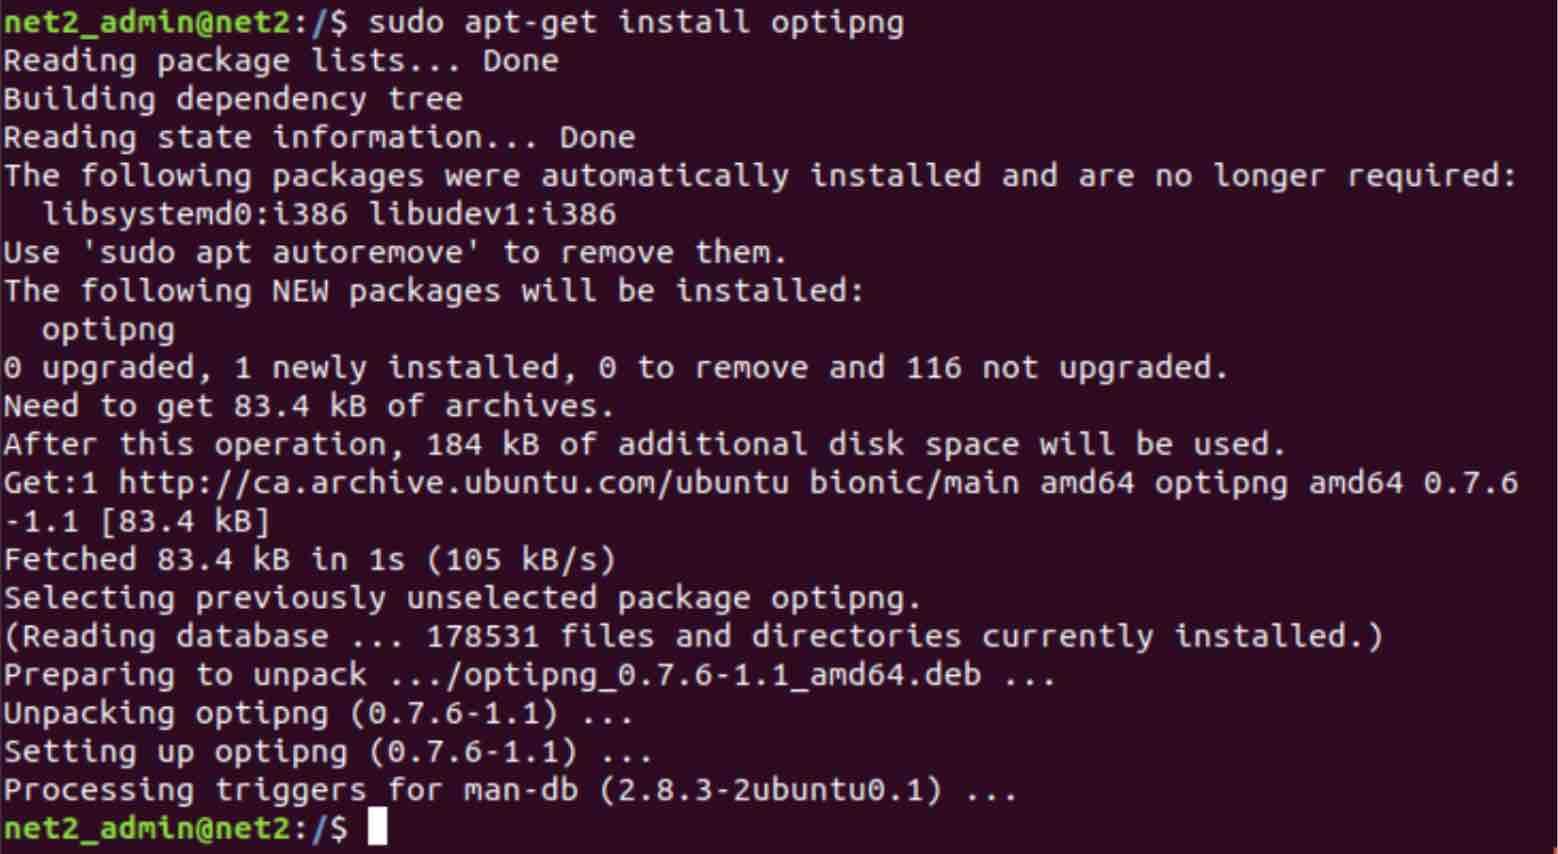
sudo apt-get install optipng
The basic syntax of OptiPNG is:
optipng [options] image_file_name.png. [compress png image| png compressor]
Before compressing an example PNG image, let’s find out its actual size :
ls -lh /home/net2_admin/lion.png

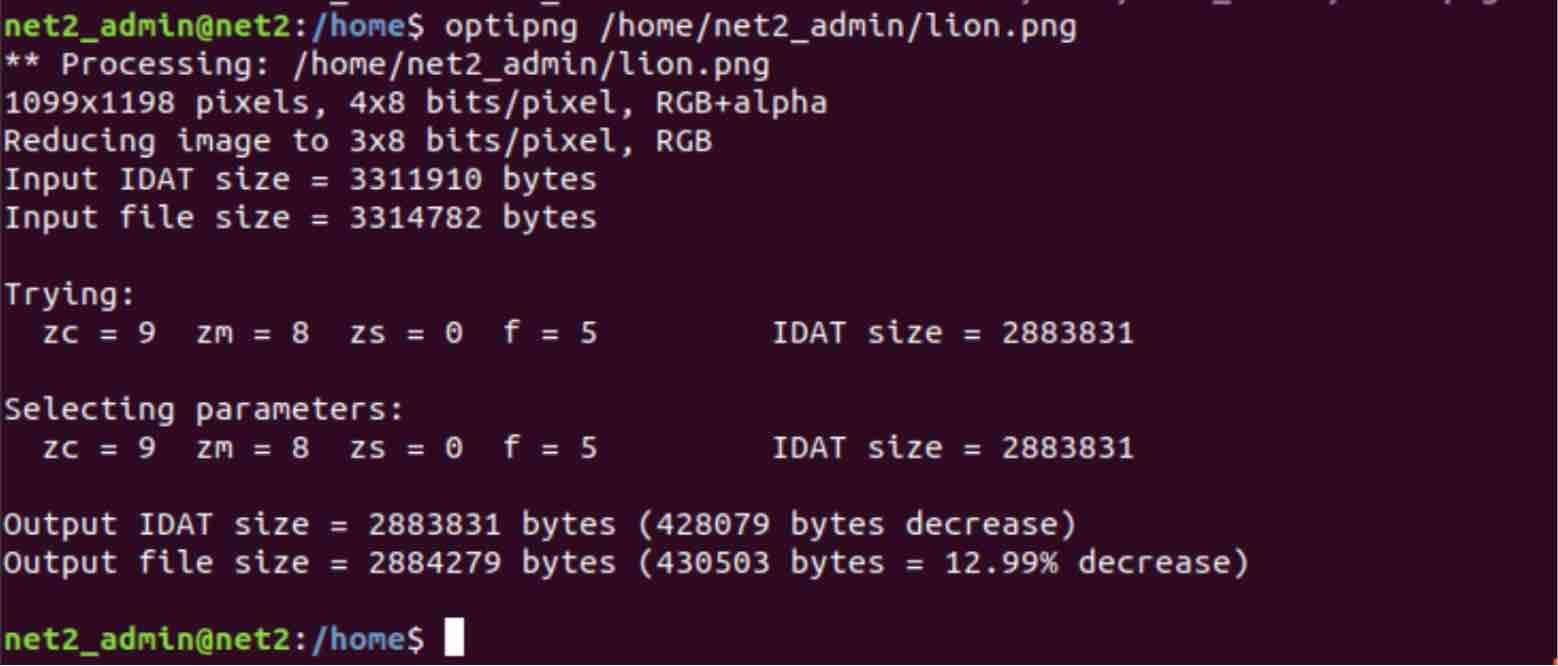
As you can see, the file size of the image calc.png is 3.2M. Let’s now compress it using OptiPNG:
Compress images linux
From the output aboe, the size of the image lion.png has been reduced by 12.99%. To check its new size, run the command below :
ls -lh /home/net2_admin/lion.png

If you try to open the new file that has just been compressed, you will not notice any visible quality differences since the new file should be of the same quality as the original.
Compressing images in batch
In order to compress multiple PNG images with one command using optiPNG, change to the directory which contains all images and run the command:
optipng *.png
For more details about optipng check man pages.
man optipng
Conclusion
To compress or optimize the size of images on Linux, you can use either jpegoptim for jpg images or OptiPNG for png images. You will be able to save quite a lot of space on the disk yet will not lose the quality of the original images.
If you like the content, we would appreciate your support by buying us a coffee. Thank you so much for your visit and support.
why use $du -sh file.jpg, when you could use the more practical and omnipresent $ls -Sh file.jpg??? You like to complicate…
A very good article.
How to convert images to a specific size, e.g. 400×200?