Kubernetes is an open-source platform that is used for the management of containers such as Docker. It allows the automated setup, scaling, operation, provision and maintenance of the containers.
In this Kubernetes tutorial, we will provide a step-by-step guide on how to install Kubernetes on Ubuntu 18.04.You will also learn how to deploy it on a 2-node Ubuntu cluster.
Read: What is Kubernetes
Installation of Kubernetes
For a practical installation, we are going to rely on a two-node cluster that we will form in this article which will consist of a master node and a slave node. Kubernetes would need to be installed on each of these nodes.
The first thing we are going to do is to install Docker on both nodes.
Read: Kubernetes Containerization Management For Large Projects
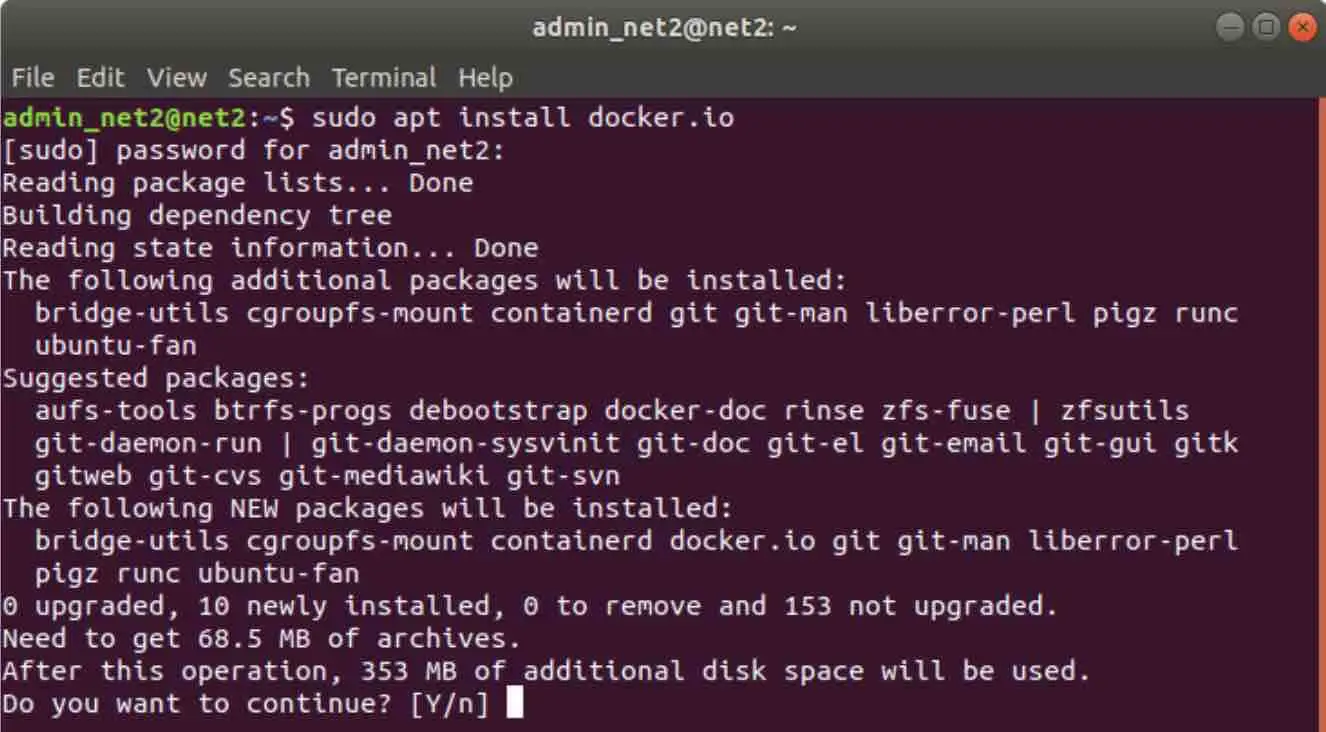
1 – Installing Docker
To install Docker, run the following command in the terminal of each of the nodes :
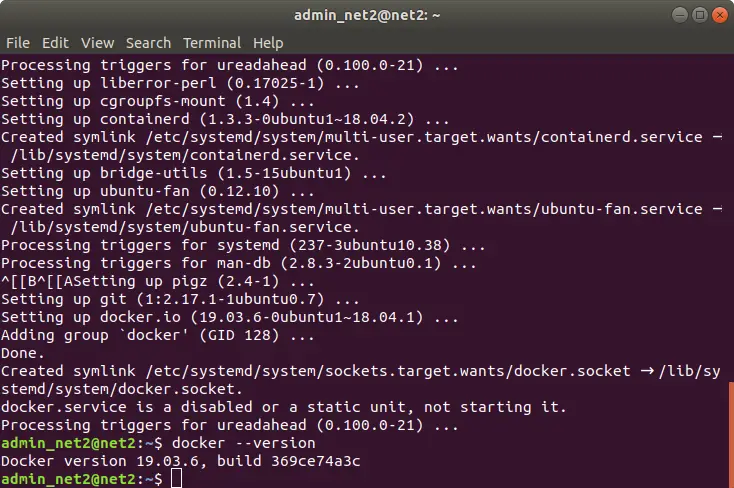
sudo apt install docker.io
To verify that Docker is installed, execute the command below on both nodes. This will check the Docker version number :
docker –version
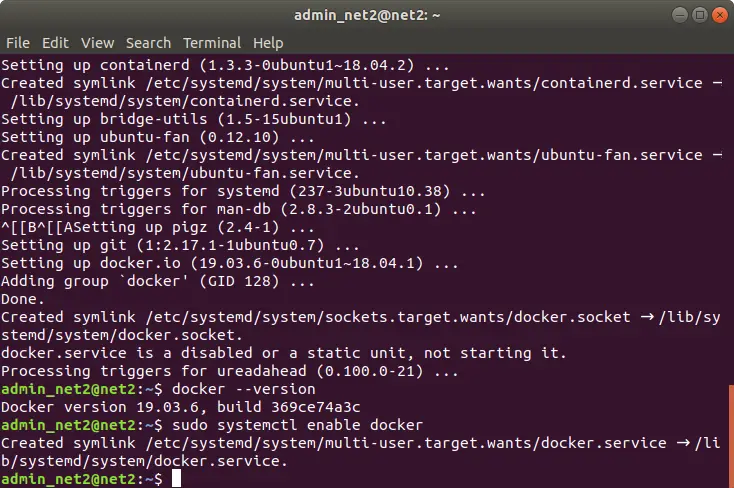
2 – Enabling Docker
Now you would need to enable Docker. This is by invoking the command:
sudo systemctl enable docker
To check that Docker is running, execute the command below:
sudo systemctl status docker
To launch Docker if it is not running already, use the command:
sudo systemctl start docker
You would need to repeat the commands above for both nodes.
Read: How to install and setup Docker on Linux/Ubuntu 18.04
3 – Installing Kubernetes
Since Kubernetes will be downloaded from a non-standard repository, you would need to be certain that the application is authentic. This is achieved by inserting a signing key using the command :
curl -s https://packages.cloud.google.com/apt/doc/apt-key.gpg | sudo apt-key add
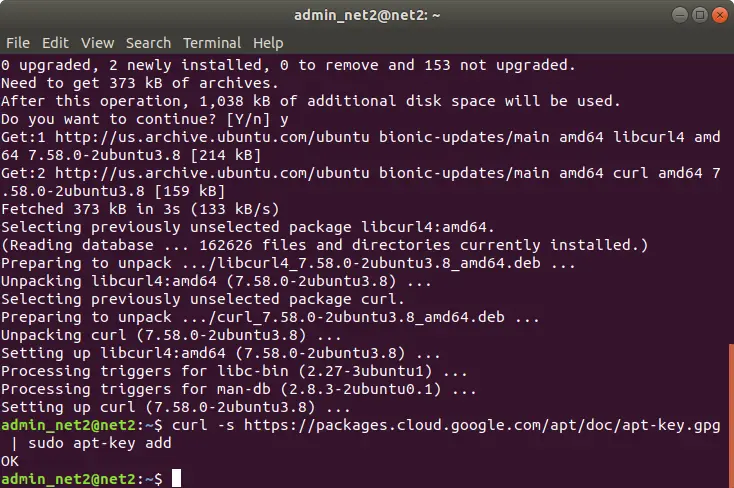
If you receive an error stating that curl is not already installed on your system, you can simply do it via the command:
sudo apt-get install curl
Now repeat the command above in order to install the signing key. Make sure to perform this for each node.
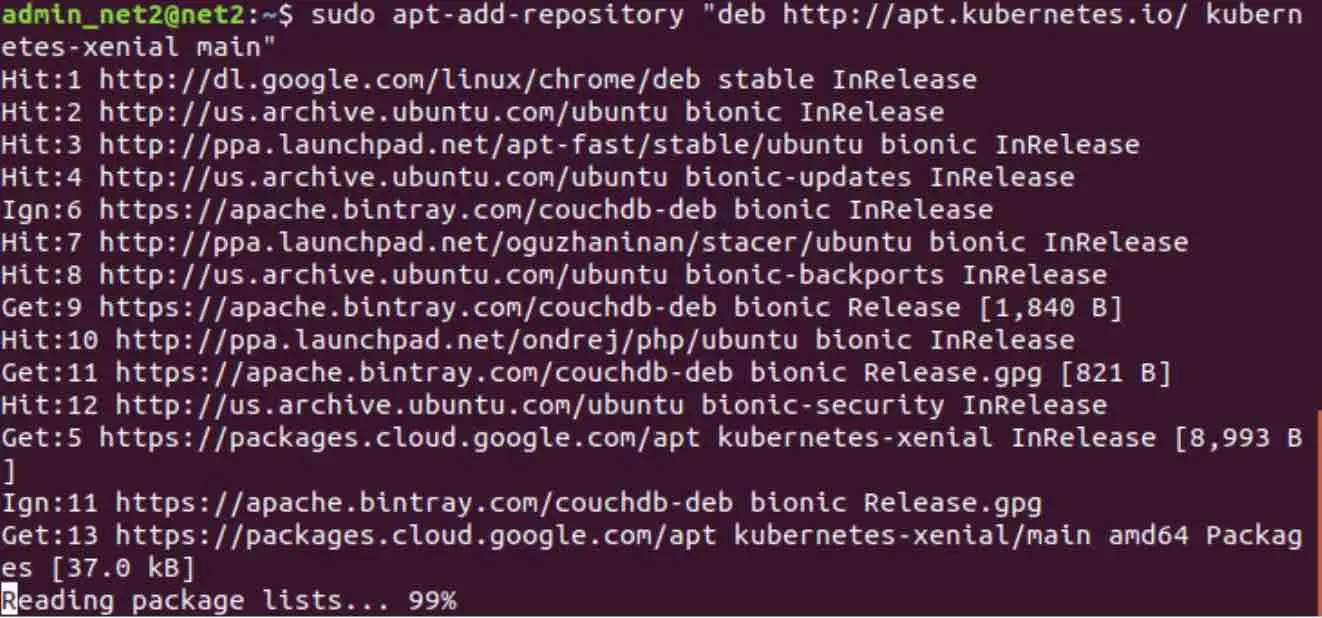
4 – Adding software repositories on both nodes
Since Kubernetes is not provided by the default repositories you would need to add it on both nodes by running the command:
sudo apt-add-repository “deb http://apt.kubernetes.io/ kubernetes-xenial main”
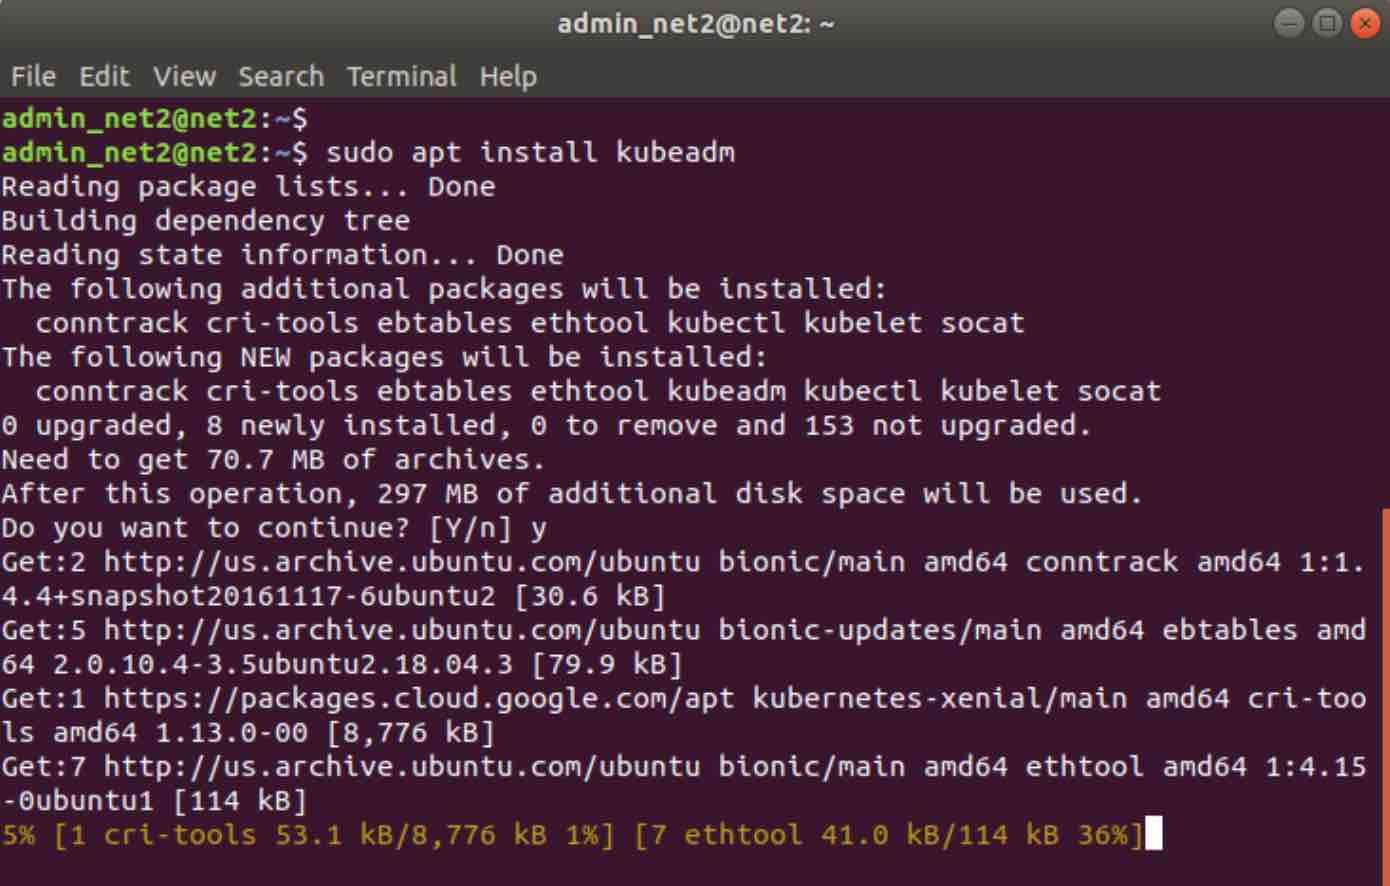
5 – Installing Kubernetes admin utility: Kubeadm
Kubeadm is a tool used to bootstrap a cluster. It supports the functions of the cluster life cycle as well as the cluster upgrades. You would need to install Kubeadm on both nodes as follows:
sudo apt install kubeadm
Once this is done, check the version of Kubeadm using the command :
kubeadm version
Deployment of Kubernetes
a – Disabling swap memory
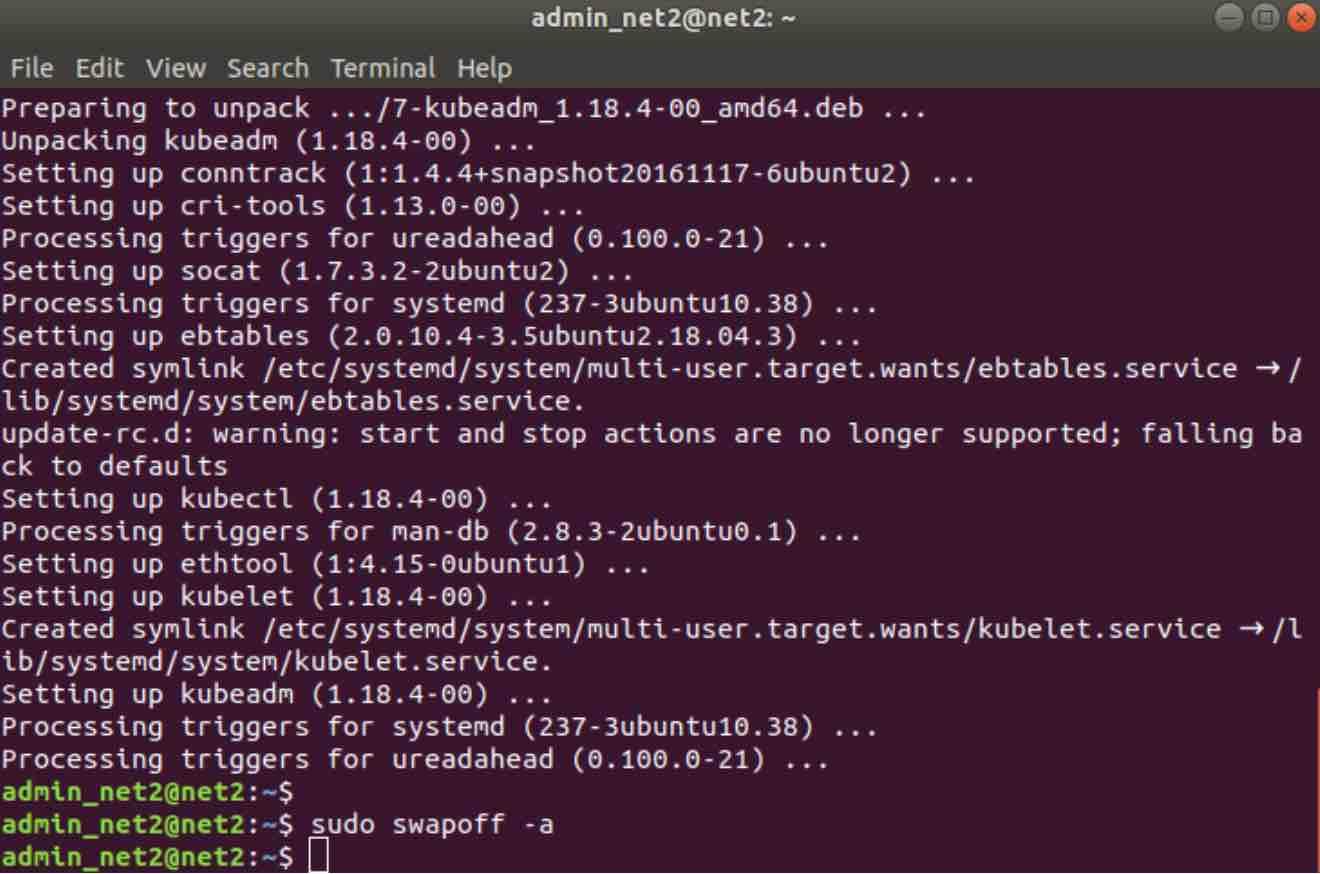
Since Kubernetes does not work properly when running on a swap-memory enabled system, you would have to disable the swap memory on both nodes. In order to perform this, execute the command below on both nodes :
sudo swapoff -a
b – Assigning unique hostnames
Once you have decided which server will be the master node, run the command:
sudo hostnamectl set-hostname master-node
Now you would need to ascribe a hostname for the slave node. Execute the command below on the slave server:
sudo hostnamectl set-hostname slave-node
In case you have other slave nodes, use the process above to set a unique hostname for each of them.
c – Initializing Kubernetes on Master Node
Now switch to the master server node, and enter the following:
sudo kubeadm init –pod-network-cidr=198.168.101.21/16
The command might take some time. When it completes, it will display a kubeadm join message at the end. Jot down the whole entry as this is an important information especially the example snippet below which will be different in your situation:
![]()
Now run the following commands in order to start using the cluster (this will create a folder):
mkdir -p $HOME/.kube
sudo cp -i /etc/kubernetes/admin.conf $HOME/.kube/config
sudo chown $(id -u):$(id -g) $HOME/.kube/config
d – Connecting slaves to the cluster
To connect each slave node to the cluster, you would need to rely on the kubeadm
join command below for each slave node:
kubeadm join TO_REPLACE_FROM_ABOVE –token TO_REPLACE_FROM_ABOVE –discovery-token-ca-cert-hash sha256:TO_REPLACE_FROM_ABOVE
Replace the strings TO_REPLACE_FROM_ABOVE with the values you noted down earlier from your master server. Do this for each slave node on the cluster.
Now switch back to the master node and run:
kubectl get nodes
This will display the slave nodes that have joined the cluster.
If the status of the master node shows ‘not ready’ , this is due to the fact that no pod has been deployed yet on the master node .
In the step below, you will be able to deploy a pod network in order to enable the cluster nodes to communicate with each other. This is accomplished using Flannel which will yield an overlay network that binds the cluster nodes.
d – Deploying Flannel as an overlay network
The pod network can be deployed using the following command which needs to run in the Master node :
sudo kubectl apply -f https://raw.githubusercontent.com/coreos/flannel/master/Documentation/kube-flannel.yml
You can now verify the Master Node status by using the command below :
sudo kubectl get nodes
The Master node status should now change to ‘Ready’. To verify the pod namespaces, run the command :
sudo kubectl get pods –all-namespaces
If you like the content, we would appreciate your support by buying us a coffee. Thank you so much for your visit and support.