If your work involves editing images, there are certainly times when you need to perform a single operation on various contents, for example resizing. Many
editing programs are capable of resizing multiple images at once, but the feature is not always easy to find and use. But if you use Ubuntu , you can resize images simultaneously using the gThumb app .
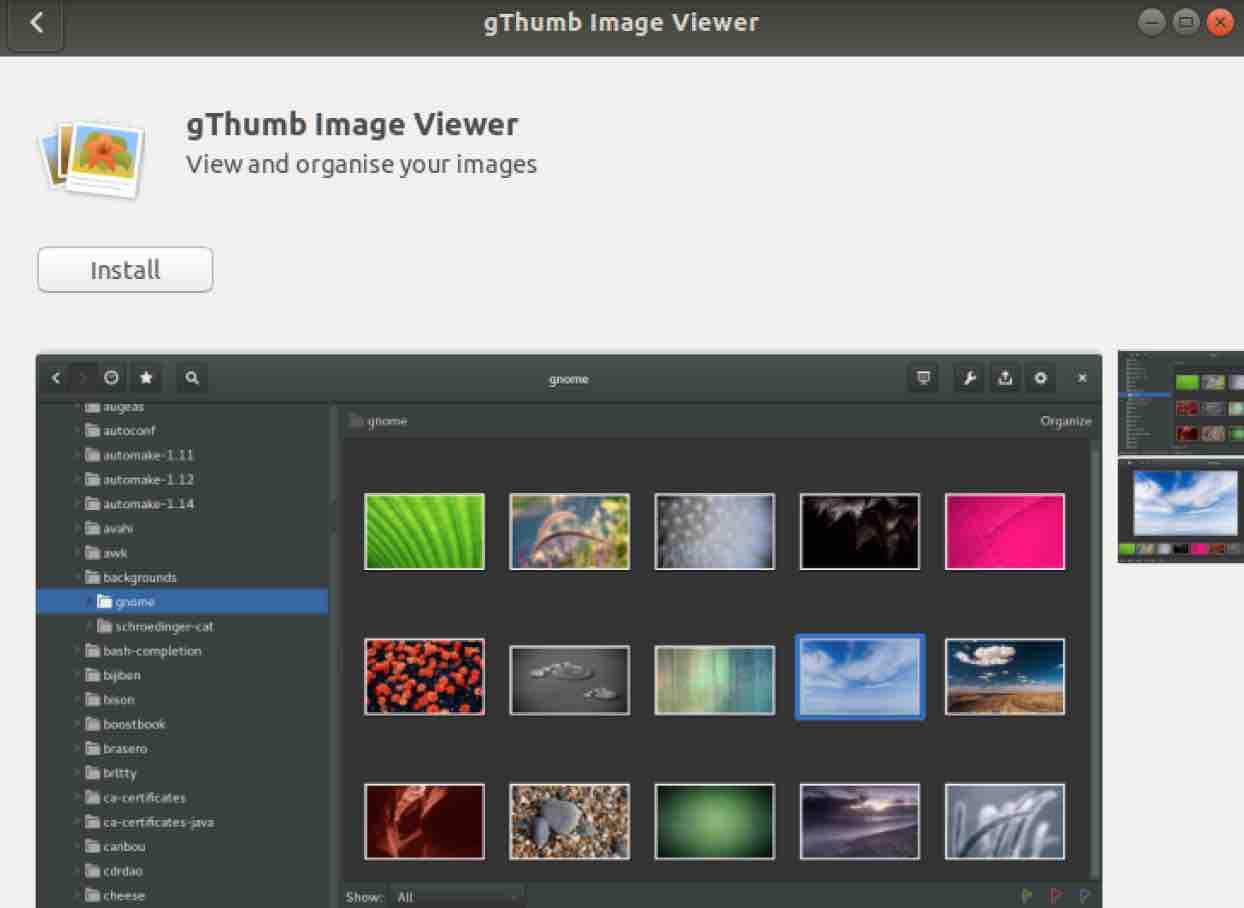
Step 1. If gThumb is not already installed on your system, open the ubuntu Software Center and look up the program gThumb and then click on the “Install” button.
If you receive the error message shown below:
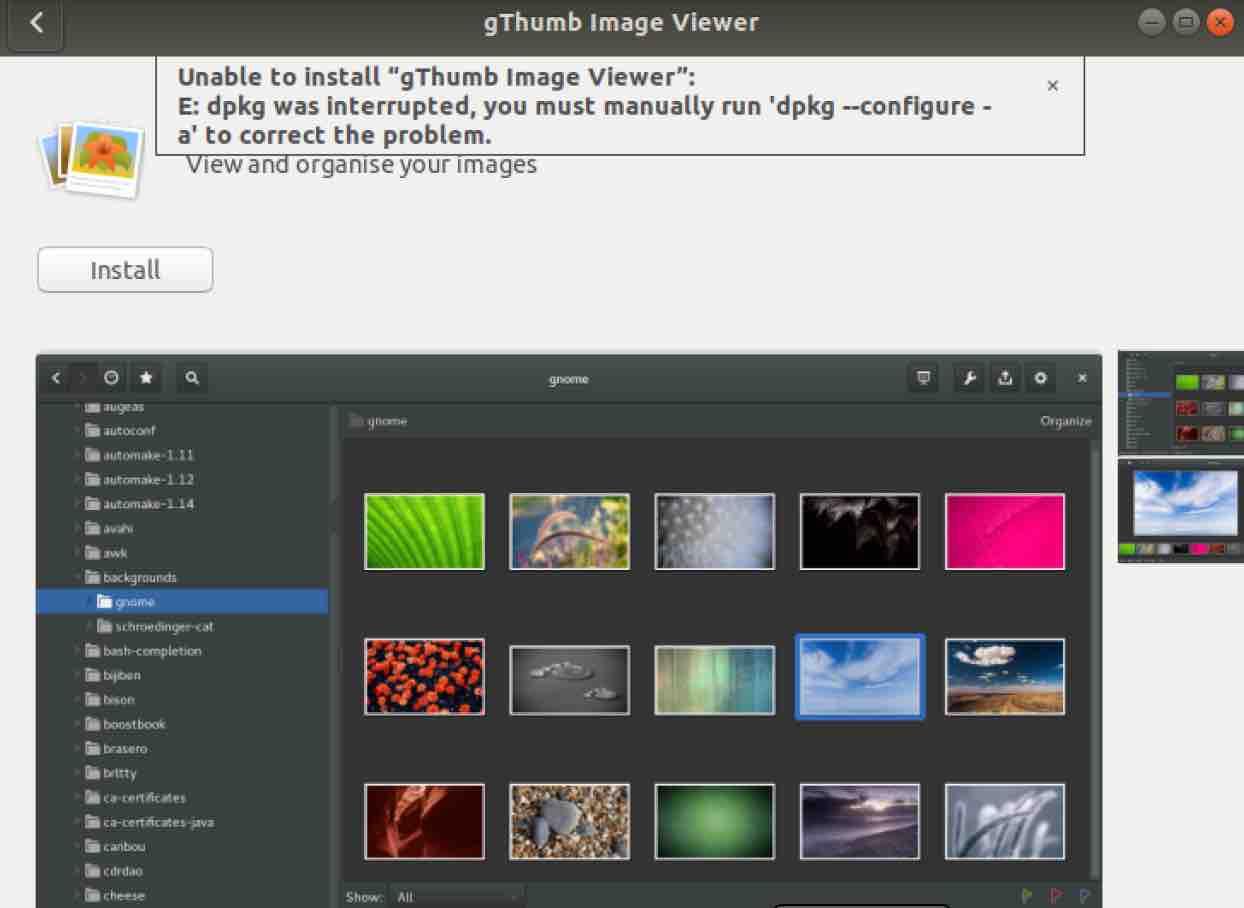
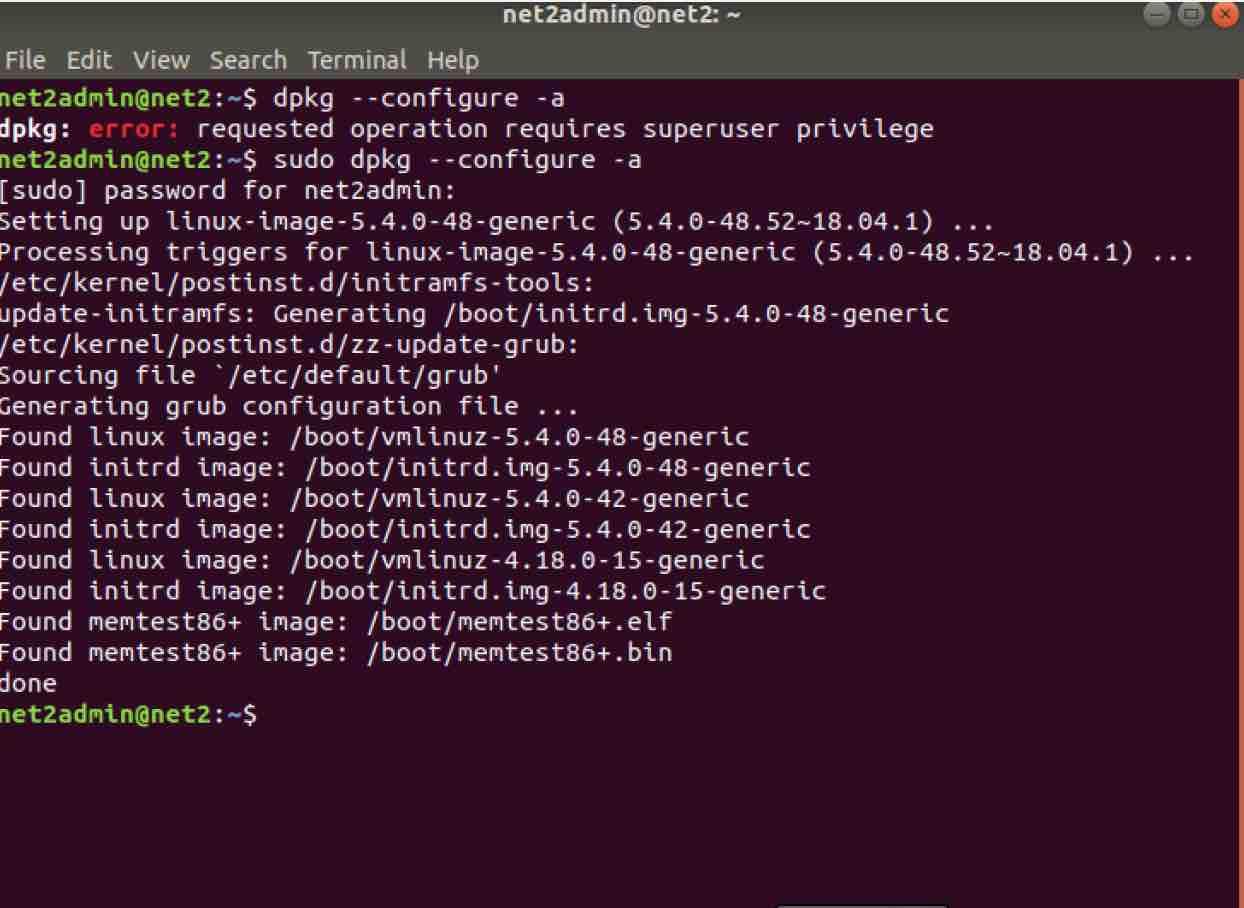
Open up your terminal and execute the command :
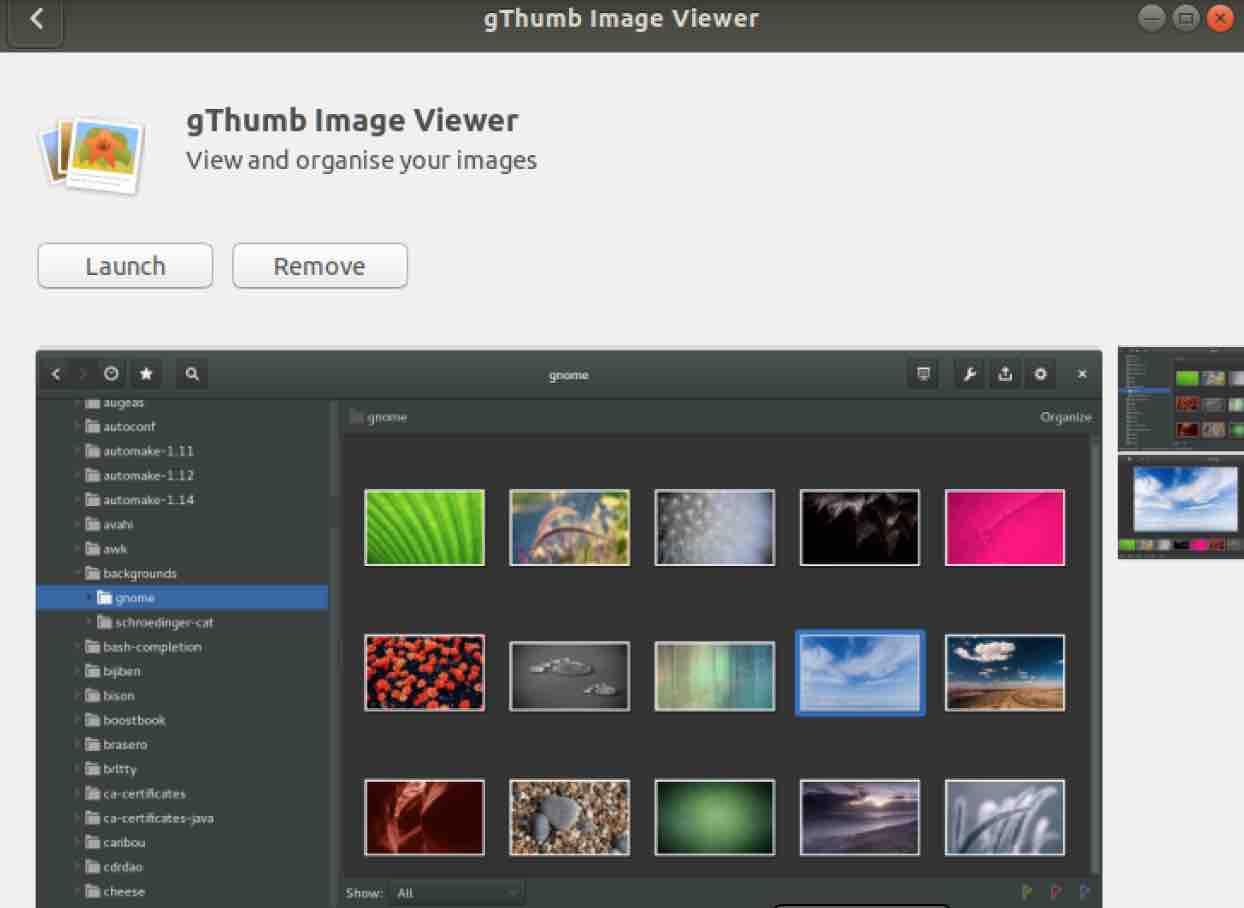
Step 2. To run the program, click on Launch :
Step 3. On the gThumb screen, go to the folder where the images are located and select them using the mouse. If you want to select all the images in the folder, press the CTRL + A keys.
Read: How to display Images in the command line in Linux/Ubuntu
Step 4. With the images selected, click on the wrench icon. In the menu that appears, click on the option “Resize images” .
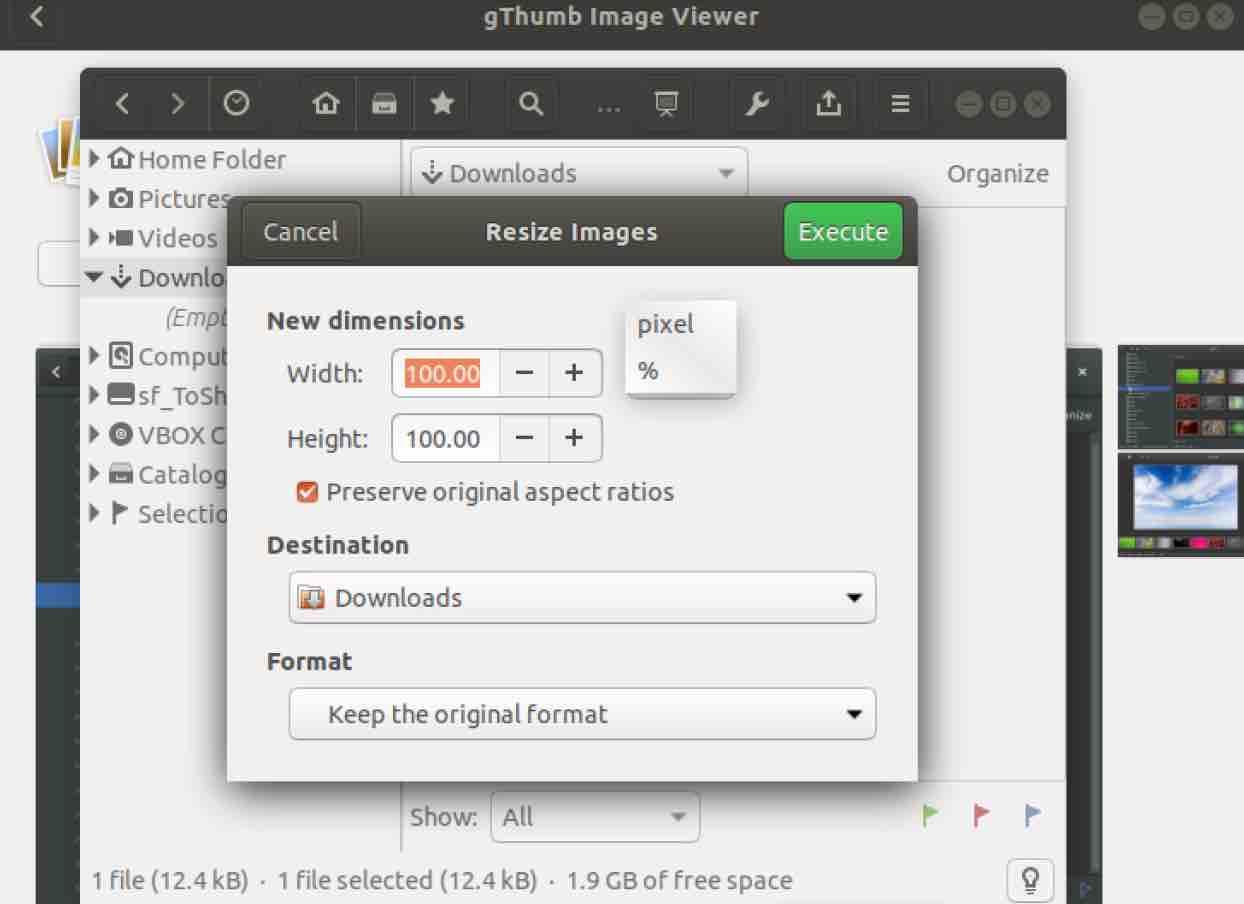
Step 5. Immediately a small window will appear with the resizing options.
Resize image Ubuntu | Resize image Linux
Step 6. When dealing with images, the ideal is to work with pixels instead of percentages. Therefore, change the option “%” to “pixel”.
In order not to generate distortions in the height and width ratio, check the option “Preserve original aspect ratios”.
Read: How to compress JPEG or PNG images in Linux using the terminal
In “Destination”, you must specify the destination folder (where resized images will be stored).
In the “Format” section, specify the format of the resized files (the available options are JPEG, PNG, TGA and TIFF). And finally, apply the changes by clicking on the “Execute” button. Wait a few seconds and you’re done.
If you like the content, we would appreciate your support by buying us a coffee. Thank you so much for your visit and support.
