Ubuntu 19.04 disco dingo is a new release in the Ubuntu line-up. Ubuntu 18.04 is an LTS (long term support) release, so it gets support for the next 5 years after the release. Ubuntu 19.04 is not an LTS release and will only be supported up to 9 months. I would recommend sticking with 18.04 for the time being, however, if you are on Ubuntu 18.10 then you should upgrade to 19.04 because Ubuntu 18.10 is not an LTS release and its support has already ended. If you have decided to upgrade to the latest Ubuntu release then this article will guide through. Before the upgrade however, it is recommended to carry out a backup of the system so that if anything goes wrong and the upgrade fails, you can restore to the previous state at any time.
Read: What’s New in Ubuntu 19.04 Disco Dingo
Upgrading to Ubuntu 19.04 Disco Dingo using the GUI
Upgrading using the GUI is the easiest way to upgrade to 19.04 Disco Dingo. Just follow the instructions given below.
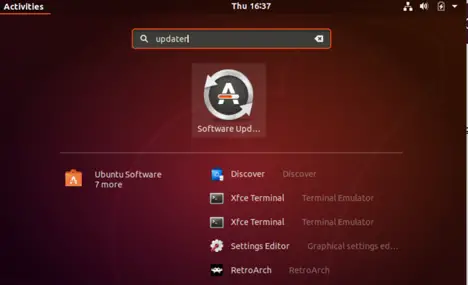
– First, you will need to upgrade the current Ubuntu version using the software updater app and restart.
Once the updater launches, it will check for potential updates for your current Ubuntu version that need to be installed.

– Now open the Software and Updates app. Under the Updates tab change the option from “long term support version” to “for any new version”.

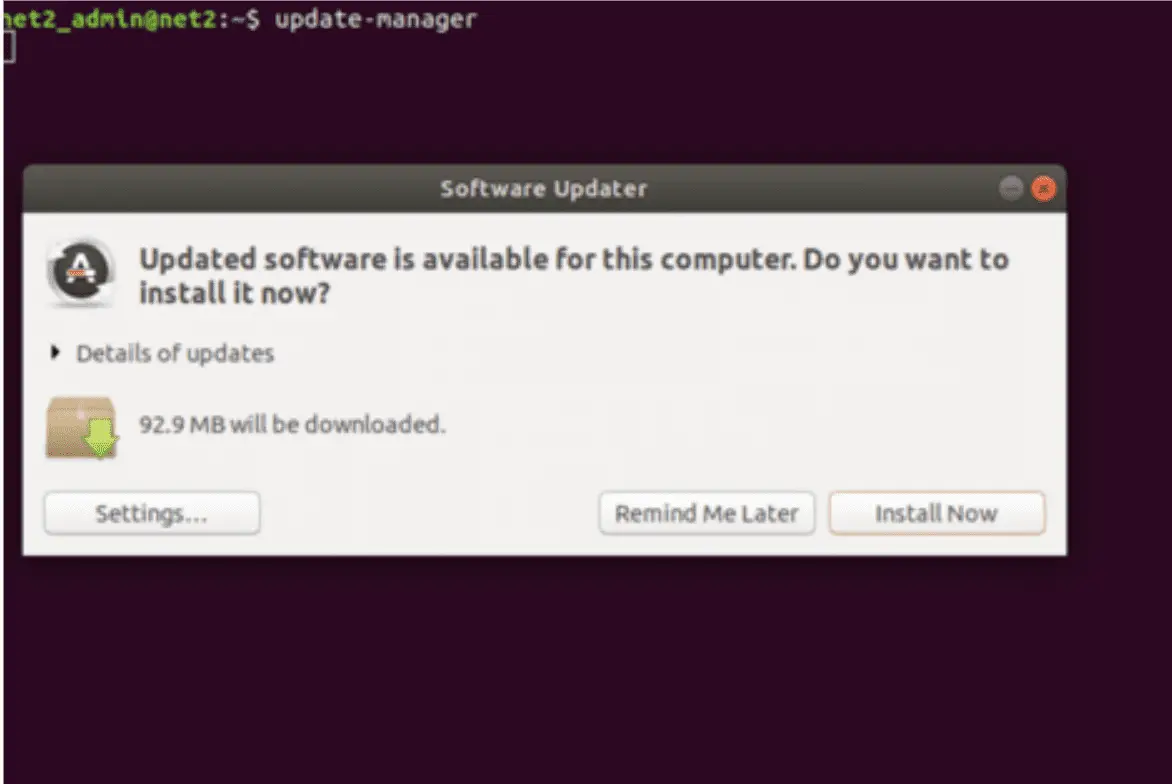
– Now close the app and perform the following command in terminal.
update-manager

Click on Install Now :

– Now pay attention here. you will see the option to upgrade to version 19.04. it will show the target upgrade version and the current Ubuntu version in brackets.

– Now click on Upgrade.

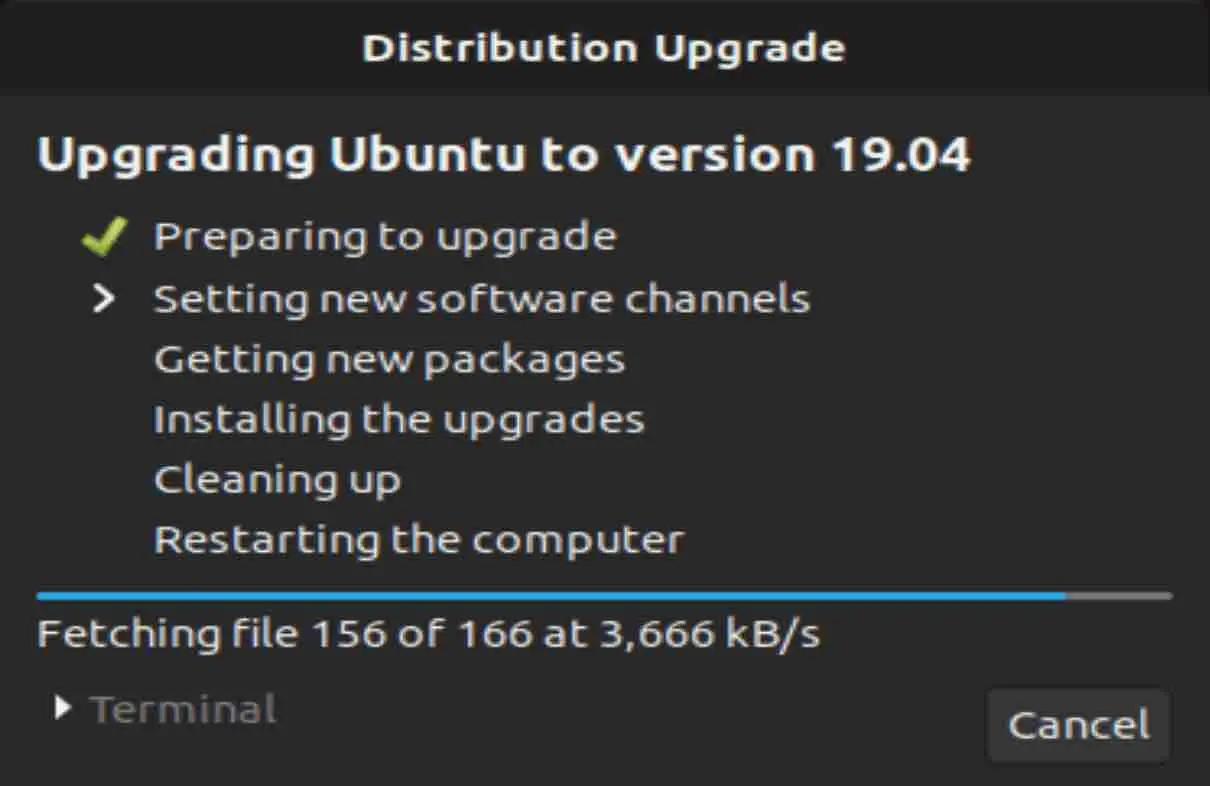
– After this step, click on the Start Upgrade option and wait for the process to finish then check the box and click next.

– Now you will be asked to remove the obsolete package, select remove.
– Restart your computer.
Congratulations you have successfully upgraded to Ubuntu 19.04 Disco Dingo.
Can I upgrade to 19.04 directly from 18.04 without upgrading to 18.10?
If you are on Ubuntu 18.10 then you are good to go but for 18.04 users, I will recommend sticking with this version because of it an LTS release. However, if you have decided to upgrade then go ahead. Now, there is no need to upgrade to version 18.10 first then 19.04 because support for Ubuntu 18.10 has ended and the standard upgrade does not include updates for 18.10. you can therefore directly upgrade to 19.04.
Upgrading through CLI
The procedure is the same as GUI but the only difference is that you will do it through the command-line interface which might be a bit complicated. Just follow the instructions given below and you are good to go.
First, upgrade the current version of Ubuntu. Perform the following commands in the terminal.
sudo apt update

sudo apt upgrade

Now you will need to change the dependencies with the new version of packages with this command:
sudo apt dist-upgrade

Upgrades were already installed in our case but you may get a different message.
Now remove the packages that aren’t required by issuing the command below:
sudo apt autoremove

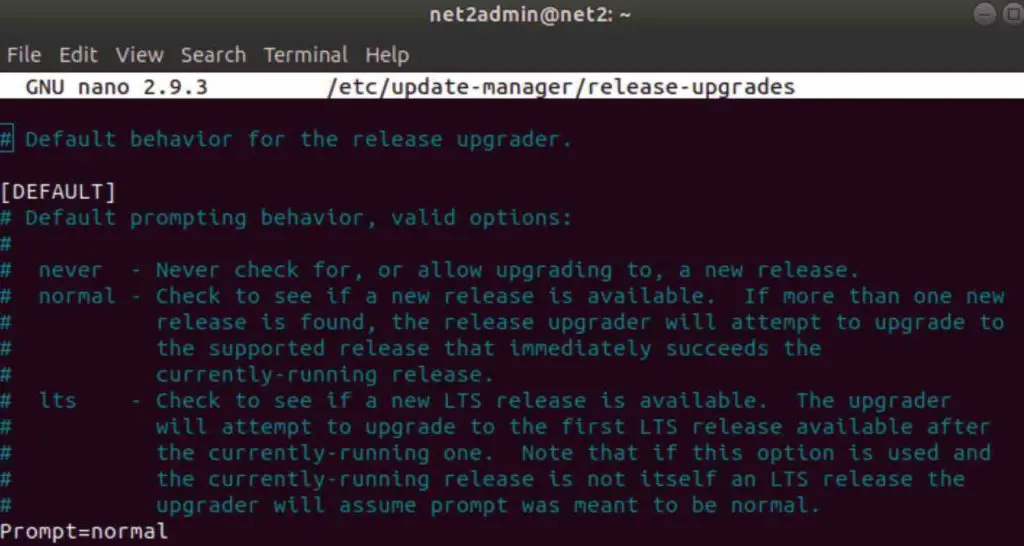
Updater now is pre-configured to install updates that are supported for long term (LTS updates). You need to reconfigure it in order to install updates that are not LTS by editing the release-upgrades file.
Open up the terminal and run the following command:
sudo nano /etc/update-manager/release-upgrades

Now make sure that the prompt is set to normal. Save the file and exit from the editor.
Execute the following command in the terminal to start upgrading:
sudo do-release-upgrade

Reboot your PC when the upgrade is done.
After the reboot, your PC will be running on Ubuntu 19.04 Disco Dingo.
Congratulations, you have now successfully upgraded to Ubuntu 19.04 Disco Dingo. You can easily upgrade your system through GUI or CLI. The GUI method is preferred because it is more user-friendly and much easier but at the end of the day, it is up to you.
If you like the content, we would appreciate your support by buying us a coffee. Thank you so much for your visit and support.
