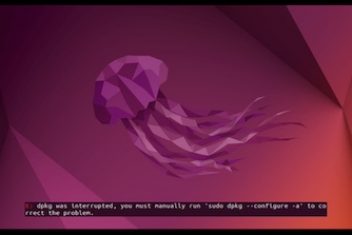
Sometimes when users try to install an application by executing the usual apt command on Ubuntu, they get the following error:

Error: Could not get lock /var/lib/dpkg/lock-frontend
Other users might encounter similar ones like :

In this article we will shall provide some effective methods to get rid of this kind of errors.
1 – Identify and kill all apt or apt-get related processes
This error can occur due to several reasons. Since this is a locking situation, it could be that the apt or apt-get commands are being used by some other processes preventing therefore other programs from using them. Some applications like Synaptic Package Manager or Ubuntu Software Center are using this package management utility.
Read : How to install and uninstall applications on Ubuntu ; A Beginner’s guide
It won’t actually harm to kill an apt or aptitude process unless it is currently performing a package installation. Killing a dpkg process however might not be a good idea, since if dpkg is currently active, .i.e. manipulating the package database, the package database will become inconsistent or in other words corrupted.
To kill the processes that are using the apt tool, run the command below:
ps aux | grep -i apt

The id of the process which invokes apt or apt-get is displayed above, .i.e. 24623. We will now kill this process in order to release the lock using the sudo command below:
sudo kill -9 24623
In your case, just plug in the process id that you obtained above.
Another alternative would be to kill all instances of the programs that are running apt or apt-get using killall:
sudo killall apt apt-get
2 – Remove the lock file
In case you had no other processes running apt or apt-get commands in your current session, then the problem might be caused by the lock file that was created at some time in the past due for instance to apt processes not terminated properly.
Read: How to speed up Linux
Since the lock files are still around, we should first make sure no other process is using it before removing it. This is because it is not good practice to remove the lock file without terminating the program that’s holding the lock first, since this could interrupt an ongoing installation or cause corruption.
In order to identify the process that owns the lock file, we will use the command lsof as shown below :
lsof /var/lib/dpkg/lock
lsof /var/lib/apt/lists/lock
lsof /var/cache/apt/archives/lock
The output might look like the following :

If one of these commands returns a result, it will display the process id that owns the lock file. The PID shown above is 12127. Go ahead and run the kill command below :
sudo kill -9 12127
You can now remove the lock file with the command:
sudo rm /var/lib/apt/lists/lock
You may also have to delete the lock file in the cache directory by running the commands:
sudo rm /var/cache/apt/archives/lock
sudo rm /var/lib/dpkg/lock
Conclusion
We have provided two methods to deal with a rather common problem faced by many users on Ubuntu and similar distros when they run apt or apt-get . This is the lock issue that prevents other processes from executing these installation commands. Terminating these processes or removing the lock file can help solve this problem.
In case you have other methods that help solve this error, do not hesitate to share it with us.
If you like the content, we would appreciate your support by buying us a coffee. Thank you so much for your visit and support.


