APT is one of the most frequently used commands in Ubuntu ( and Debian family hereafter ) . APT stands for Advanced Package Tool and is used as a package management (i.e. updating, adding or removing) utility. APT allows you to upgrade an entire set of softwares, applications and packages with a single command ( oftentimes, this will require root level permissions to execute it ). For instance, by invoking the APT command on the gnome-desktop-environment package, will install all the required packages to run the GNOME UI.
In this article you will learn how to manage packages using the APT command in Linux. You will be able to install, remove and update software packages by using apt-install and also apt-cache commands.
Read: How to check a package version before installation in Linux/Ubuntu
Syntax of the APT command
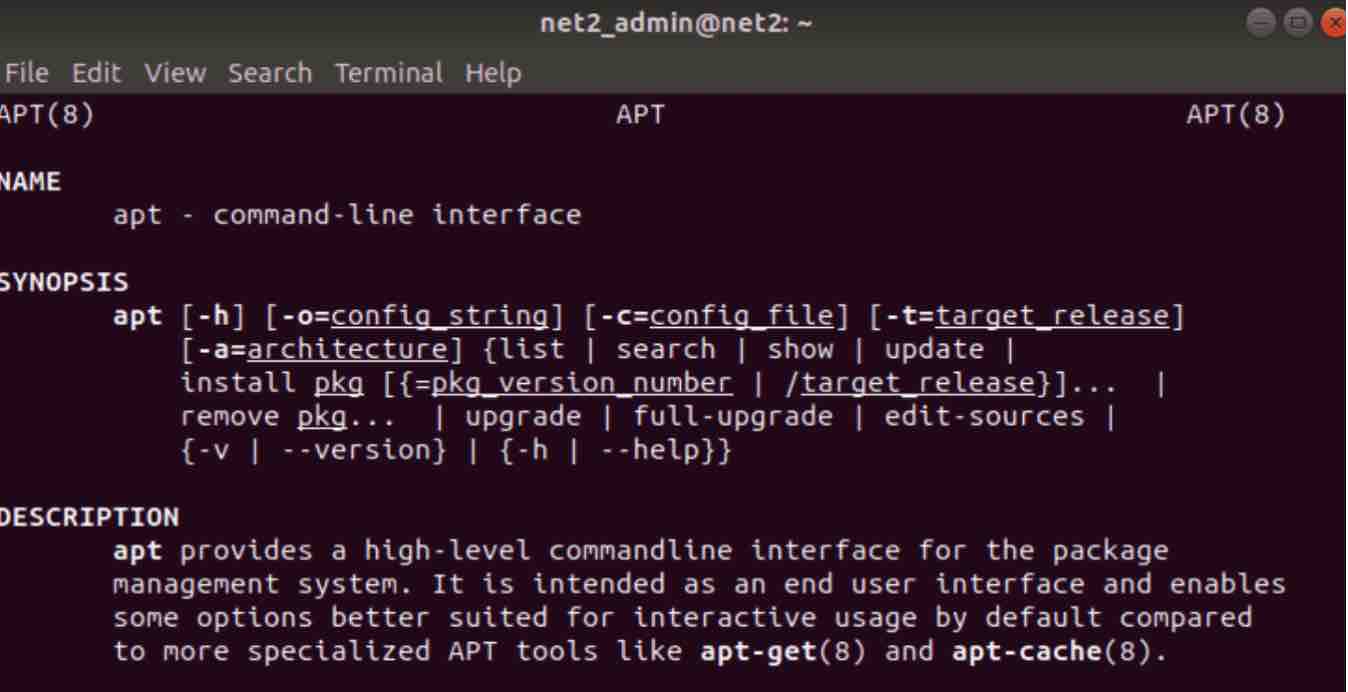
In order to know how to use the APT command, open up your terminal and invoke the command :
man apt
This will open up a help file full of information about the syntax and usage of the APT command :
As we mentioned earlier, not all APT commands are used by all users. Below is a list of the options that can only be run by the root user or via the sudo command .
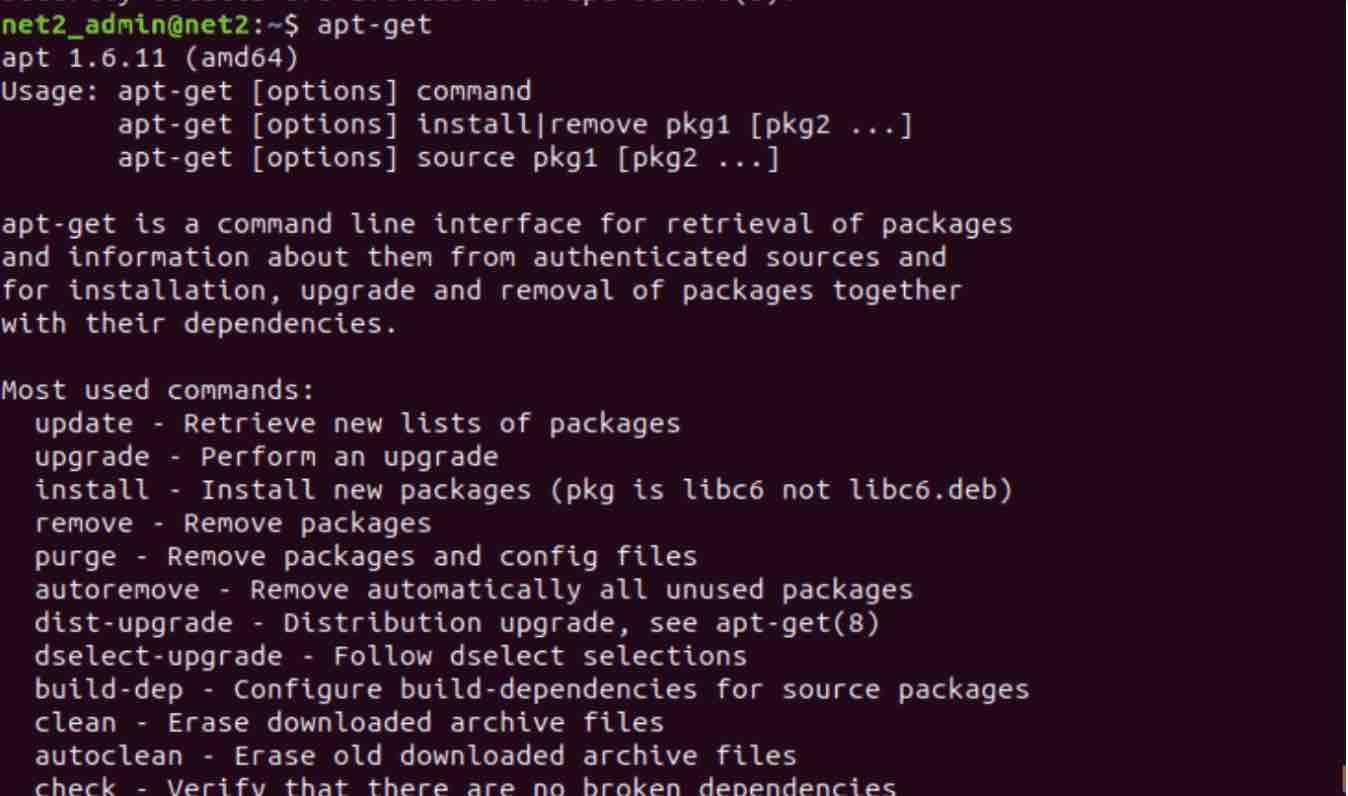
A – apt-get command
As mentioned earlier, this command is used to perform installation, removal and upgrade of software packages.
apt get command
apt-get update
This will download the latest up-to-date software packages and metadata(package names, version numbers, etc..).this is required for subsequent operations, like upgrade, installation, dependencies, upgrade, etc…
Therefore before an upgrade, an update should be executed. This should be the first command to execute after a fresh install.
This is an example output of this command where you will see some servers from where the information will be retrieved :

In the first line in the snapshot above, you will see Hit. This means that there is no change in the package version. If however you see Get, that means a new version is available and that it is going to download its metadata (not the package per se). Sometimes you will notice Ign at the beginning of the line :

That means that the package is being ignored (probably was recently updated or there was a trivial error when fetching the information).
You may be interested to read: How to install and uninstall applications in Ubuntu ? A Beginner’s guide
apt-get upgrade
The apt get upgrade command will upgrade the system to any installed packages having new versions available. This will be based on ( what the update command above did) the recently downloaded metadata. You can also specify the pkg option at the end so that you can choose which package you would like to upgrade. The difference with the update command is that the update command tells the repository database that a new version might be available.
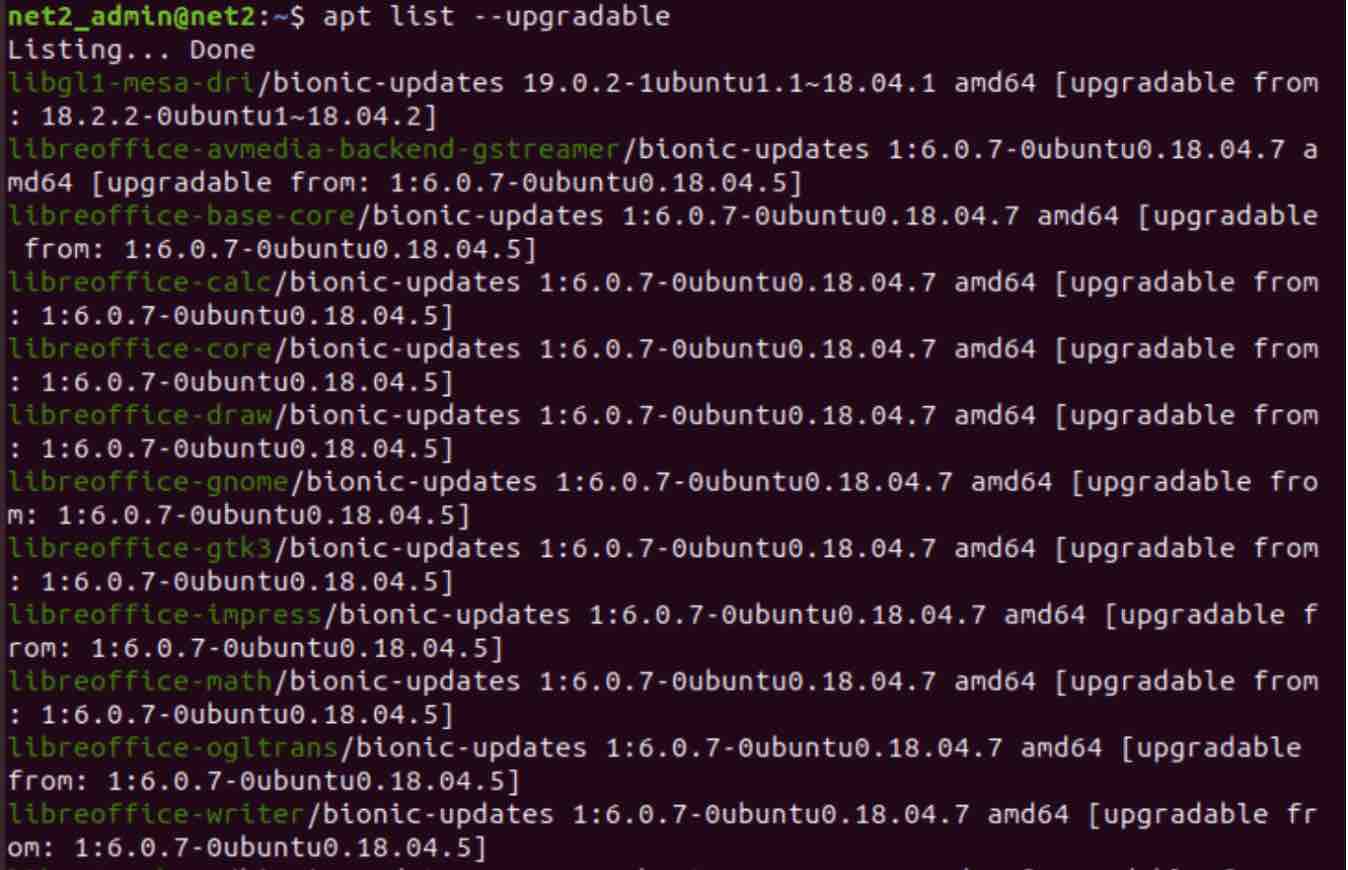
In order to see the packages that can be upgraded , issue the command below :
apt list –upgradable
As mentioned above, it is more practical to issue the command below once you install a fresh system : sudo apt-get update && sudo apt-get upgrade -y
apt-get full-upgrade
This will upgrade installed packages and also removes already outdated ones.
![]()
apt-get dist-upgrade
It looks for dependencies with the newer version of the package being installed and it tries to install a new package or remove an existing one on its own.
it will attempt to upgrade the most important packages on the expense of the less important ones. This may lead to the removal of some packages which you might not want. This is the main reason why dist-upgrade should be avoided on production machines.
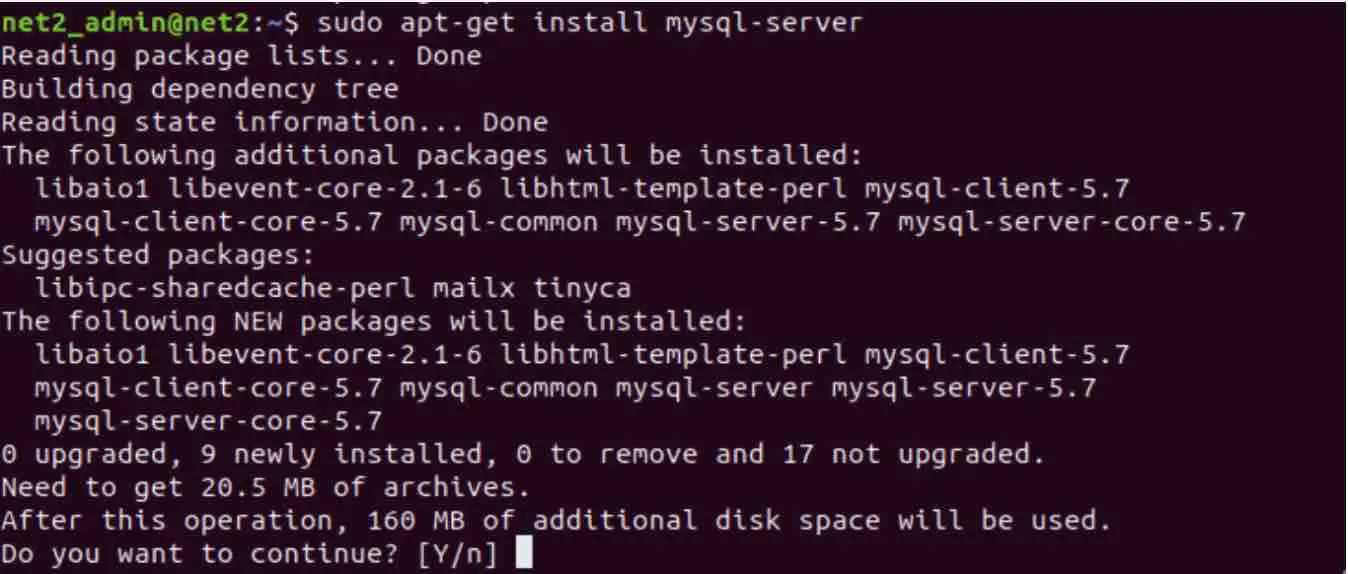
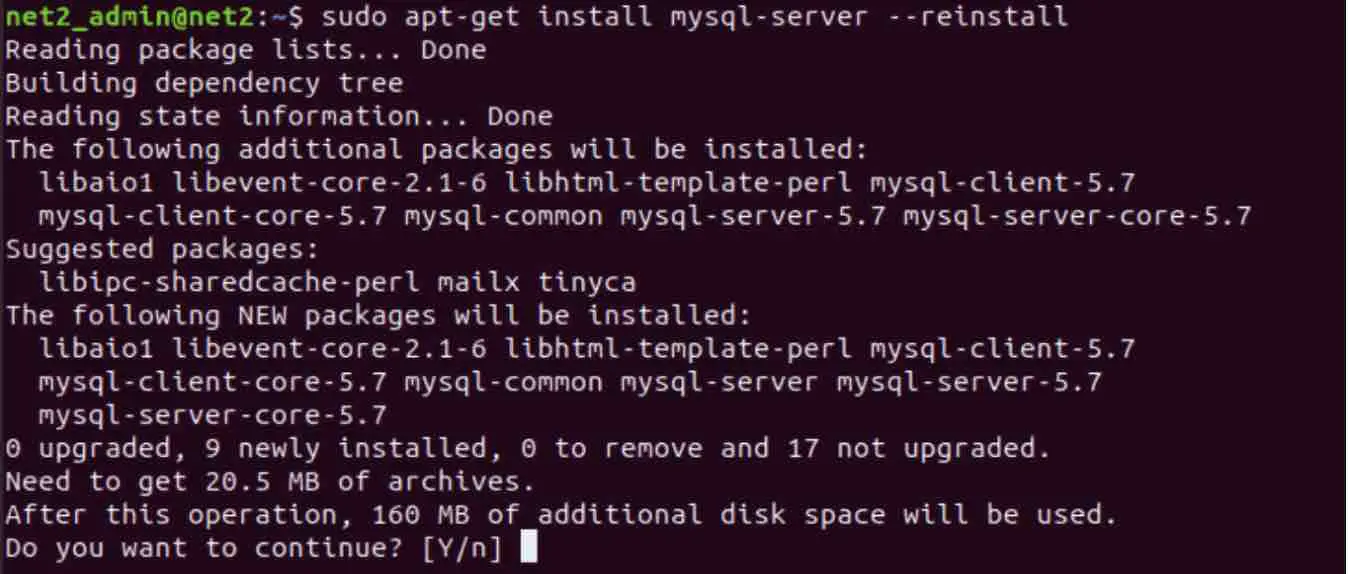
apt-get install package_name
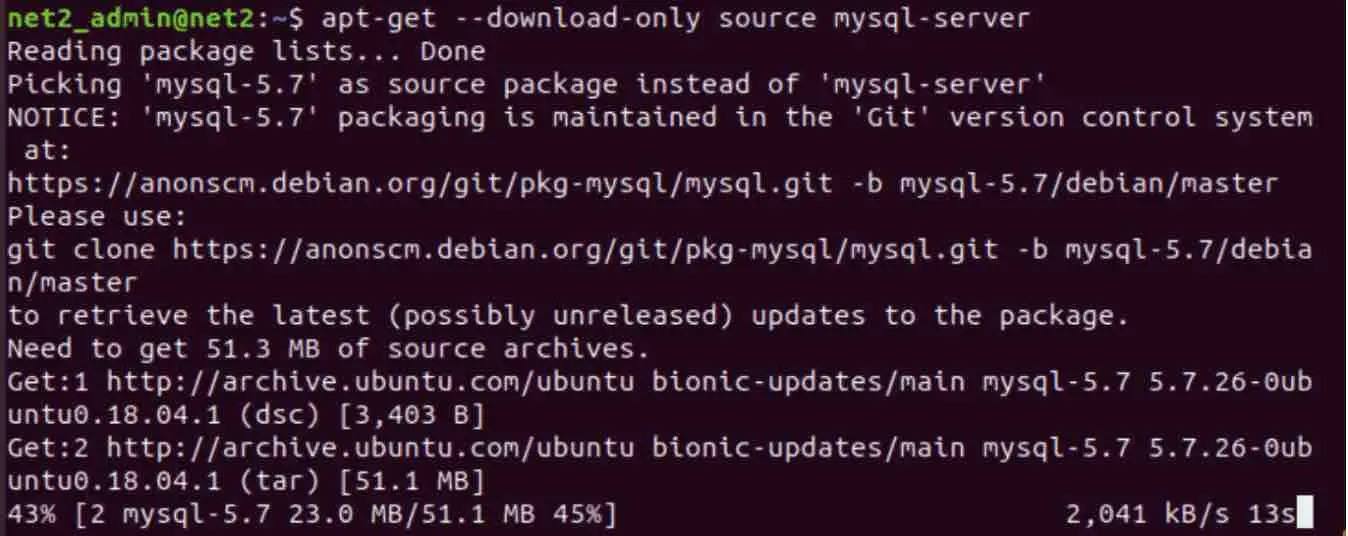
This will install a package along with its dependencies. For example below, we are installing mysql-server package :
apt get install ubuntu
If for any reason a given package becomes corrupt or stops working then you might want to reinstall it via the command :
apt-get install pkg_name –reinstall
Using the command:
sudo apt-get install <package_1> <package_2> <package_3>
For example:
sudo apt-get install chrome-browser
You will also be able to install many packages at once.
Read: How to bypass/ignore the gpg signature checks of apt on Ubuntu
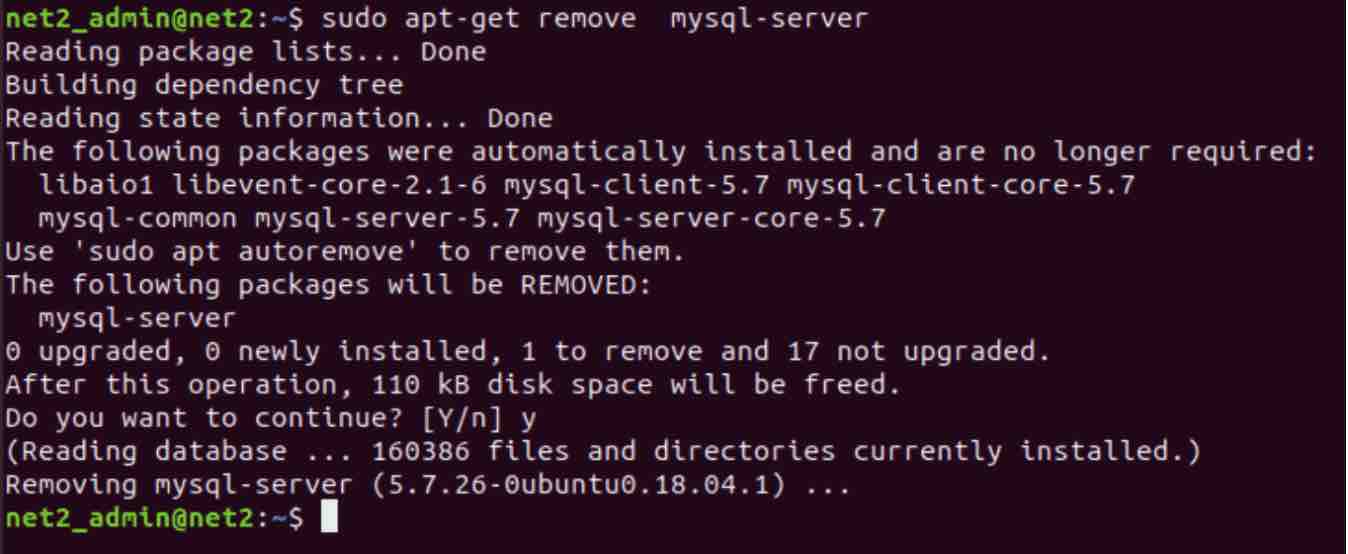
sudo apt-get remove pkg
This will remove the package pkg files but its configuration files and its dependencies will remain.
For example here we are trying to remove the package mysql-server.
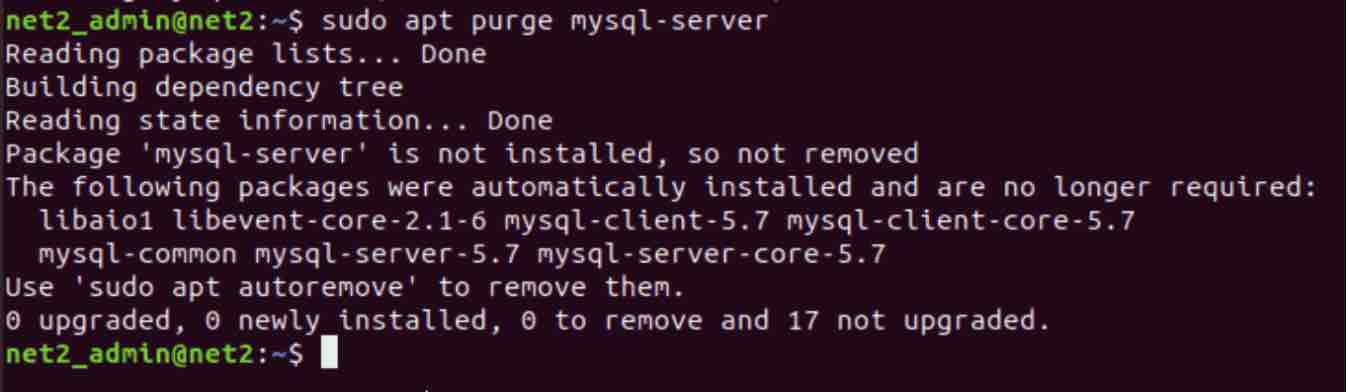
Since the configuration files will not be suppressed, we would need to use the command with the purge attribute :
sudo apt-get purge mysql-server
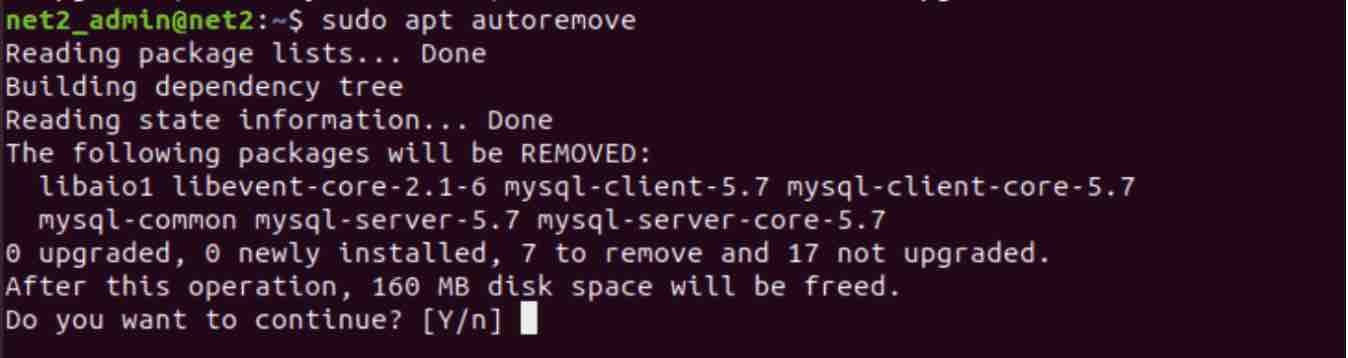
Since the dependencies of the installed packages are still around, you can remove them via the command below :
sudo apt-get autoremove
sudo apt-get autoclean
This will clear out the local repository of all the downloaded package files that can no longer be downloaded.

You may be interested to read: How to keep Ubuntu clean?
apt-get –download-only source pkgname
This will only download the source code of a given package.
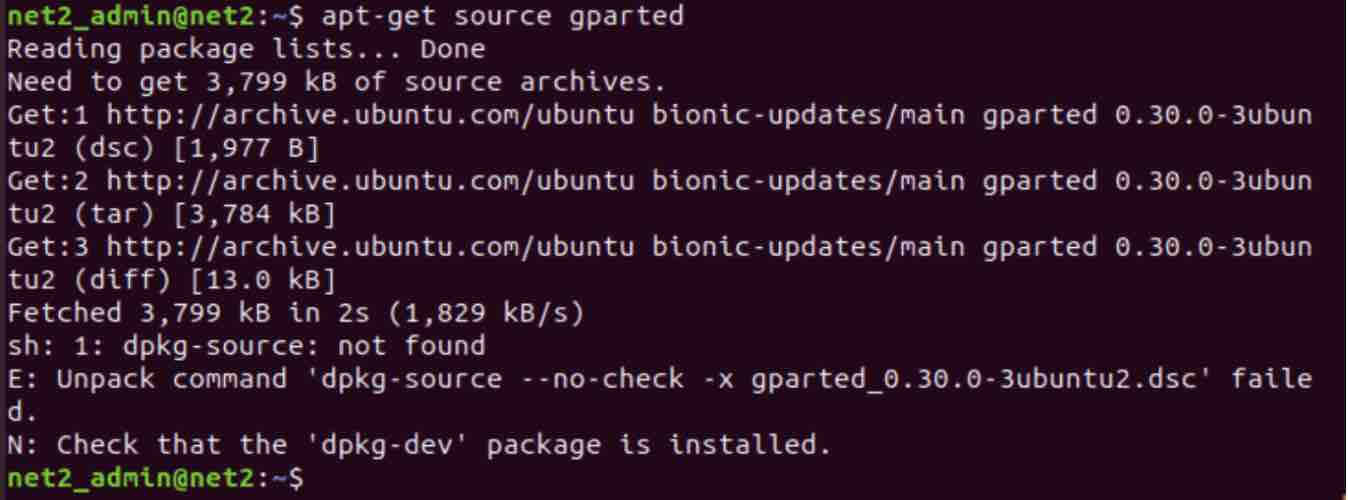
sudo apt-get source pckgname
This will download and extract the source code of a given package. An example below with the package gparted.
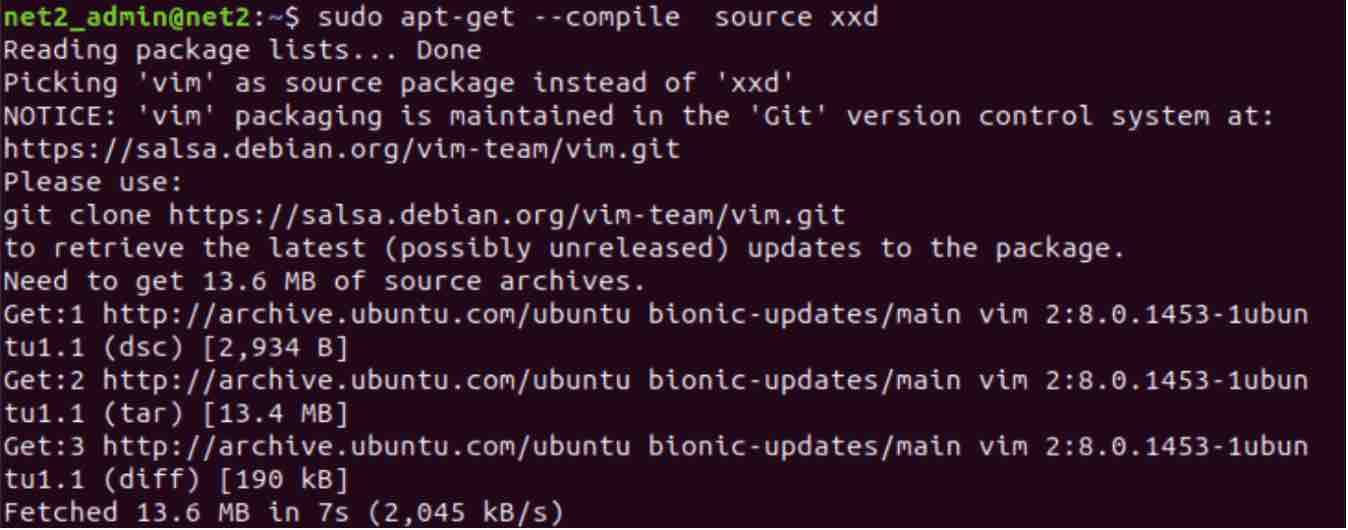
If however you want to download, extract and compile a source code , just issue the command below:
sudo apt-get –compile source pkgname
apt-get download pkgname
This will download a package without installing it.

apt-get check pkgname
This is used for diagnostics. It updates the package list and also checks if there are broken dependencies.

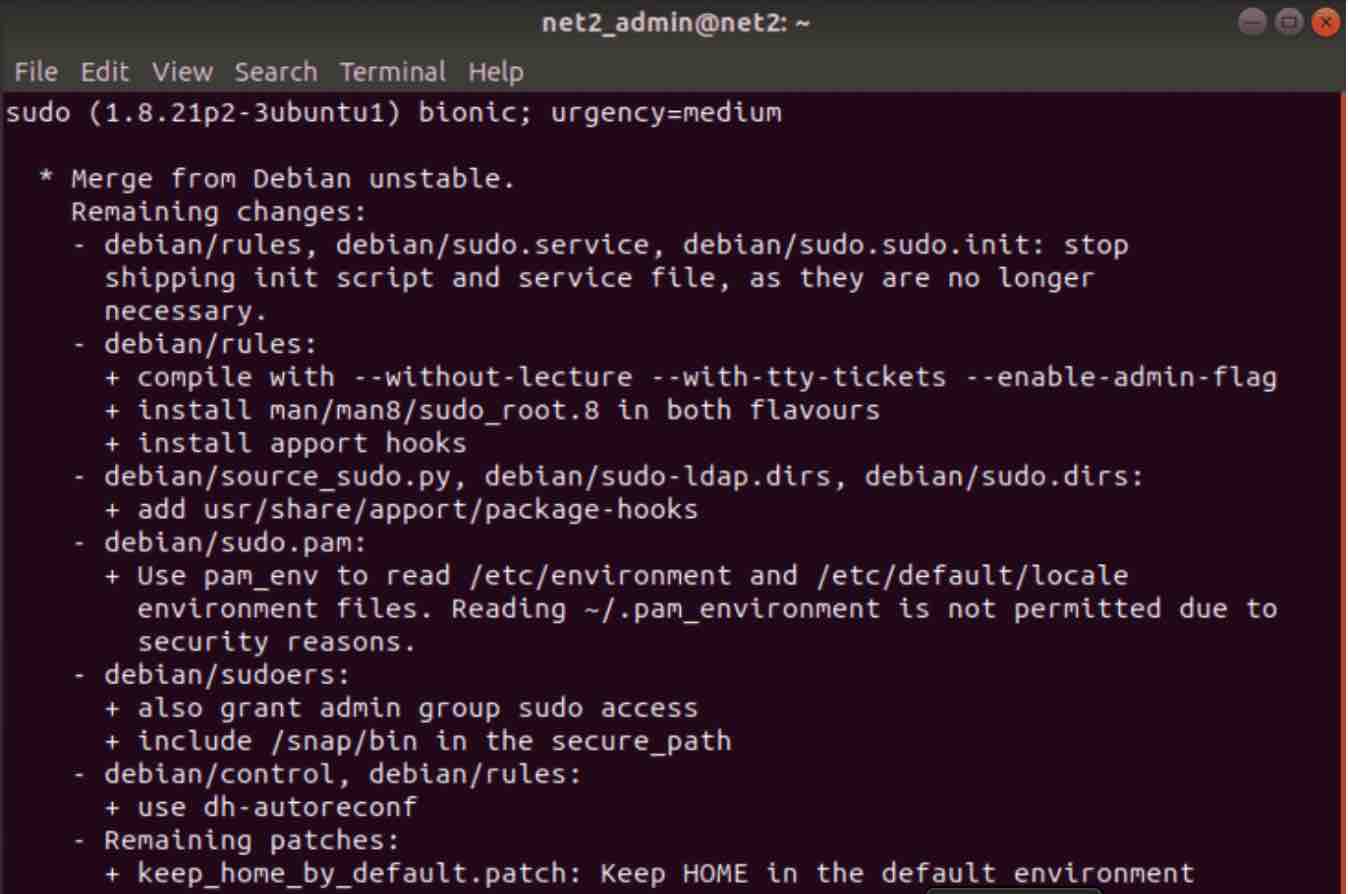
apt-get changelog pkgname
This will display the change-log of a package as well as the installed package version. For example the command below will bring up the text file below :
apt-get changelog sudo
Read: The Sudoers File in Ubuntu
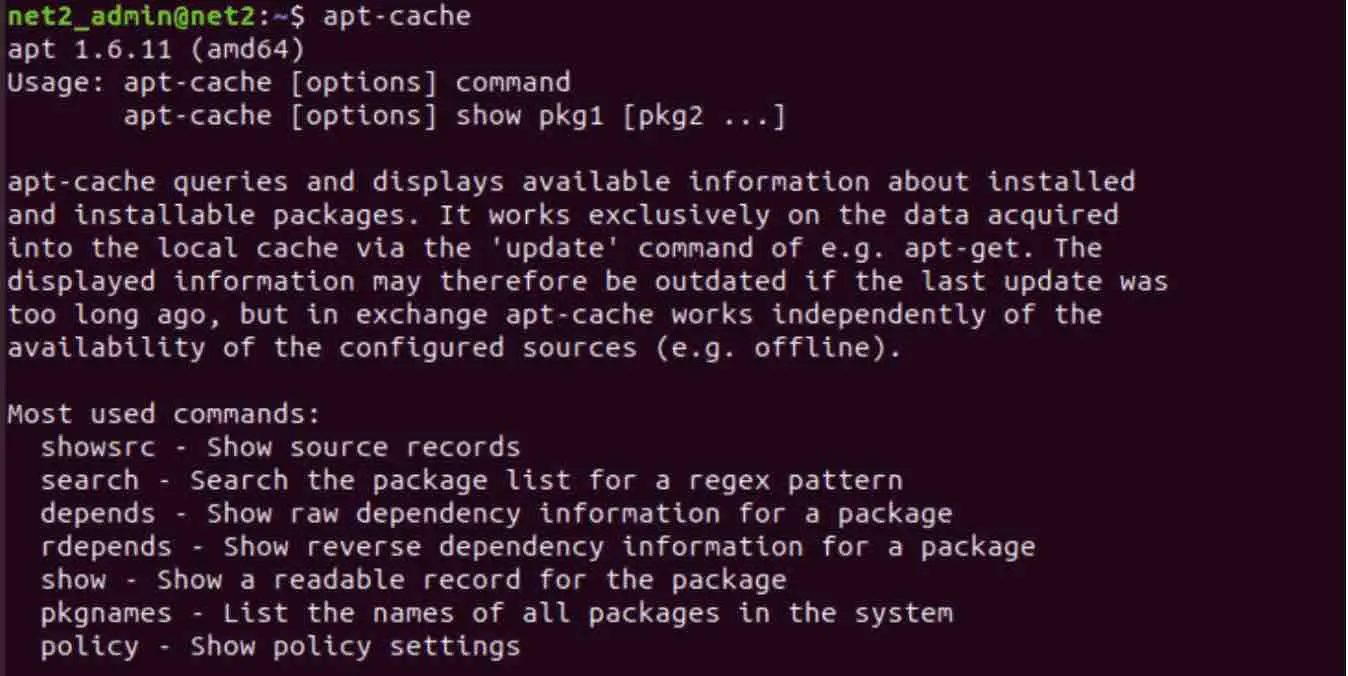
B – apt-cache command
The apt-cache is used to search software packages and to gather information about them. It can also tell which available packages are ready to be installed on the current distro. No need for superuser privileges here.
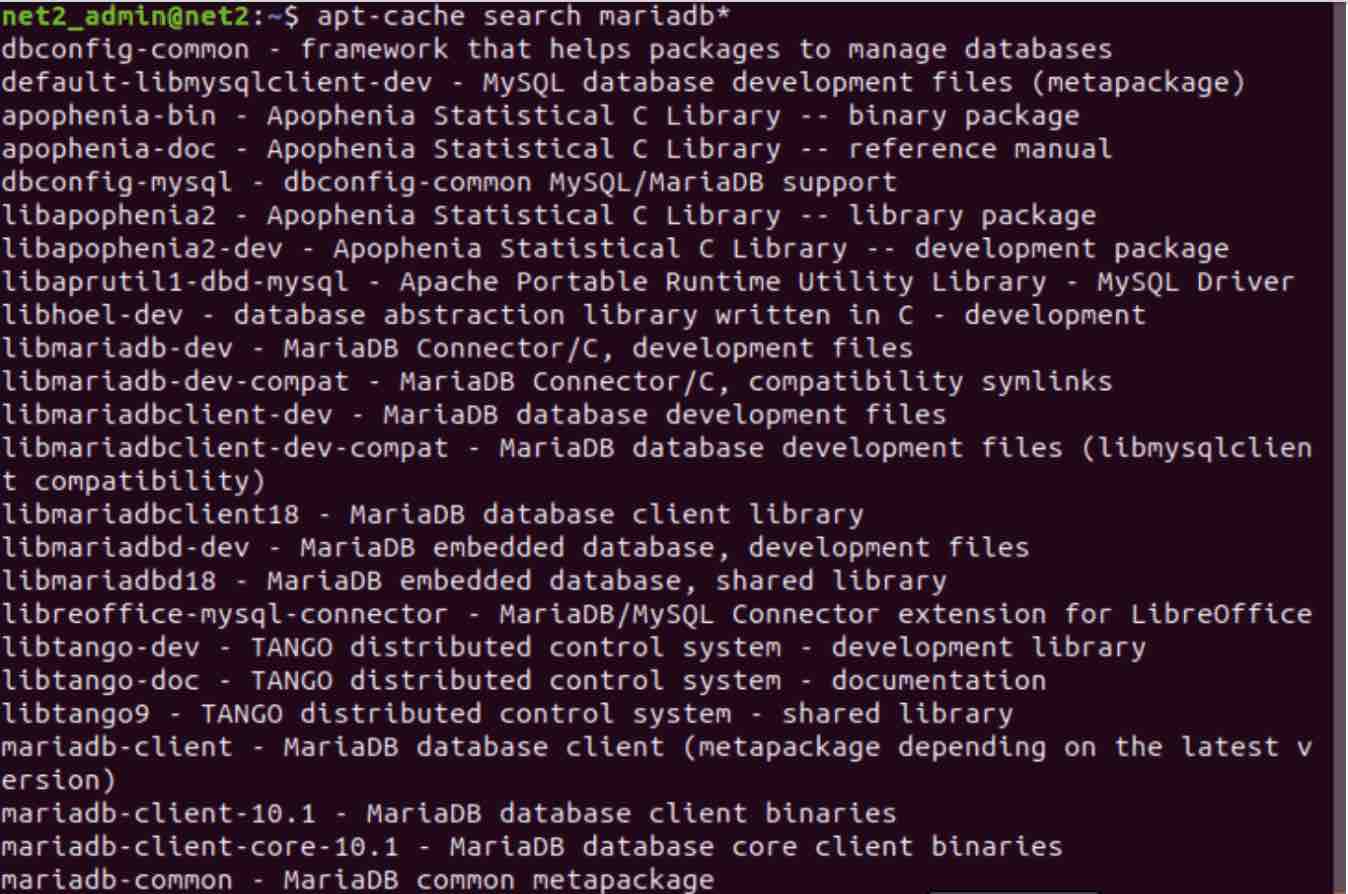
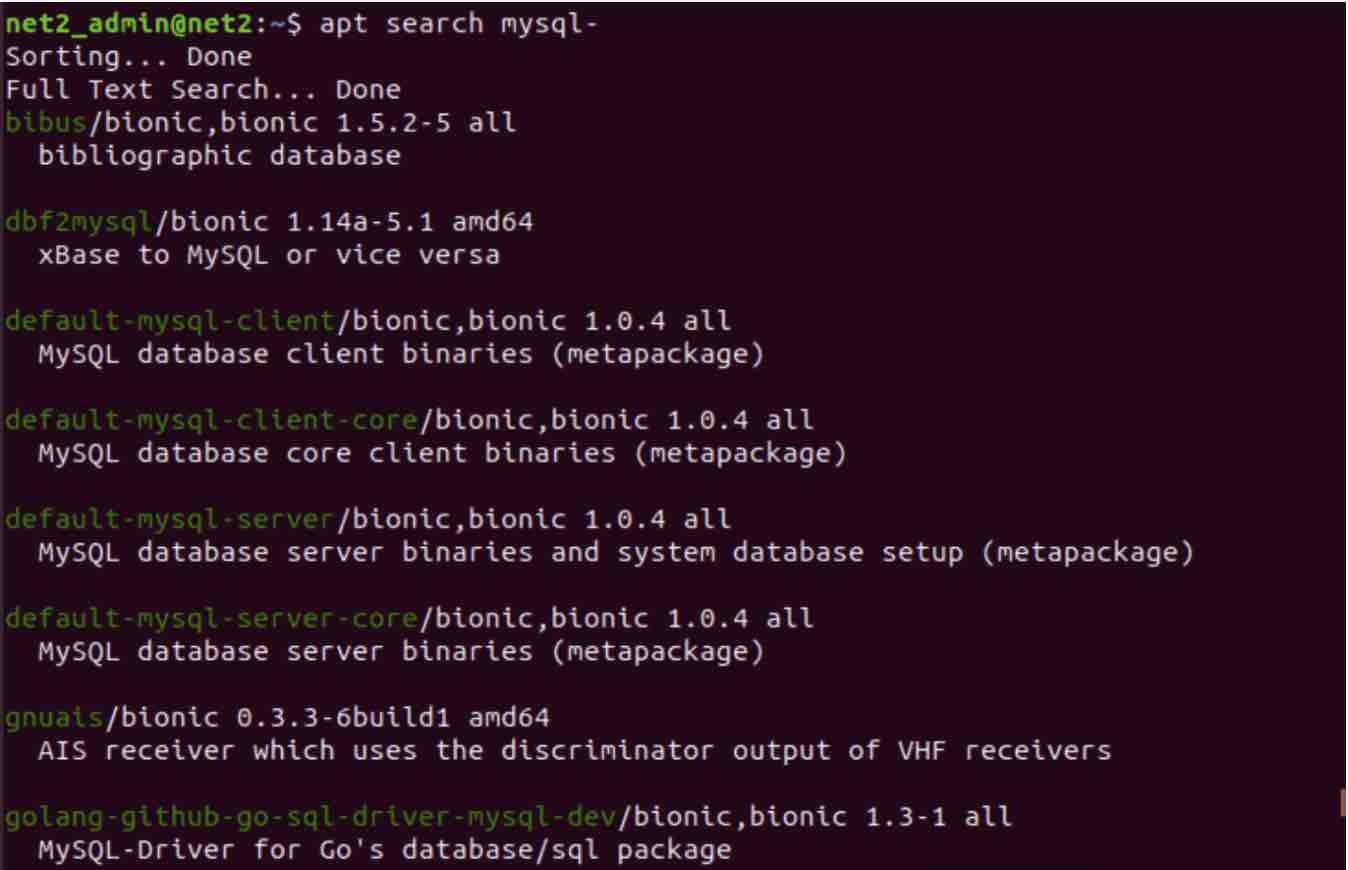
apt-cache search
You will be able to search for packages using this command. Below is an example to search for packages which start with the name mariadb*
Read: How to Use and Connect MariaDB GUI and Command Line Clients
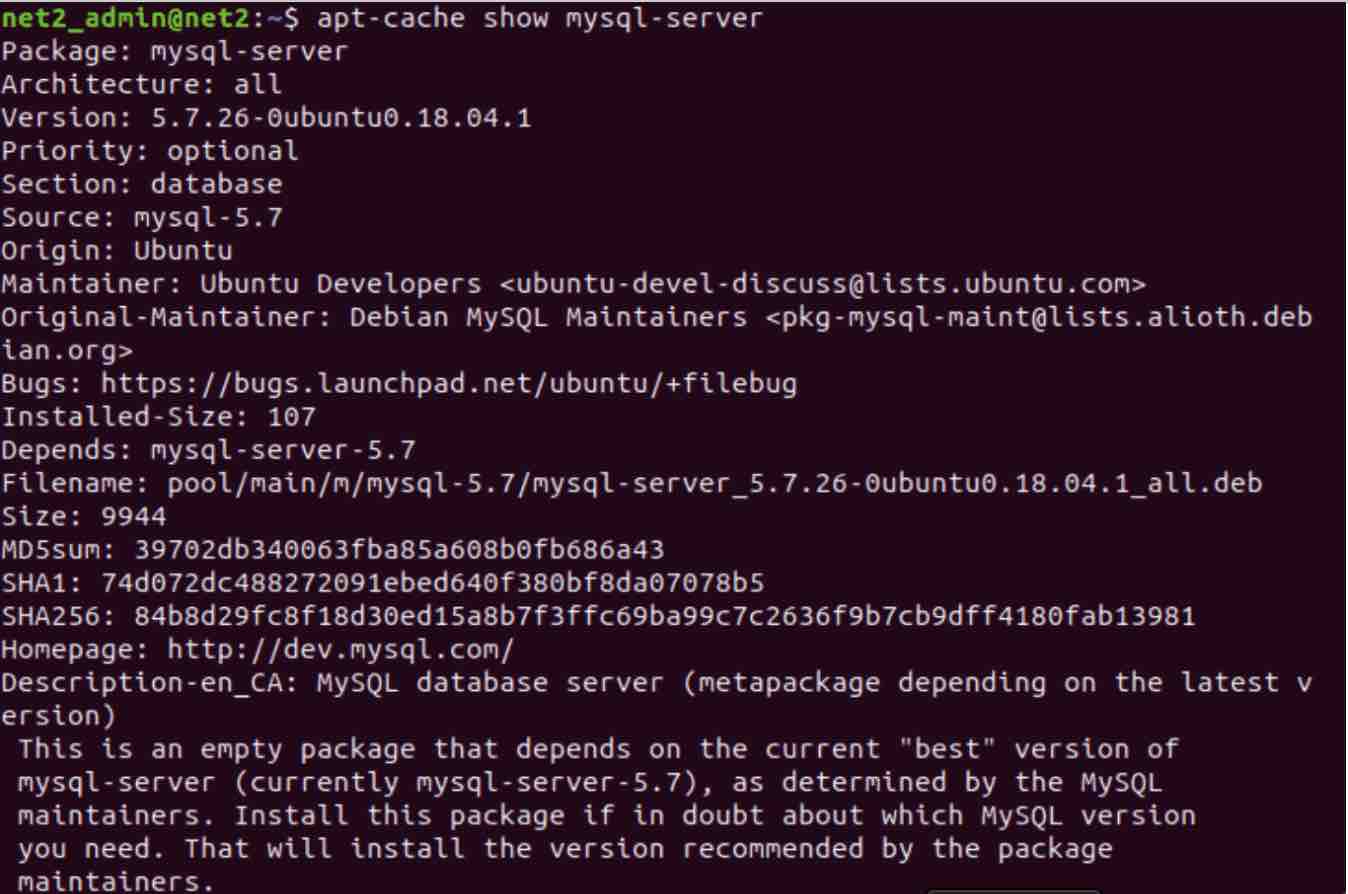
apt-cache show pkgname
This will allow you to display details about a given package, like size, category, version number…
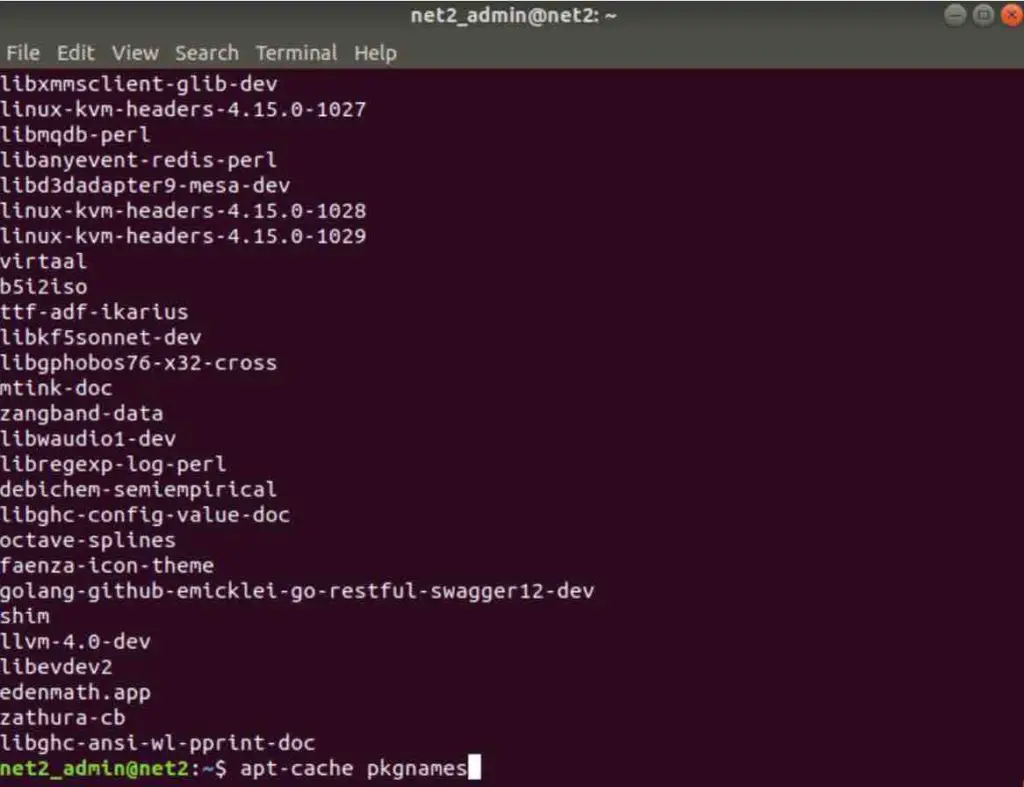
apt-cache pkgnames
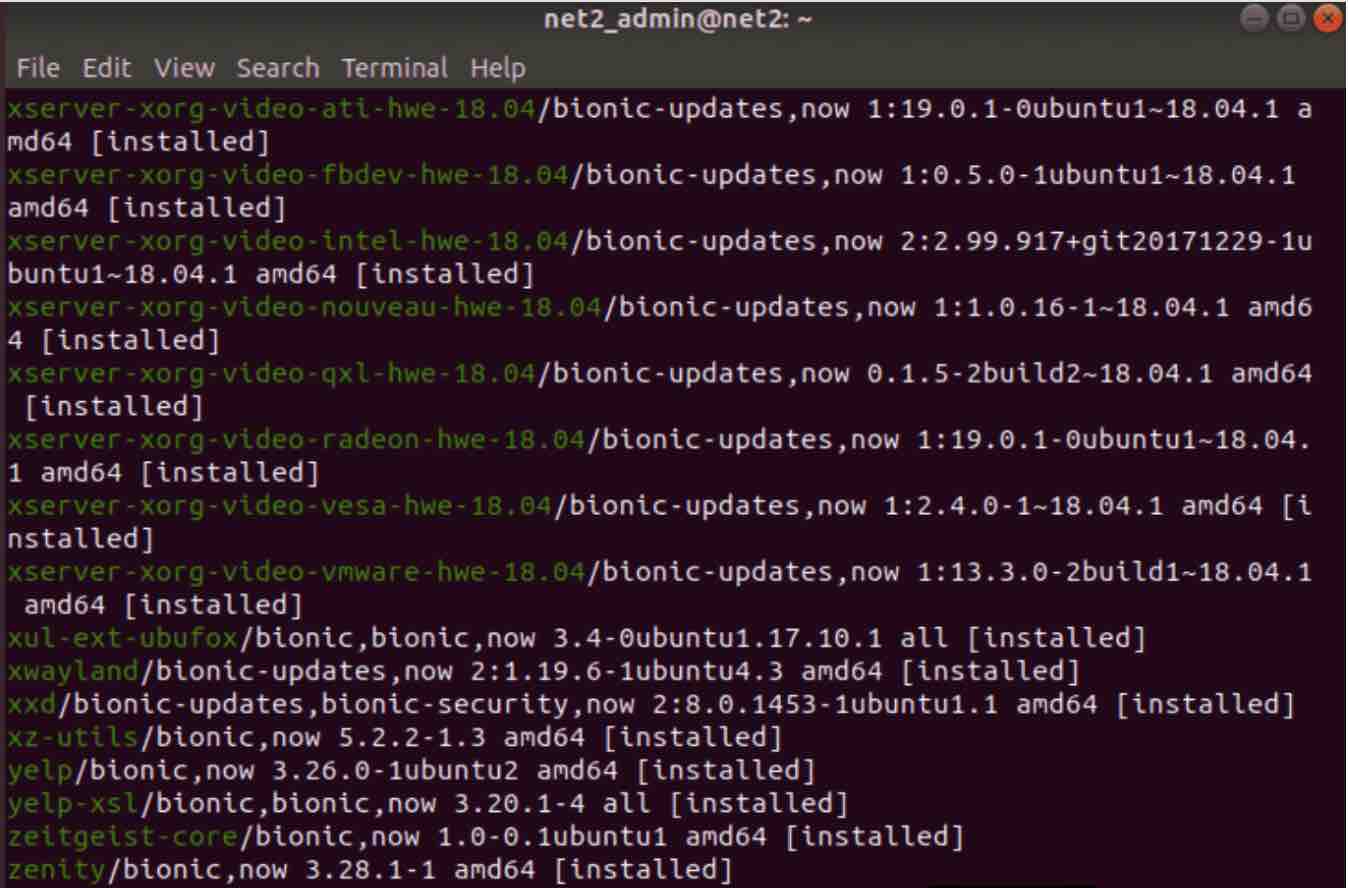
Will provide a list of all installed packages. Below is a snapshot of the last rows yielded by this command.
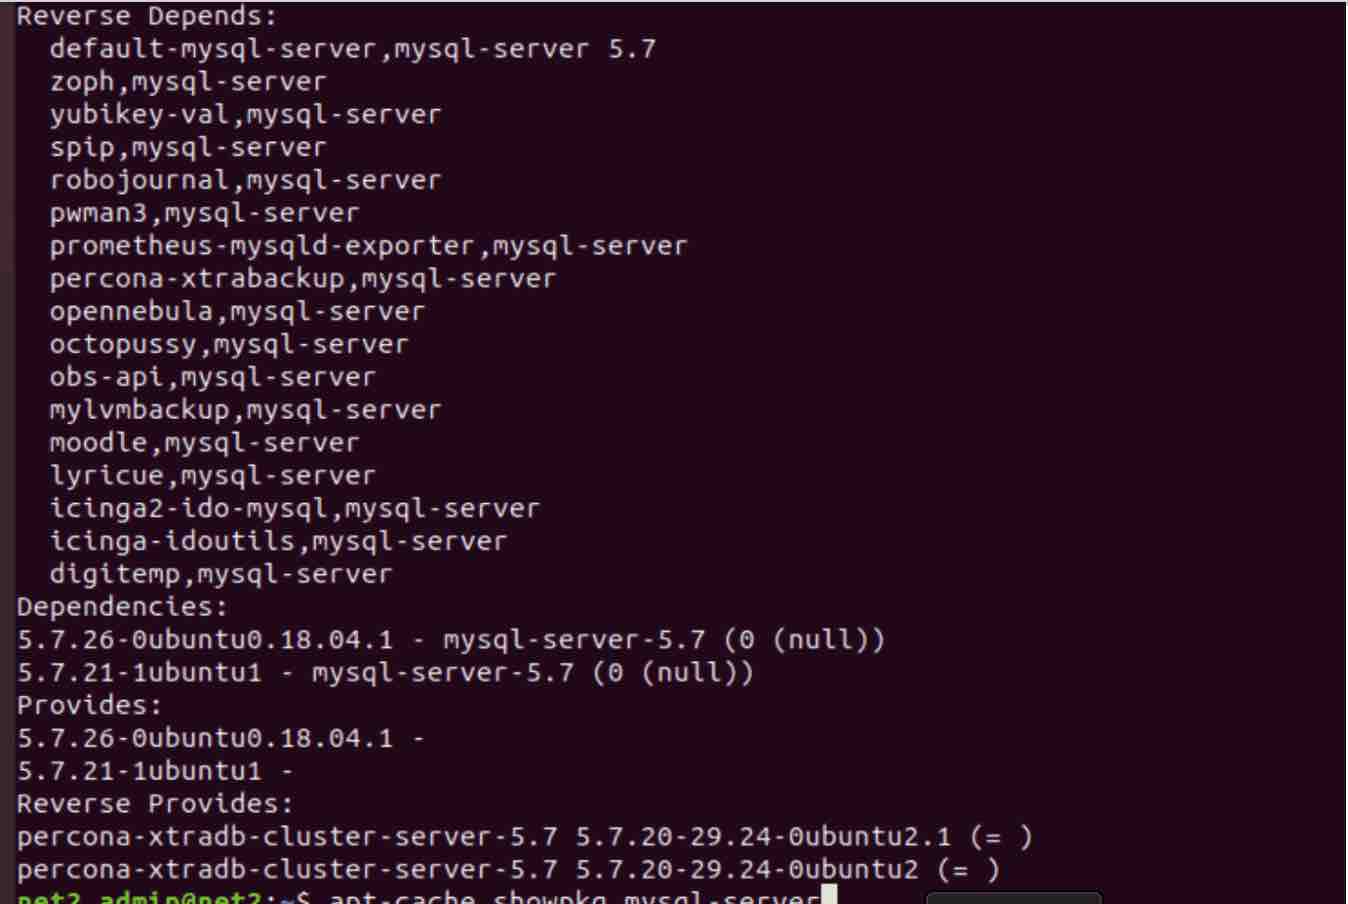
apt-cache showpkg pkgname
This will show all dependencies of a specified package. In the snapshot below you will see the last rows after execution of the above command for the mysql-server package :
apt search command
This is similar to apt-cache search command above.
apt list pkgname
This will show the list of all packages or the ones specified in the command line (wildcards can be used).
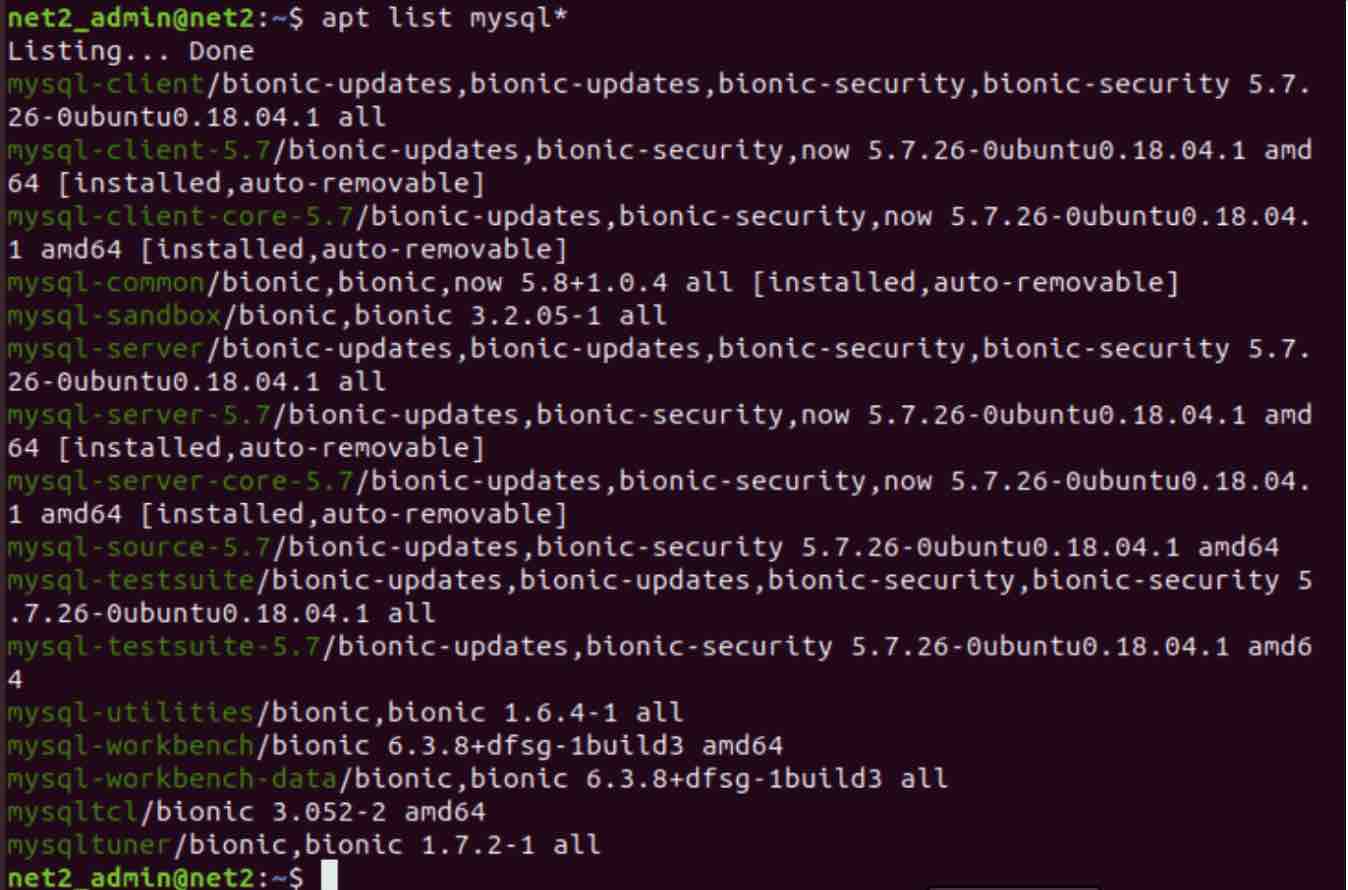
If you add the –all-versions, this will yield all the available versions of all packages.
With the option –installed, it will list all installed packages.
If you like the content, we would appreciate your support by buying us a coffee. Thank you so much for your visit and support.

BE AWARE that on Linux Mint with default path of /usr/local/bin before /usr/bin, invocation of apt runs /usr/local/bin/apt which is a python3 script front end to the real apt (the real apt which is a binary in /usr/bin).
So on Linux Mint if you want to cut out the unnecessary middle man, one must do /usr/bin/apt or change the value of the PATH environmental variable.
Thanks Donald – This is good to know.