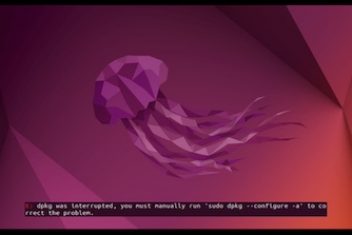
Are you facing the “Sub-process /usr/bin/dpkg returned an error code 1” error in Ubuntu ? This error typically occurs when there’s an issue with the package management system. It can happen during the installation of a new application or while updating your system. The root cause of this error can vary, but it’s usually due to issues like a corrupted package database, a problematic package, or a corrupted source file.
Fixing Sub-process /usr/bin/dpkg returned an error code (1)
If you encounter a broken error package, don’t worry. There are several solutions that you can try step by step. After applying each of the solutions discussed below, you should run sudo apt update and then try to install a new package or upgrade.
Read: How to Fix : dpkg was interrupted, you must manually run ‘dpkg –configure -a’ to correct the problem
Solution 1: Reconfigure the Package Database
Sometimes, the package database might get corrupted while installing a package. In such cases, reconfiguring the package database can solve the issue. Here’s how you can do it:
- Open your terminal.
- Type in the following command: sudo dpkg –configure -a

Solution 2: Remove the Troublesome Package
If the error persists, you might need to remove the problematic package manually. Here’s how:
- Run the following command for the troublesome package:
sudo apt-get remove –purge package_name
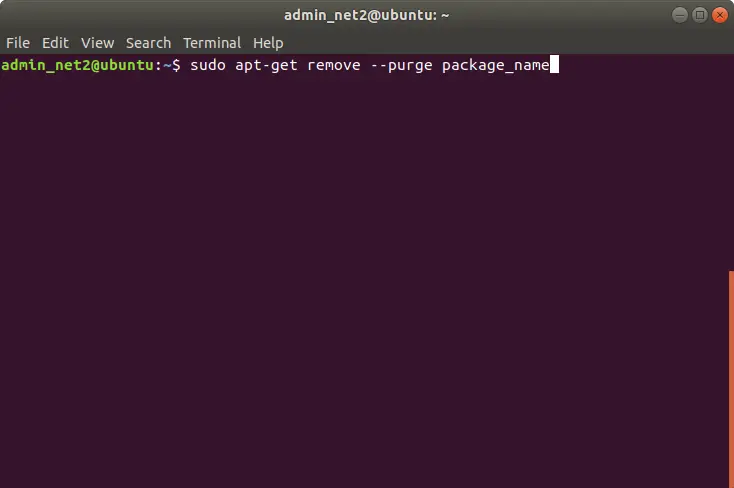
This command will remove all traces of the problematic application.
Solution 3: Deal with a Corrupted Source File
If your source file and some packages are corrupted, you can try removing the corrupted source file. Here’s how:
- Type in the following command in the terminal: sudo rm /etc/apt/sources.list
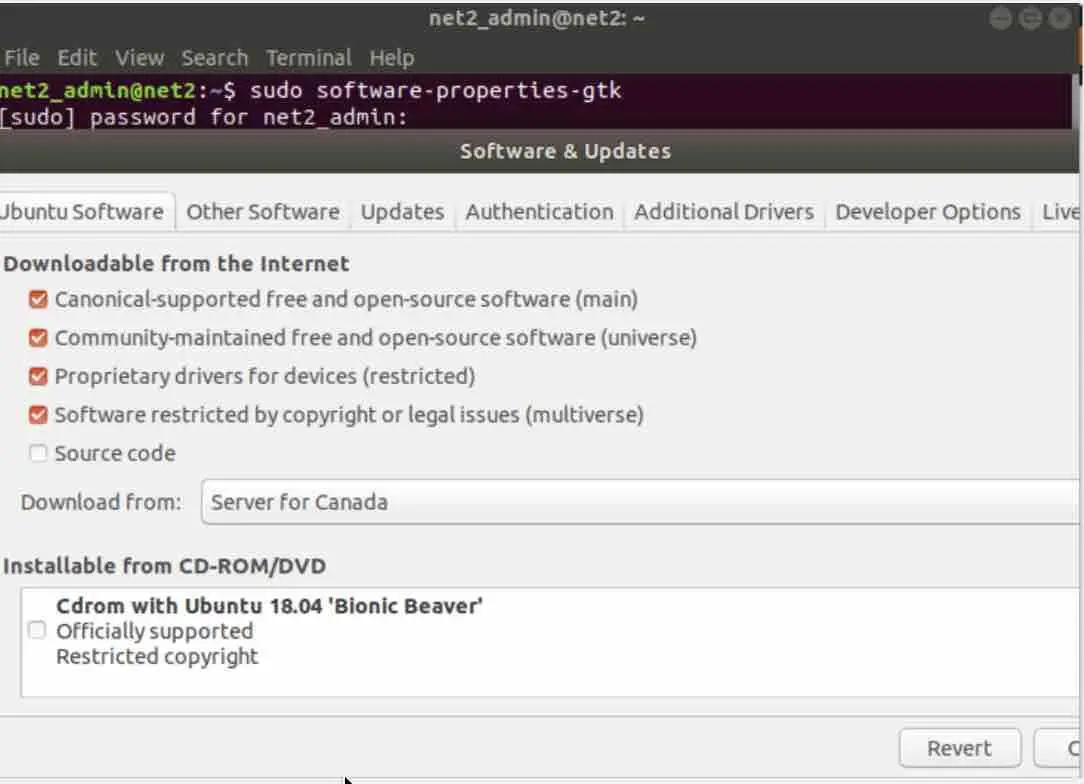
- Then, run: sudo software-properties-gtk
Read: How to install and uninstall applications on Ubuntu? A Beginner’s guide
This will open the software and updates window and a new sources.list file will be created automatically. You can then change the server to any other server that suits you. To create a new sources.list file, you need to enable repositories. Check all the boxes shown and then click on Revert. Finally, press the Close button.
Now, open up the terminal and type in the following commands:
- sudo apt-get remove –purge your_problematic_package
- sudo apt-get update && sudo apt-get dist-upgrade -y
- sudo apt-get install your_problematic_package
Solution 4: Force Install the Software
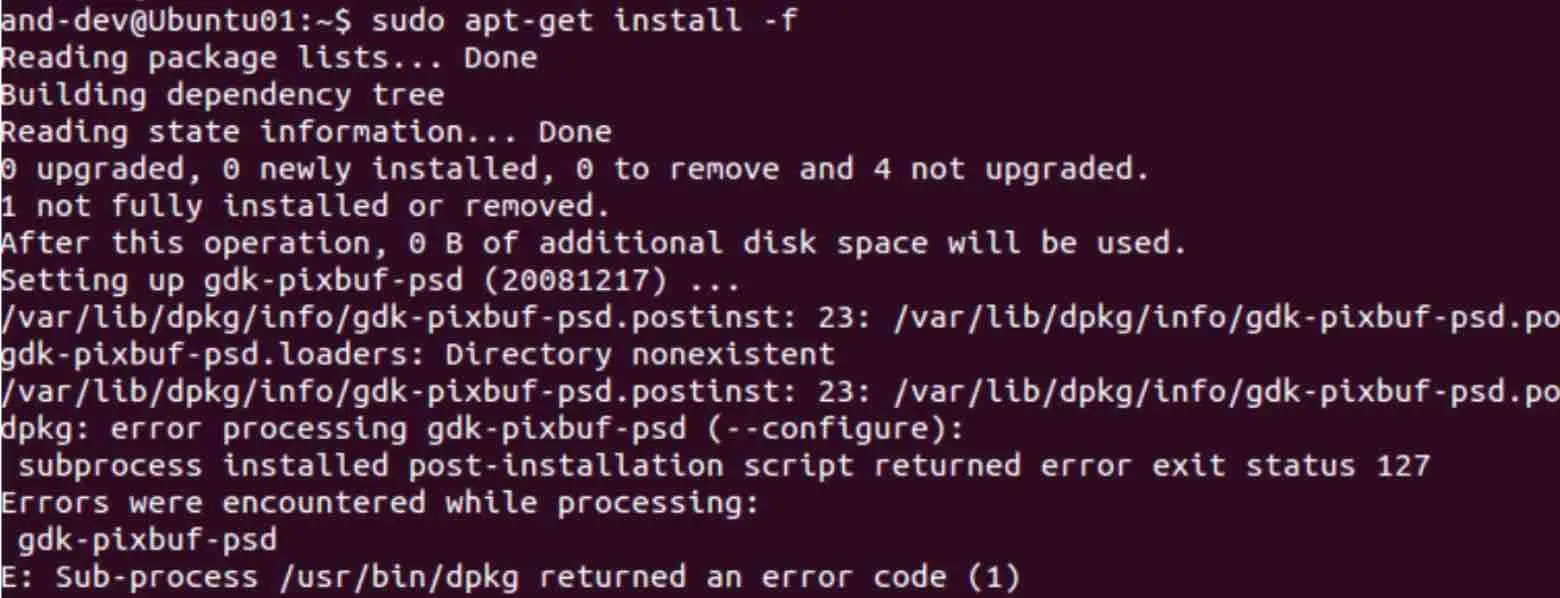
Sometimes, a package installation might have been interrupted previously and could not be resumed. You can try to carry out a force install attempt by running the following command: sudo apt-get install -f

Solution 5: Remove Post Info Files of the Troublesome Package
Another solution would be to remove all files associated with the package that is causing the problem. The installation files are usually located in the file /var/lib/dpkg/info. You can list all references to the package you installed by running the following command:
sudo ls -l /var/lib/dpkg/info | grep -i package_name
![]()
Solution 6: Cleaning up unused Software Packages
Try also to get rid of unused application packages by executing the command :
sudo apt autoremove
For more information on how to keep your Ubuntu clean, please refer to our article: How to keep Ubuntu clean.
If you like the content, we would appreciate your support by buying us a coffee. Thank you so much for your visit and support.