Webpages on the internet are predominantly served by a web server. The widely used web server is Apache (HTTP), an open-source and free server sponsored, maintained, and developed by the Apache Software Foundation. Apache is available on most Linux distributions, including Ubuntu, RHEL, and Fedora, although packaged differently. Powering over 50% of global websites, the Apache web server boasts robust features like reliable media support and dynamically loadable modules. Renowned for its flexibility and performance, Apache has seamlessly integrated with other popular software.
Configuring a web server in Ubuntu is generally straightforward. However, Apache’s configurations can vary to accommodate requests from multiple domains. It also supports encryption (HTTPS) and provides website security through various authentication methods.
This guide aims to elucidate the installation and configuration of an Apache web server on Ubuntu.
Read: Litespeed or Apache: Which One is Best for WordPress
1. Apache Installation
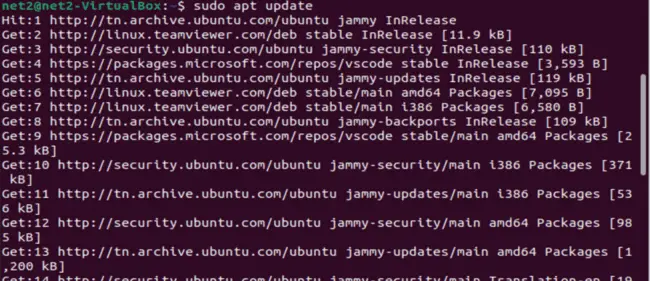
Apache is available in Ubuntu’s default software repositories, allowing installation like any other package via package management tools. Update the local package repository by executing the following terminal command:
sudo apt update
Read: Linux Firewall: The Complete Guide to IPtables, NAT, ip6tables and Network Security
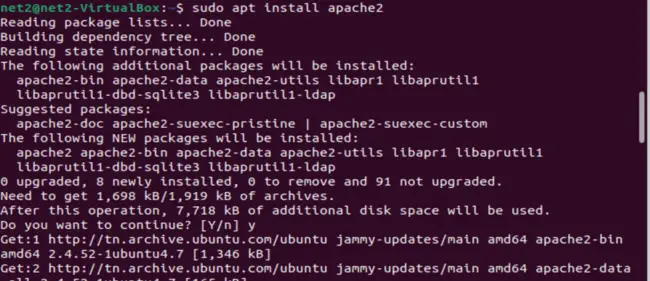
Now, proceed to install the Apache web server with the command:
sudo apt install apache2
Read: Virtual host configuration in Apache
After installation, check the version of the installed apache2 web server:
apache2 -version

Read: How to set up an SMTP server on Ubuntu 22.04
2. Firewall Configuration
To enable access to Apache, display the application profiles for firewall configuration using the command:
sudo ufw app list

The output shows three Apache profiles: Apache, Apache Full, and Apache Secure, each providing different security levels. Enabling the most restrictive profile, which opens Port 80 for traffic, is accomplished with the command:
sudo ufw allow ‘Apache’

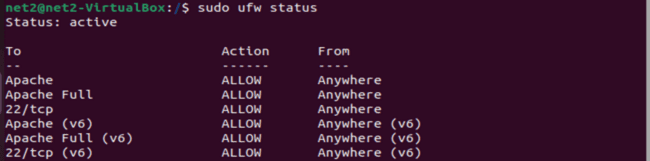
Verify that Apache has been enabled on the firewall by running:
sudo ufw status
Read: How to Install Redis Server on Ubuntu 22.04
3. Apache Web Server Configuration
Ensure the Apache web server is running before configuring settings:
sudo systemctl status apache2
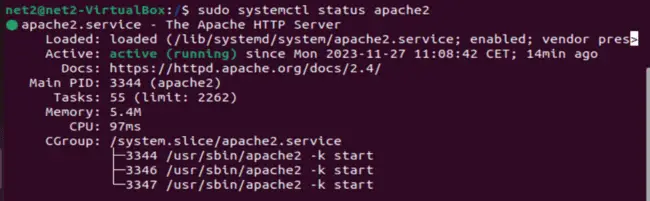
Confirm that the status is active (running).
If you like the content, we would appreciate your support by buying us a coffee. Thank you so much for your visit and support.