In this tutorial, we will show you how to install LAMP on Ubuntu 18.04 . LAMP is the acronym that refers to the first letters of:
- Linux;
- Apache (web server);
- MariaDB or MySQL (database software);
- PHP (programming languages) or Python.
This combination of software became popular because it was free and easy to adapt. When used together, they support web application servers.
Operating System Update
It is recommended that before installing any program on Linux, to update the repository list. This can be done by running the following command:
sudo apt update
To update all your Ubuntu program packages that are installed from the repositories or automatically or from a PPA, run the command:
sudo apt upgrade -y
To upgrade (and perform fixes and checks) to a completely upgraded and compatible system , run the following command:
sudo apt full-upgrade
Read: How to Install Redis Server on Ubuntu 22.04
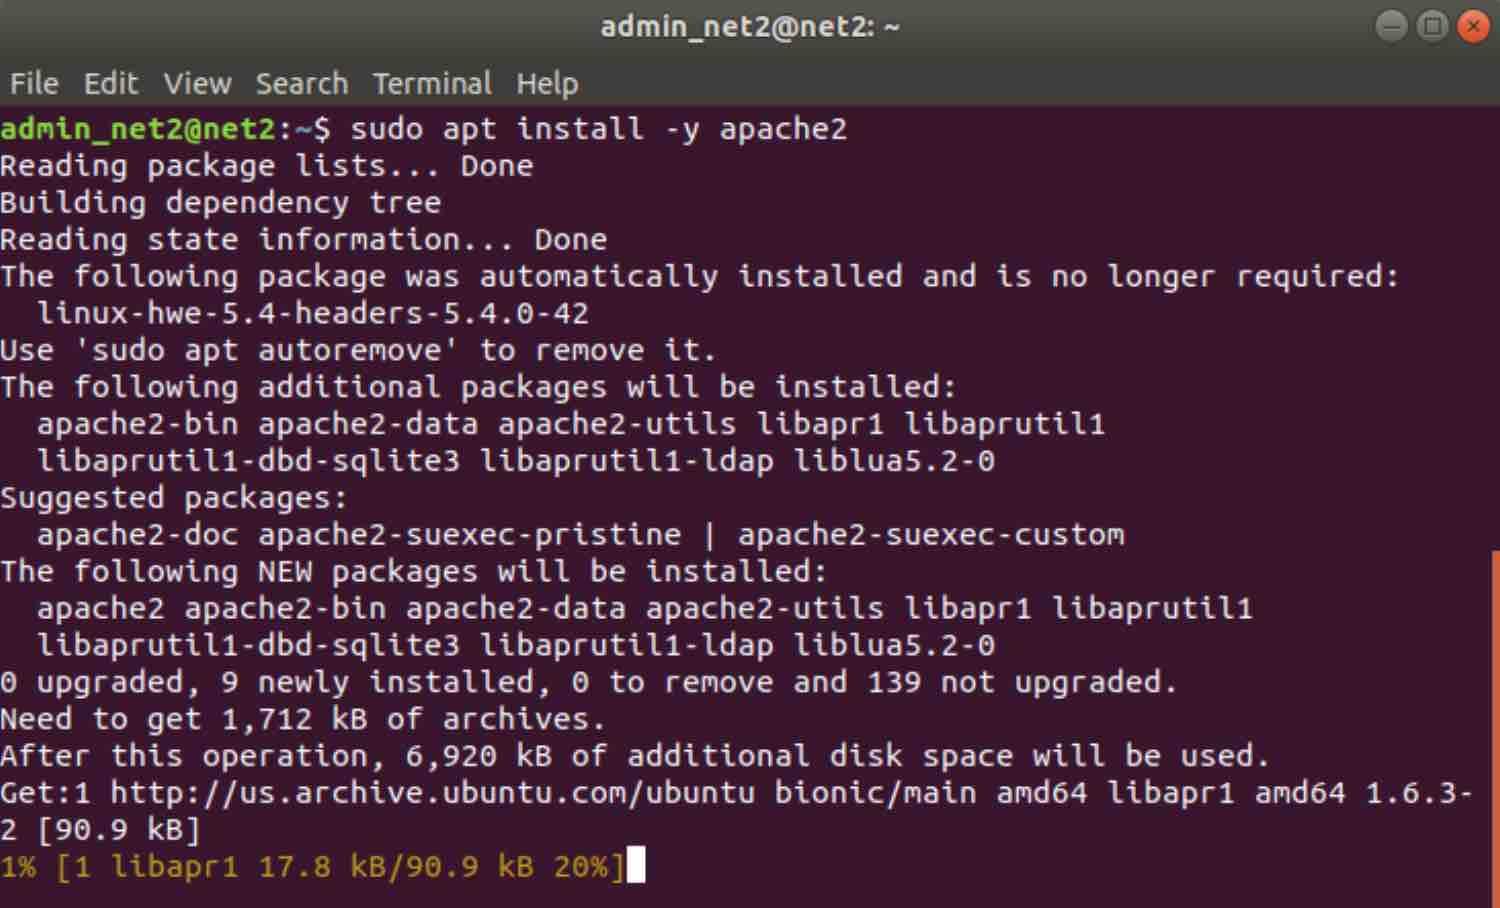
Installing Apache
sudo apt install -y apache2
Read: How to install Apache on Ubuntu
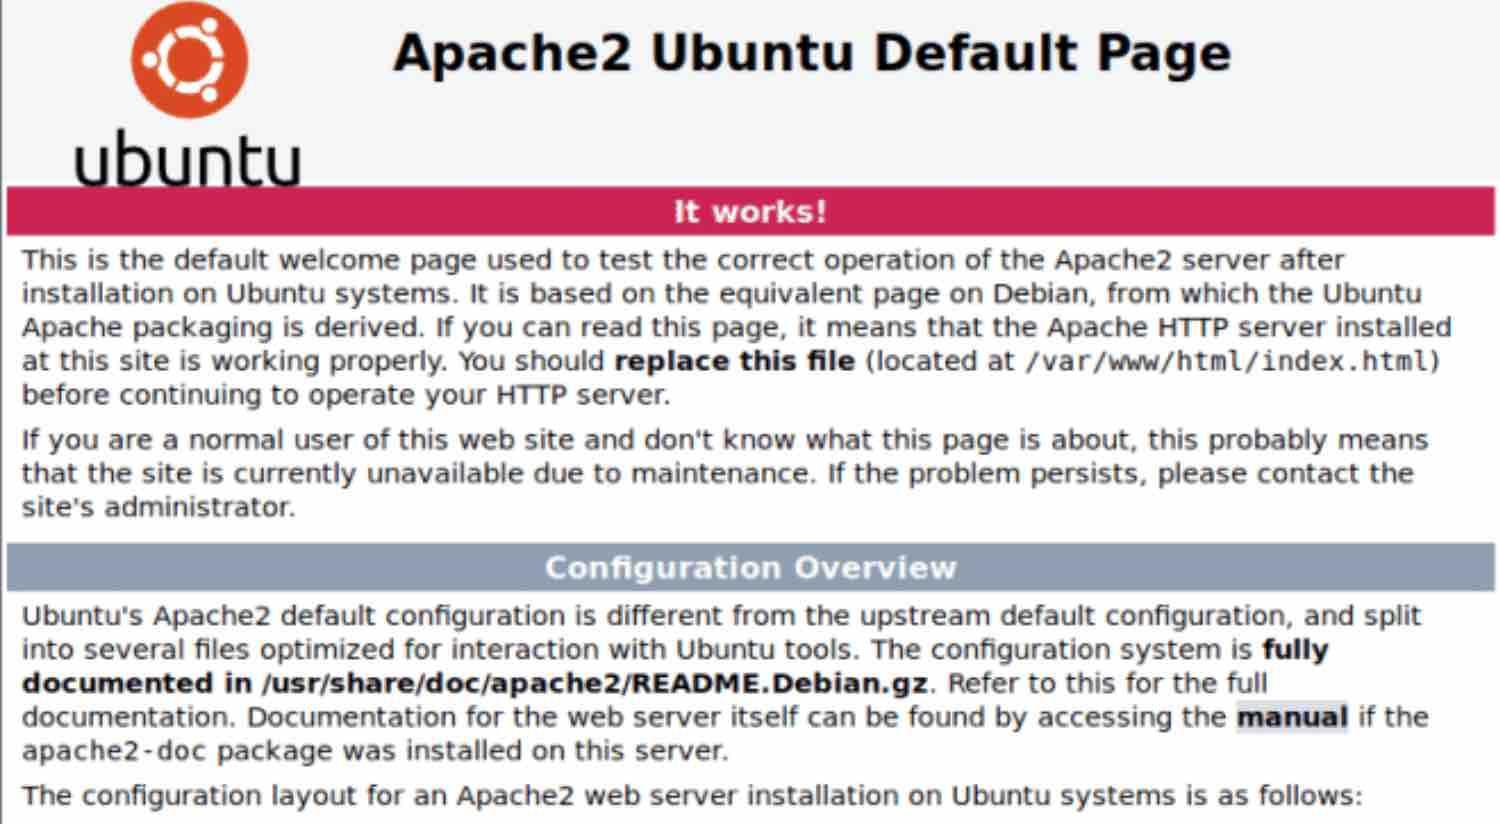
To test whether Apache is working correctly, type in localhost in the address bar of the browser of your choice. A message similar to the following will pop up :
Installing PHP
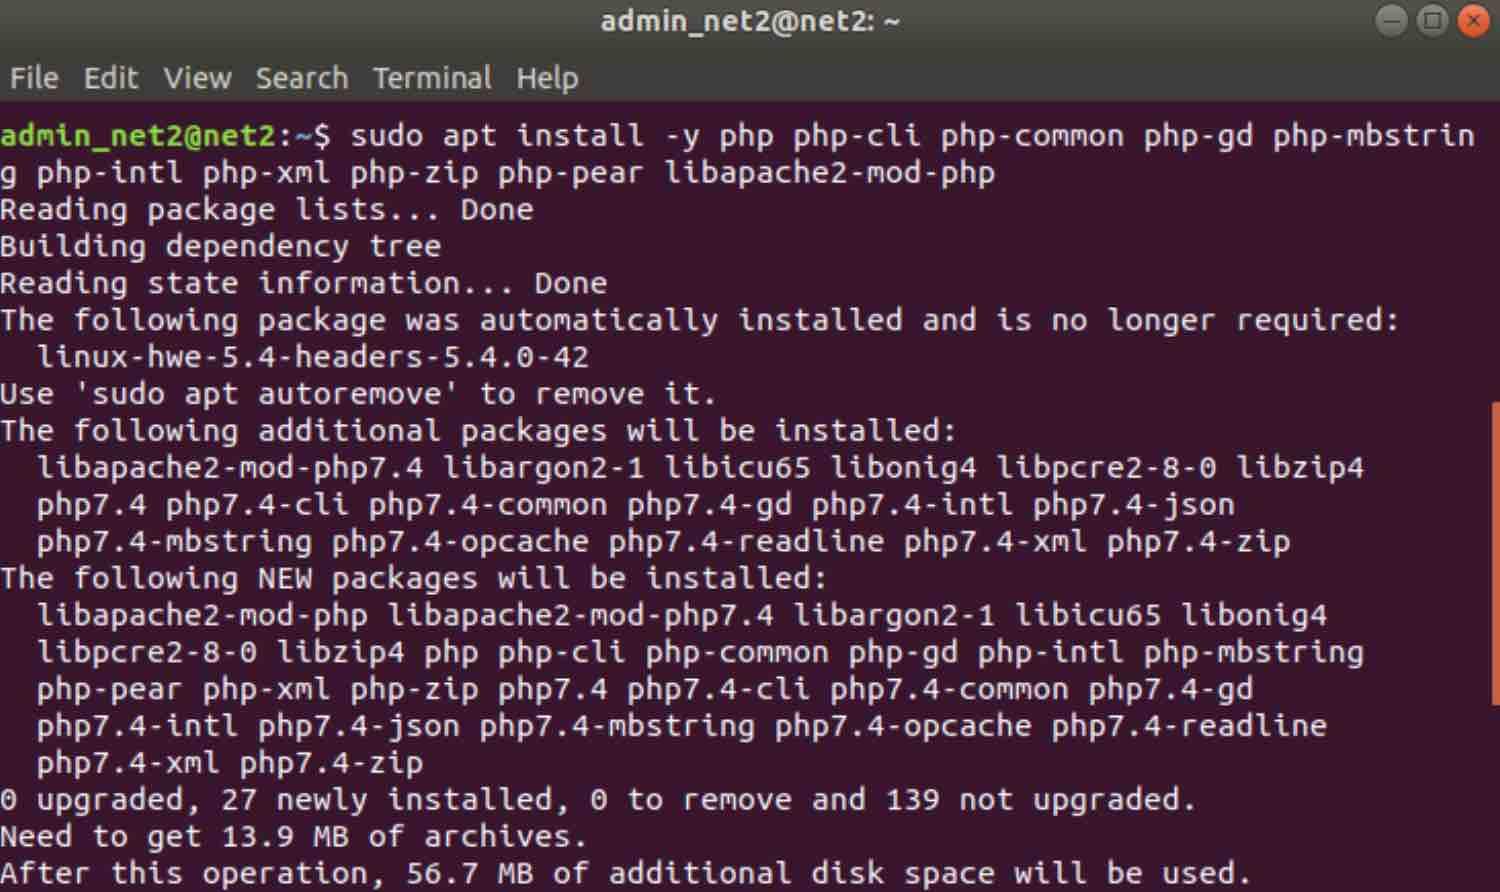
To install PHP along with its dependencies, open up your terminal and type in the command below:
sudo apt install -y php php-cli php-common php-gd php-mbstring php-intl php-xml php-zip php-pear libapache2-mod-php
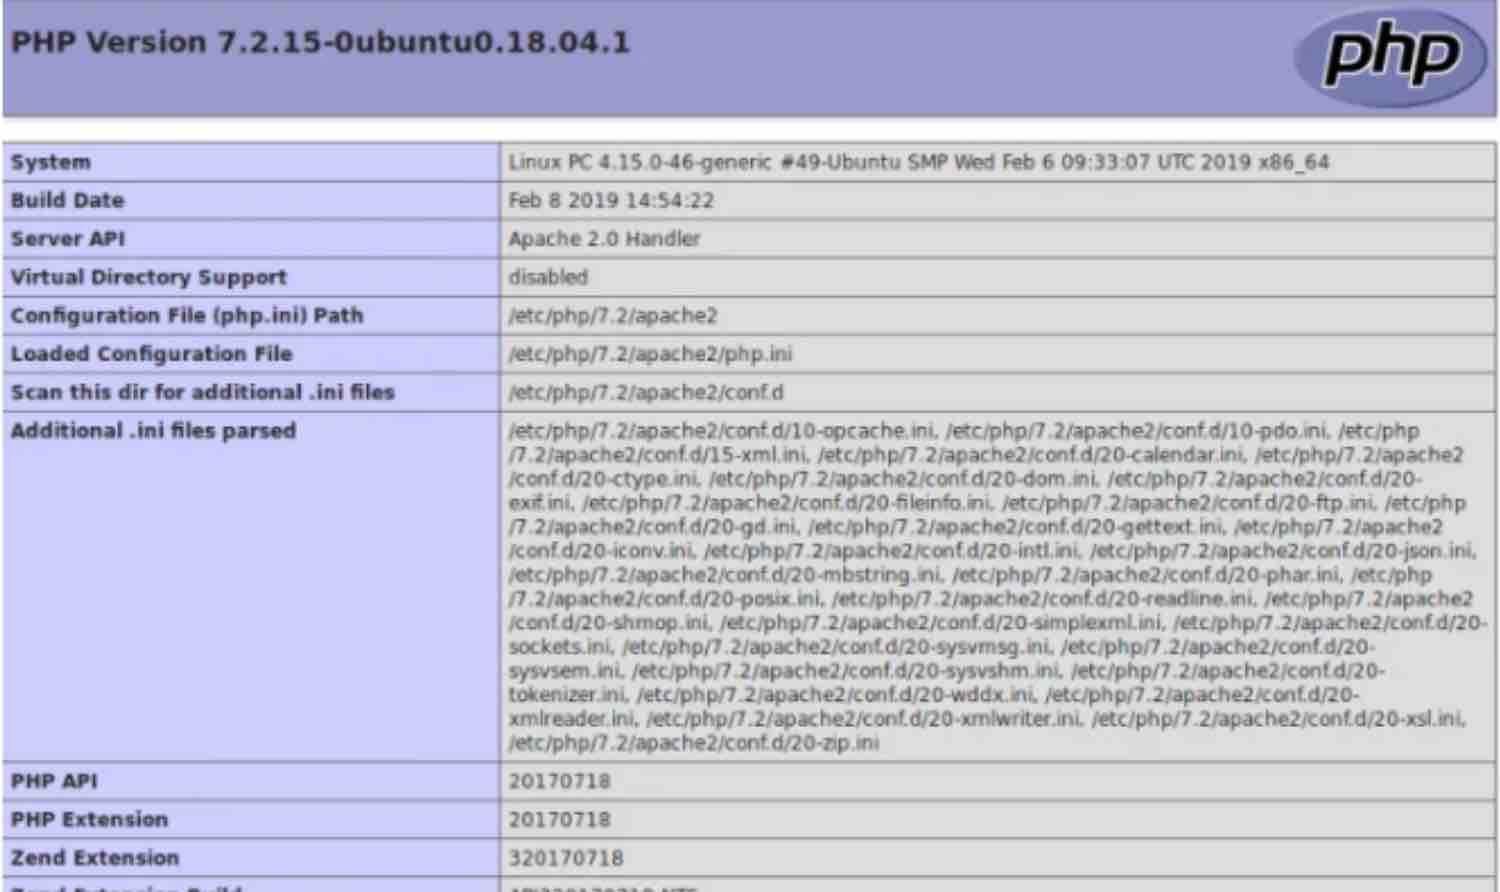
To create a PHP test page :
echo “<? php phpinfo (); ?> ”| sudo tee /var/www/html/test.php | sudo service apache2 restart
To test PHP in the browser, type in the address page: localhost / test.php
Such a window will appear:
Installing and Configuring MySQL
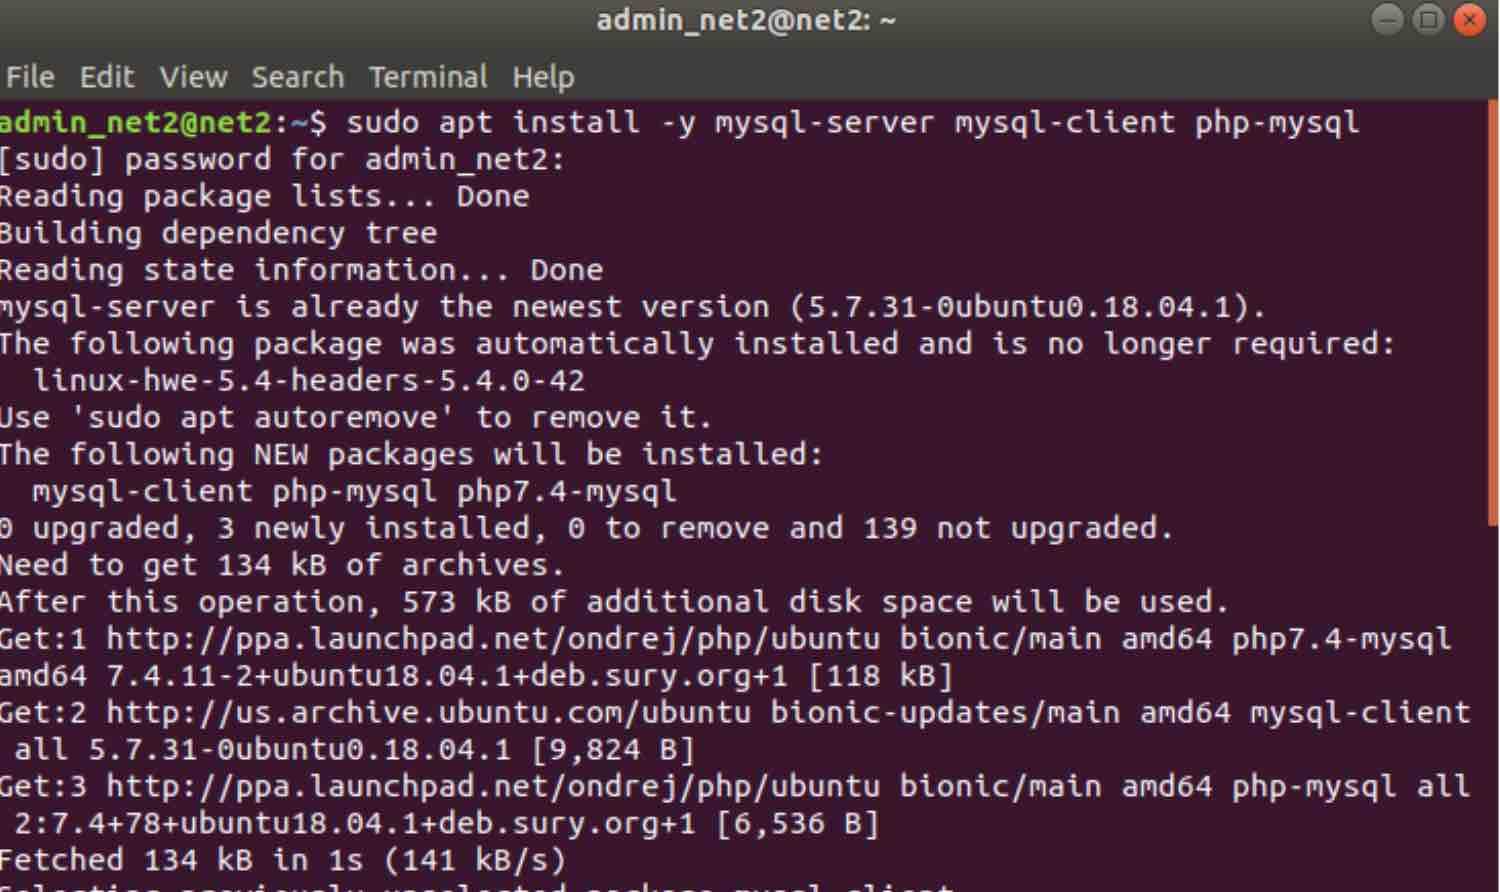
To install MySQL, run the command below :
sudo apt install -y mysql-server mysql-client php-mysql
Read: How to install MySQL on Ubuntu 18.04
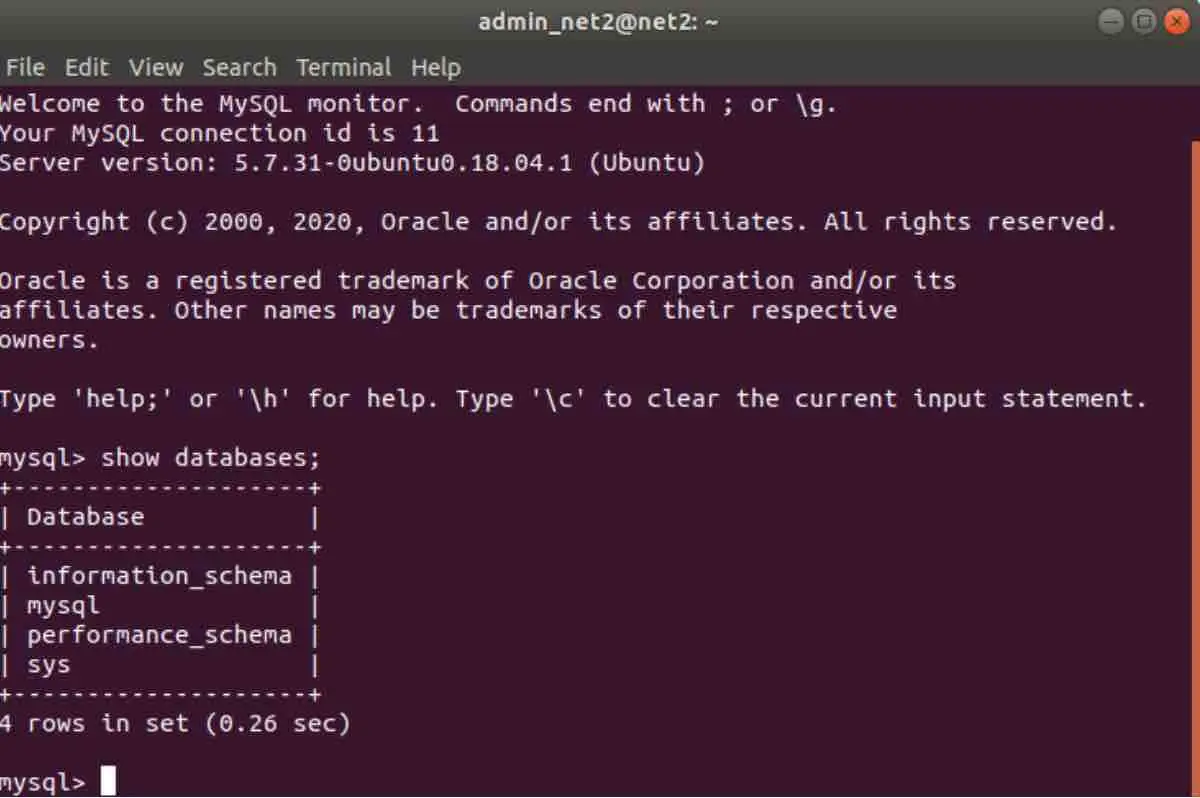
To access the Mysql console from the terminal, run the command:
sudo mysql
The console will change as shown in the snapshot above.

Now, we will test the basic commands in the terminal.
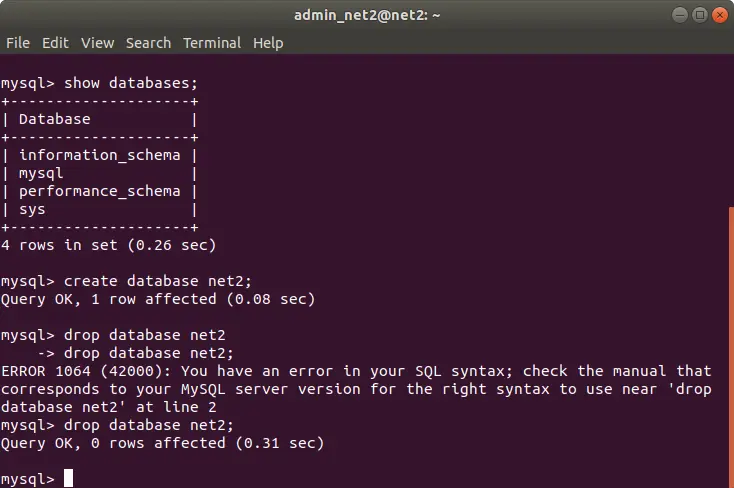
Displaying the Databases:
SHOW DATABASES;
To create a new database named net2, run the command :
CREATE DATABASE net2;

To delete the database net2, invoke the command below :
DROP DATABASE net2;
Creating a new MySQL database user:
CREATE USER ‘your_user’ @ ‘localhost’ IDENTIFIED BY ‘ your_password’;
GRANT ALL PRIVILEGES ON *.* TO ‘your_user’ @ ‘localhost’ WITH GRANT OPTION;
Once permissions are granted, you would need to define for your new users the privileges required to manipulate the Database. Make sure to always reload all privileges :
FLUSH PRIVILEGES;
Exit MySQL with the exit command, or with the Control + d keystroke . Then, log in with your new user:
sudo mysql -u your_user -p
Enter the password you have already registered earlier.
Installation and configuration of phpMyAdmin
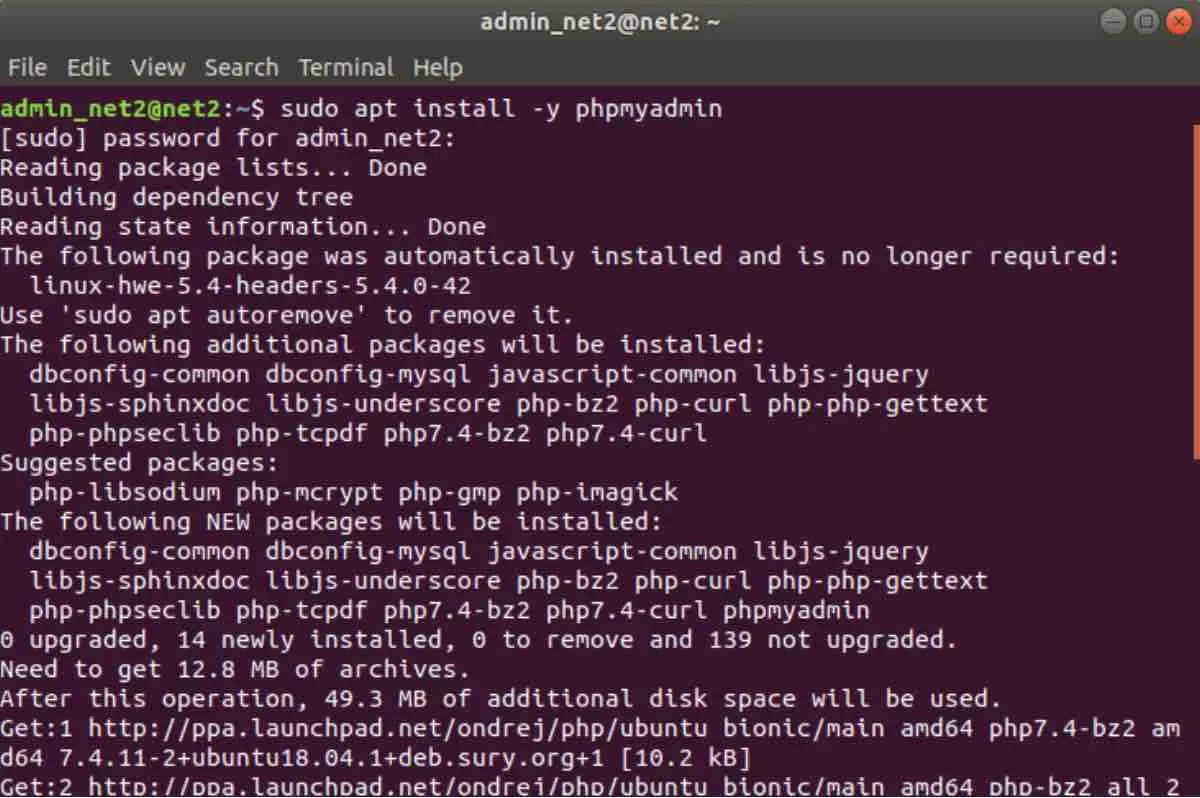
To Install phpMyAdmin, run the command below :
sudo apt install -y phpmyadmin
Install phpmyadmin on ubuntu
After installation, the window below will appear :
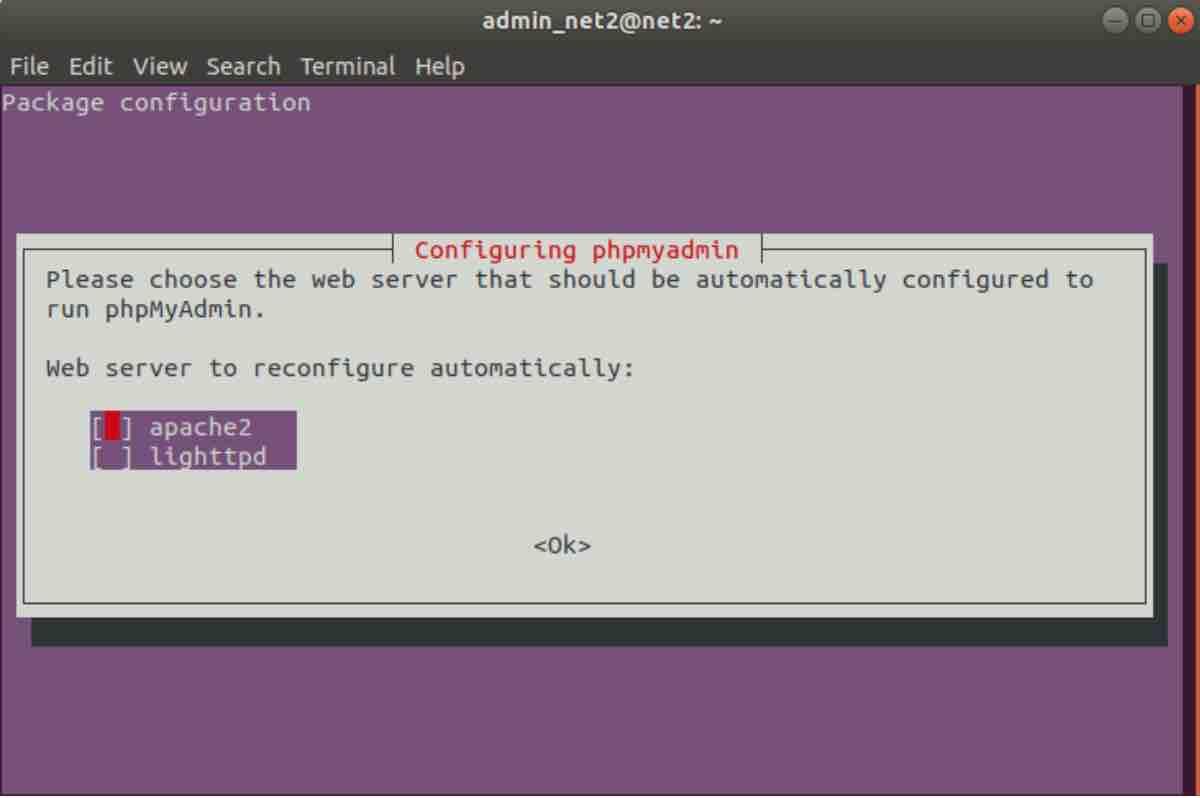
Check the option apache2 using the SPACE key and move to OK with the TAB key .
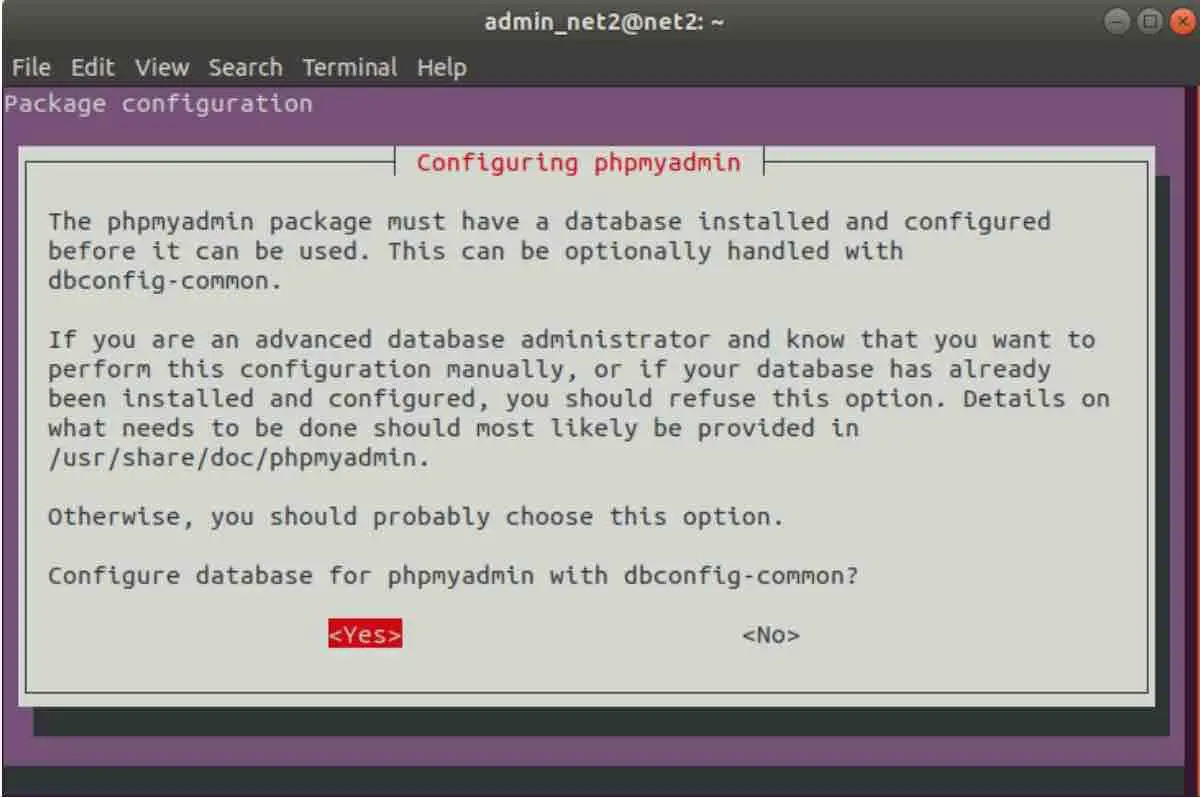
Now Select Yes :
If necessary, use a password for phpMyAdmin . To test it in the browser, type in the address bar: localhost / phpmyadmin
The following screen will be displayed:

Enter your registered username and password in the MySQL configuration .
Installing MySQL WorkBench
If you have any traces of a MySQL WorkBench installation , run the command to remove them:
sudo apt remove –purge mysql-workbench *
To install the program dependency, run the command:
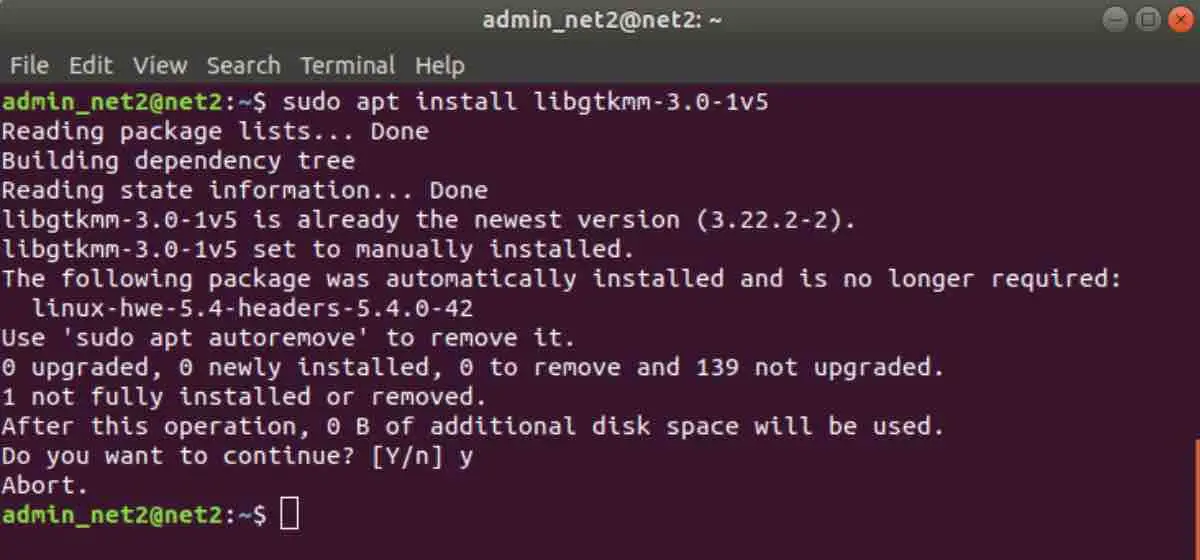
sudo apt install libgtkmm-3.0-1v5
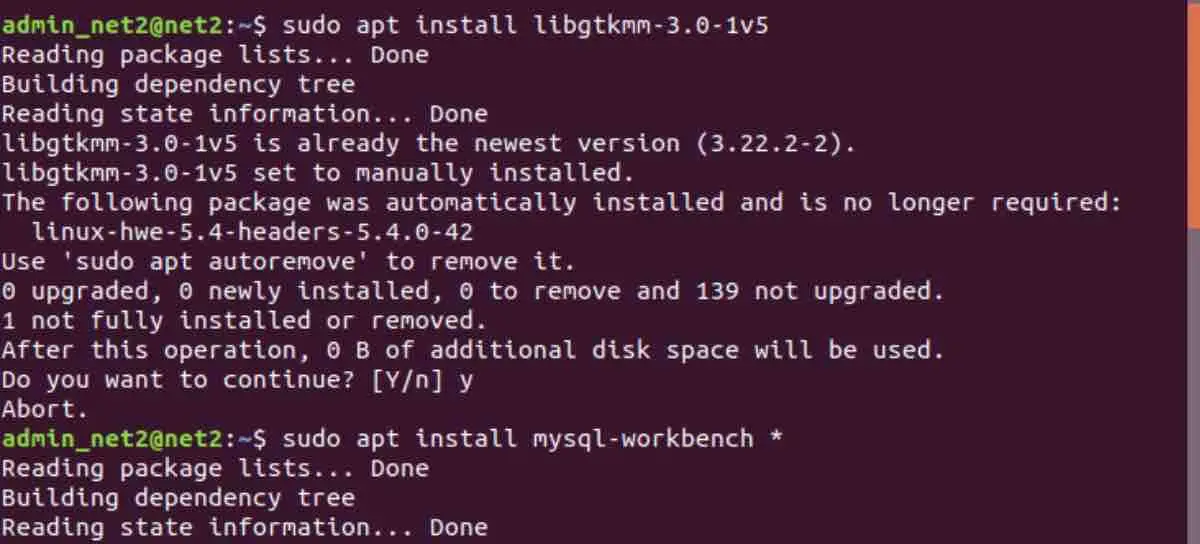
To perform the installation of MySQL WorkBench 8, issue the command below:
sudo apt install mysql-workbench *
Configuring MySQL WorkBench
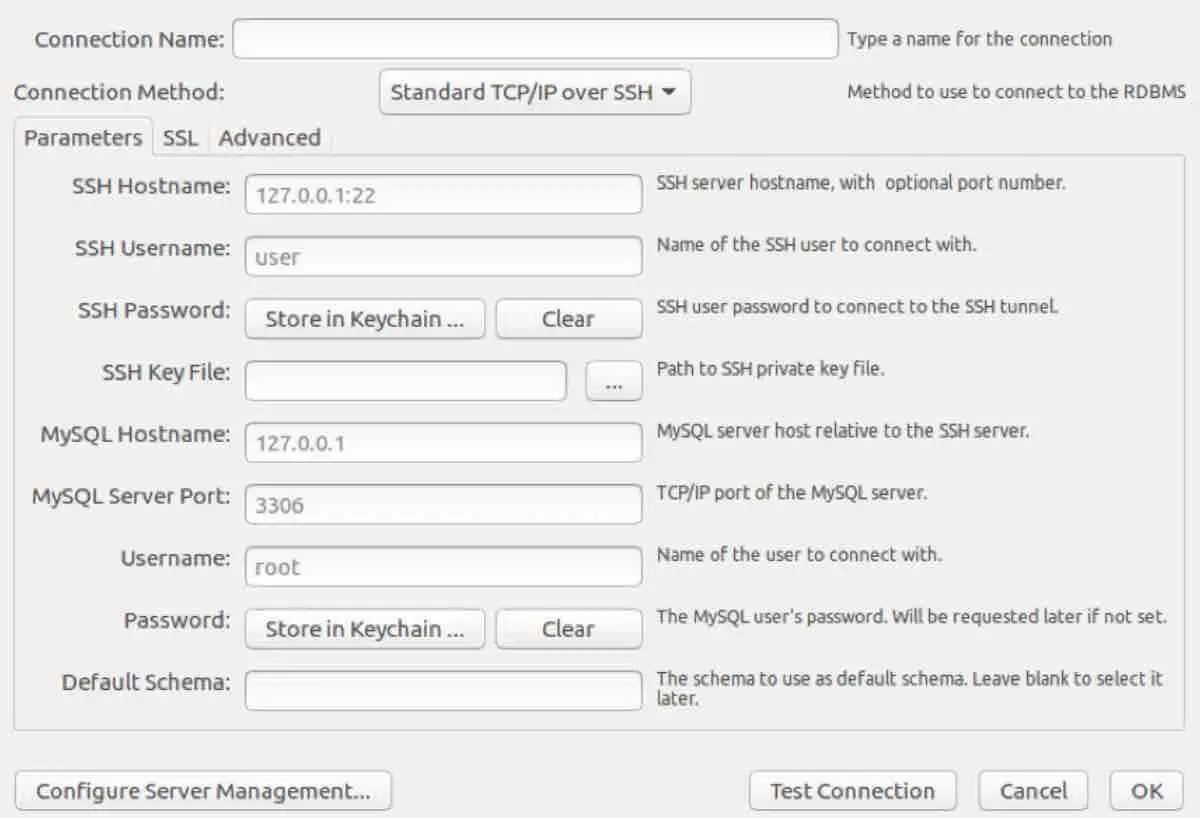
Log into MySQL WorkBench and then edit the connection.
Subsequently, change the user name root to your_user .
Close the program and then sign in again. You will see the following window:
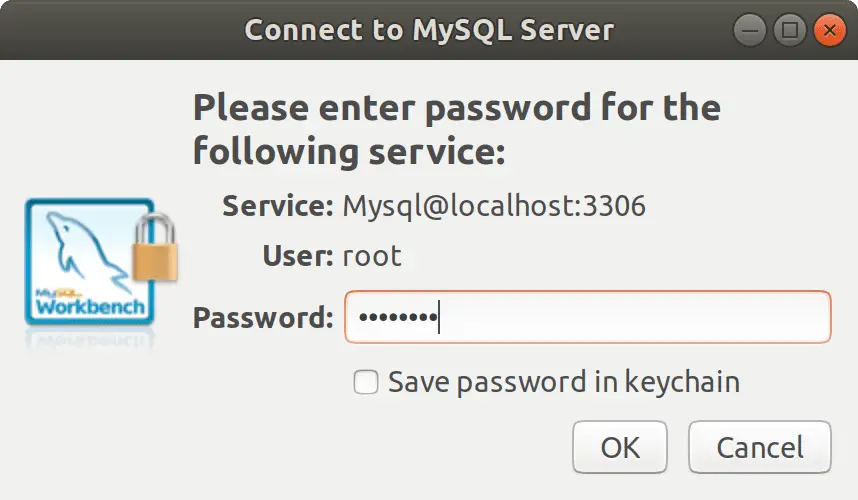
Enter your password and MySQL WorkBench will be working normally.
If you like the content, we would appreciate your support by buying us a coffee. Thank you so much for your visit and support.