Nowadays Java and JVM is used by many applications and softwares in various operating systems including Ubuntu based distros. Java is without a doubt, one of the first few packages you will want to install on a new Ubuntu installation no matter how much you dislike it. In this article, you will learn basic installation procedures of different versions of Java Developer Kit (JDK) and Java Runtime Environment (JRE). You will also be able to install official Oracle packages as well as OpenJDK. At the end, you will have the possibility to use JDK for program development and the JRE to execute your applications.
But before we start, let us dispel the confusion that you might have between OpenJDK, Oracle JDK, JRE and JDK.
Read: Hashset vs Hashmap in Java
Clear up the confusion
– OpenJDK is Java Development Kit open source implementation
– Oracle JDK is Java Development Kit from Oracle
– JRE (Java Runtime Environment) is used to run Java based programs
– JDK (Java Development Kit) is used to develop programs or software in Java or which require Java .
Whether you are a developer or you just need to run some Java based applications, you should now be able to know which kit you will need to install.
Let us then start to install these packages so that you get Java up and running on your Ubuntu installation.
Read: How to install Boost on Ubuntu 22.04
Check for existing java installation
In order to check if Java is already installed on your Ubuntu, open up the terminal and run the command:
java -version

As you can see above, Java is not installed on our Ubuntu, but the system is suggesting you some packages you can install. If however you get a different output, then it could be that you have Java installed, like for instance :

Installing JRE/JDK
First update the package index by issuing the command:
sudo apt update
And then to install OpenJDK, run the following command:
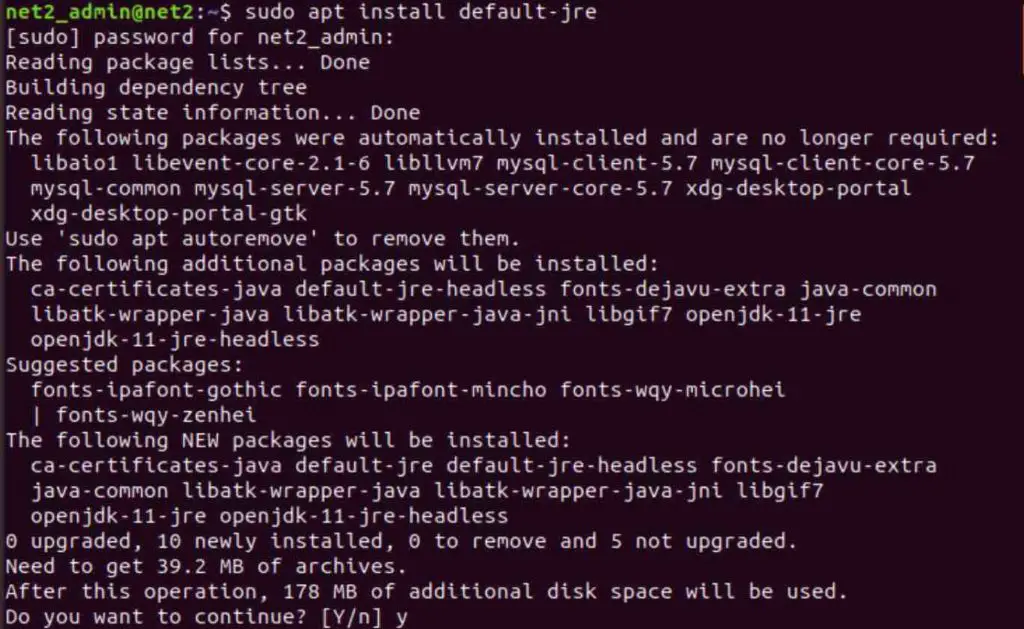
sudo apt install default-jre

Install jre on ubuntu
Enter ‘Y’ or ‘y’ when prompted.
Once finished, you will then have the latest Java Runtime Environment (JRE) package installed. You will be able to run Java based software. If however you need to install a specific version, you can write openjdk-8-jre or openjdk-10-jre instead of default-jre in the command argument above.
Read: A Comprehensive Guide to Installing GCC on Ubuntu 22.04
Now check the installation version with the command:
java -version

Your version might be different however to the above.
In case you require the Java Development Kit (JDK) in addition, in order to run and compile some Java based programs, run the following command:
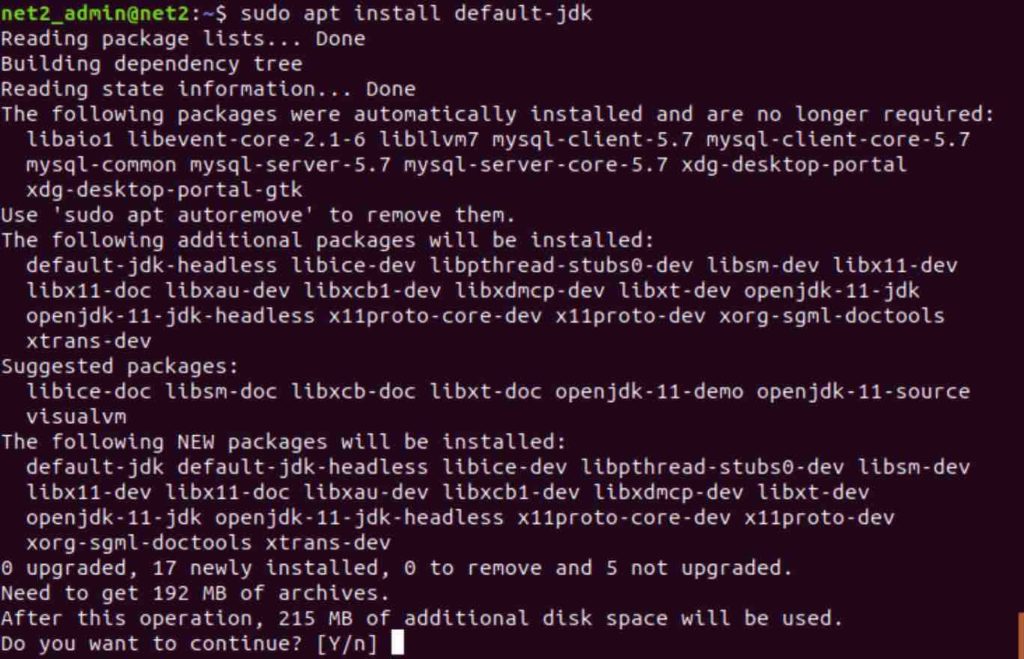
sudo apt install default-jdk

Install jdk on ubuntu
Enter ‘Y’ or ‘y’ when prompted.
Same as before, you can now check the version of javac by issuing the command :
javac -version

Oracle JDK Installation
In order to install theOracle official version, i.e. Oracle JDK, you’ll first need a new package repository to be added (it corresponds to the version you intend to use).
To install the latest LTS version, Java 8, run the following command to add its package repository:
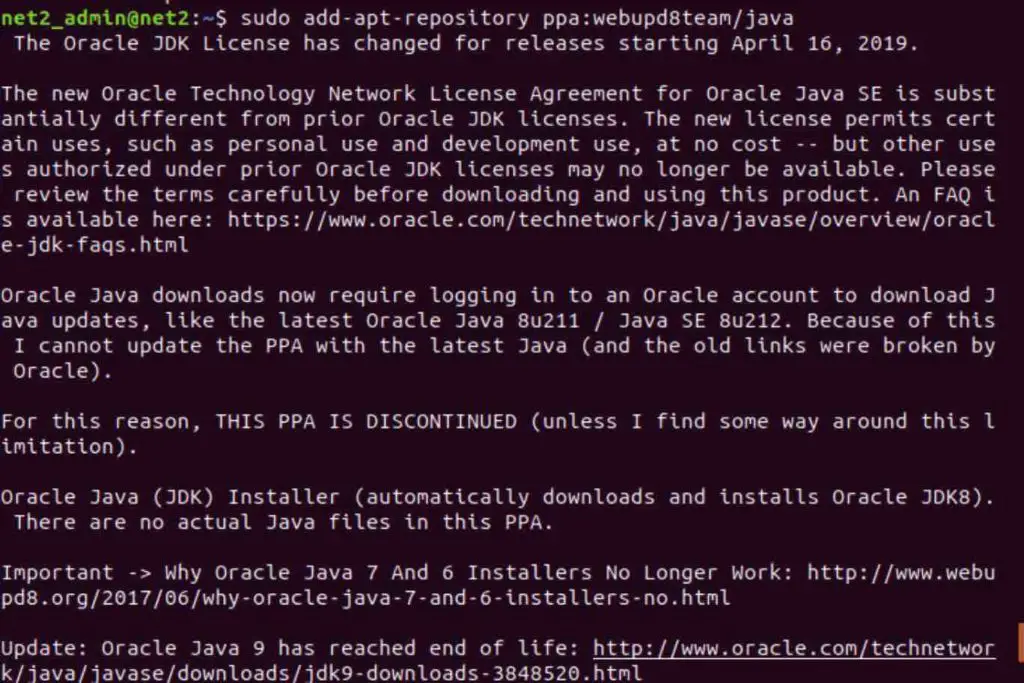
sudo add-apt-repository ppa:webupd8team/java

How to install java 8 on ubuntu
You should see an output which looks like the one above.
Now hit ENTER to continue. Once this is finished, update the package list via the command:
sudo apt update
Once this is done, install Java 8 as follows:
sudo apt install oracle-java8-installer
The JDK from Oracle will then be downloaded. You will need to accept the license agreement .
IMPORTANT UPDATE:
The Oracle Java ppa has been discontinued due to the licence change of Oracle, see https://launchpad.net/~webupd8team/+archive/ubuntu/java
Multiple installations
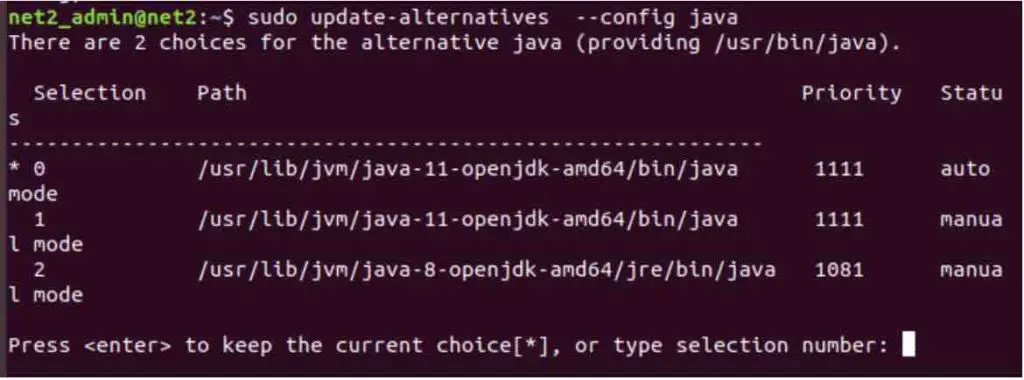
In case you have installed different Java installations , you can actually configure which version should be the default . This can be done by using the update-alternatives command.
sudo update-alternatives –config java
This is what the output would look like if you’ve installed 2 versions of Java:

Install java Ubuntu
Now select the number which corresponds to the Java version you would like to use as the default, or otherwise hit ENTER to keep the current settings.
You can also apply the above to the Java compiler (javac):
sudo update-alternatives –config javac

The JAVA_HOME Environment Variable
In order to determine the Java installation location, many Java programs use the JAVA_HOME environment variable .
To set the JAVA_HOME environment variable, you would first need to find where Java is installed. Issue again the update-alternatives you did above :
sudo update-alternatives –config java

In this case the installation paths are as follows:
OpenJDK 11 is located at /usr/lib/jvm/java-11-openjdk-amd64/bin/java.
OpenJDK 8 is located at /usr/lib/jvm/java-8-openjdk-amd64/jre/bin/java.
Read: How is the path environment variable managed in Linux/Ubuntu/Debian?
Copy the directory of the installation you will be working with and then edit the file /etc/environment using your favorite text editor or nano:
sudo nano /etc/environment
![]()
Which will open up the file in an editor :

Insert the line below at the end of the file. Remember to add the line you copied above:
JAVA_HOME=”/usr/lib/jvm/java-8-openjdk-amd64/bin/”
Configuring the JAVA_HOME path this way will set the environment for all users on the system.
Once you are done, save the file and exit.
In order to apply the modification to your current session, reload this file :
source /etc/environment
And check that the environment variable is set as you configured above by running:
echo $JAVA_HOME
Which will display the path you copied above.
Now you are all set ! You have installed different versions of Java. This will enable you install any Java based software .
If you like the content, we would appreciate your support by buying us a coffee. Thank you so much for your visit and support.


