Boost is a mighty C++ library used by many developers to provide various functions. If you’re on Ubuntu 22.04 and want to install Boost, follow these steps.
The Boost C++ libraries are a group of C++ libraries that are open-source and offer support for common tasks and functionalities in C++ programming. These libraries are widely used and respected by C++ developers and can be found in many applications and software projects.
The Boost libraries are user-friendly and easy to implement, with the added benefit of being well-documented and portable. They are released under the Boost Software License, which permits their usage in both commercial and open-source projects. These libraries cover a broad spectrum of topics, including data structures, algorithms, utilities, and many more.
First, use the apt package manager to install the necessary packages and dependencies. Then, choose to install Boost from Ubuntu repositories or source code. The source code option allows customization but requires more time and effort. Conversely, installing from Ubuntu repositories is quicker and simpler.
If you opt for the first method, you won’t get the newest version of the library, but the installation process will be quick and easy. For those who don’t need the latest release, the first option is a suitable choice. If you prefer the latest version, use the source method to install Boost libraries on your system.
This guide will walk you through both methods to help you successfully install Boost on Ubuntu 22.04.
Read: How to install Node.js on Linux/Ubuntu
How to install the Boost library from the repository of Ubuntu 22.04
First , ensure that your computer is up-to-date and that the APT package manager has the most recent package index cache:
sudo apt update && sudo apt upgrade
To begin the installation process, enter the command below into your terminal and wait for it to finish:
sudo apt install libboost-all-dev

Installing the Boost Library from the Source Package
This method will help you install the Boost library on your Ubuntu computer, but you’ll end up with an older version than the latest one available. Let’s dive right into the steps you’ll need to take.
To start, you’ll need to download the most recent release of Boost from the official website. Alternatively, you can also grab it from the Boost Github release section.
After the pages finish loading, you’ll want to click on the “Download” button, which will take you to the index page. There, you’ll be able to find libraries available in various compressions.
Read: How to Install Java on Ubuntu
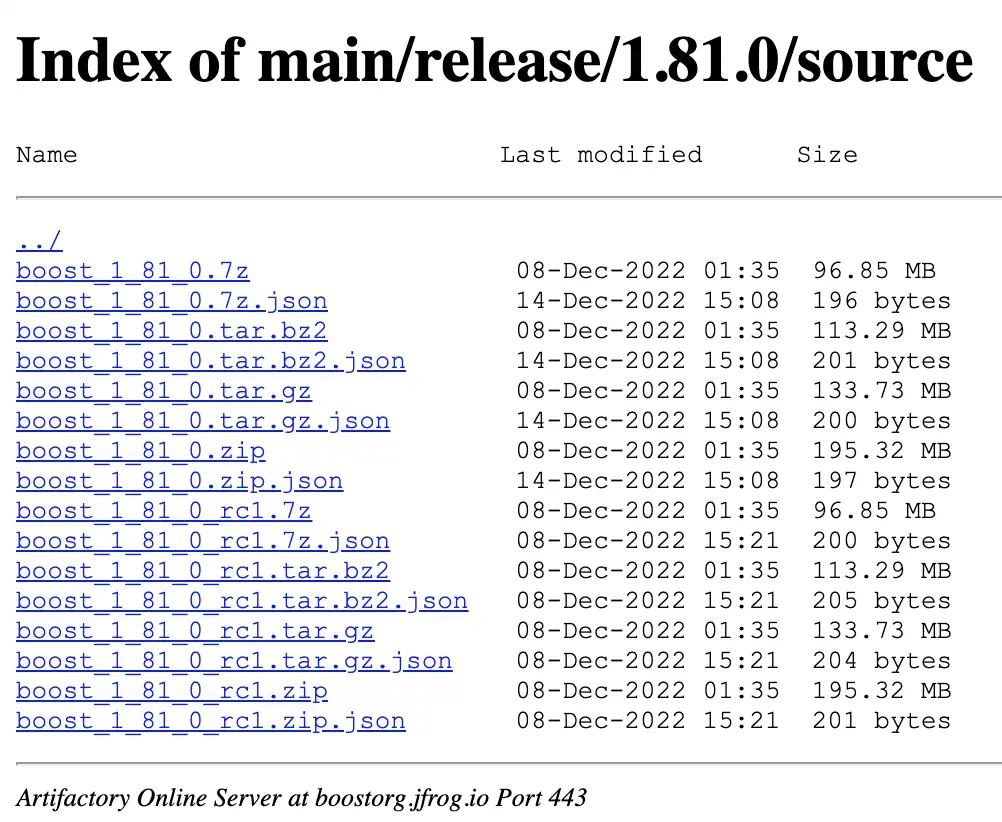
As of right now, the most recent version of these instructions is 1.81.0. For this article, I’ll be downloading boost_1_81_0.tar.gz, but there are other compressed files available if you prefer them.
After you’ve finished downloading the file, navigate to the directory where it’s located and extract it using the tar command provided below. If you downloaded boost_1_81_0_.tar.gz, this is the command you’ll need to use.
tar xvf boost_1_81_0.tar.gz
Once the libraries are extracted, they can be used with your project as a portable resource. Be sure to remember the directory where the libraries were extracted.
If you prefer to use the Command terminal to download the file, you can use the “wget” command followed by the URL of the file. To get the URL of the Tar file, simply right-click on it and choose “Copy Address” :
wget https://boostorg.jfrog.io/artifactory/main/release/1.81.0/source/boost_1_81_0.tar.gz
Once you’ve used the command mentioned in the previous step to extract the files, you can change to the extracted directory by entering the “cd” command followed by the name of the directory, which in this case would be “boost_1_81_0”.
Read: Best download managers for Linux Ubuntu/Debian
Setting up Boost’s bootstrap
Once you’ve completed the previous step, proceed by running the given command to initiate the Bootstrap script that is located within the Boost extracted folder. This script will begin the process of building a B2 engine and store the compiled library files under /usr/include/boost.
./bootstrap.sh –prefix=/usr/
After successfully building the b2 engine, there should be an executable file named b2 inside the Boost folder. This file needs to be run to begin building the Boost C++ libraries.
sudo ./b2 install
Using the Boost libraries
Here is an example that uses the Boost libraries :
- #include <boost/filesystem.hpp>
- #include <iostream>
- int main()
- {
- boost::filesystem::path pathObj(“/”);
- std::cout << “Root directory: ” << pathObj.root_directory() << std::endl;
- return 0;
- }
This code uses the Boost.Filesystem library to get the root directory of the file system. It creates a boost::filesystem::path object representing the root directory (“/”), and then uses the root_directory() function to get the root directory and print it to the console.
If you like the content, we would appreciate your support by buying us a coffee. Thank you so much for your visit and support.