If you’re looking to work with large volumes of data that don’t neatly fit into traditional tables, MongoDB is a fantastic choice. It’s a highly popular document-oriented database,
which means it offers great flexibility in how you structure your information. Think of it as a digital filing cabinet where each file (or document) can have its own unique layout – perfect for today’s diverse data needs, especially when you need to manage unstructured or semi-structured data efficiently.
Many developers, myself included, rely on MongoDB for building dynamic web and mobile applications, especially when speed and scalability are key. It’s designed to handle massive datasets and a variety of data models and programming languages without breaking a sweat. This makes it a go-to for projects requiring fast data access and agile development for NoSQL data on Linux.
So, what makes MongoDB a crowd-pleaser? Well, it excels at managing complex, hierarchical data. Its flexible indexing capabilities are a big plus, and it’s built for distributed environments, meaning it can scale out across multiple machines.

With a rich ecosystem of tools and extensive driver support, MongoDB is an excellent option whether you’re developing cutting-edge applications or diving deep into data analysis with a flexible schema database.
In this guide, I’ll personally walk you through the step-by-step MongoDB installation on Ubuntu 22.04. We’ll cover everything from adding the repository to setting up and configuring MongoDB so it’s ready to roll on your system. Whether you’re a seasoned pro or just starting your journey with NoSQL databases, stick with me, and you’ll have MongoDB up and running on your Ubuntu 22.04 machine in no time!
Getting MongoDB Installed on Your Ubuntu 22.04 System
Alright, let’s get our hands dirty! To kick off the MongoDB installation, fire up your terminal. First, we need to import the MongoDB public GPG Key.

Read: How to install Gravit Designer on Ubuntu
Your system uses this key to verify that the MongoDB packages we’re about to install are authentic. Type or paste the command below (Modern Ubuntu systems recommend using /etc/apt/keyrings/ directory and the signed-by option in sources list files instead of apt-key):
sudo wget -qO - https://www.mongodb.org/static/pgp/server-6.0.asc | sudo apt-key add -
Next up, we need to tell your system where to find the MongoDB packages. We do this by creating a list file for MongoDB. Execute the following command:
sudo echo "deb [ arch=amd64,arm64 ] https://repo.mongodb.org/apt/ubuntu focal/mongodb-org/6.0 multiverse" | sudo tee /etc/apt/sources.list.d/mongodb-org-6.0.list
A quick heads-up: You might notice “focal” (which is Ubuntu 20.04) in the command. Don’t worry! As of writing this, MongoDB officially provides these `focal` packages, and from my experience, they work smoothly on Ubuntu 22.04 “Jammy Jellyfish”.
With the repository added, it’s time to refresh your local package index. This ensures your system knows the newly added MongoDB repository and any other updates. Run this command:
sudo apt-get update -y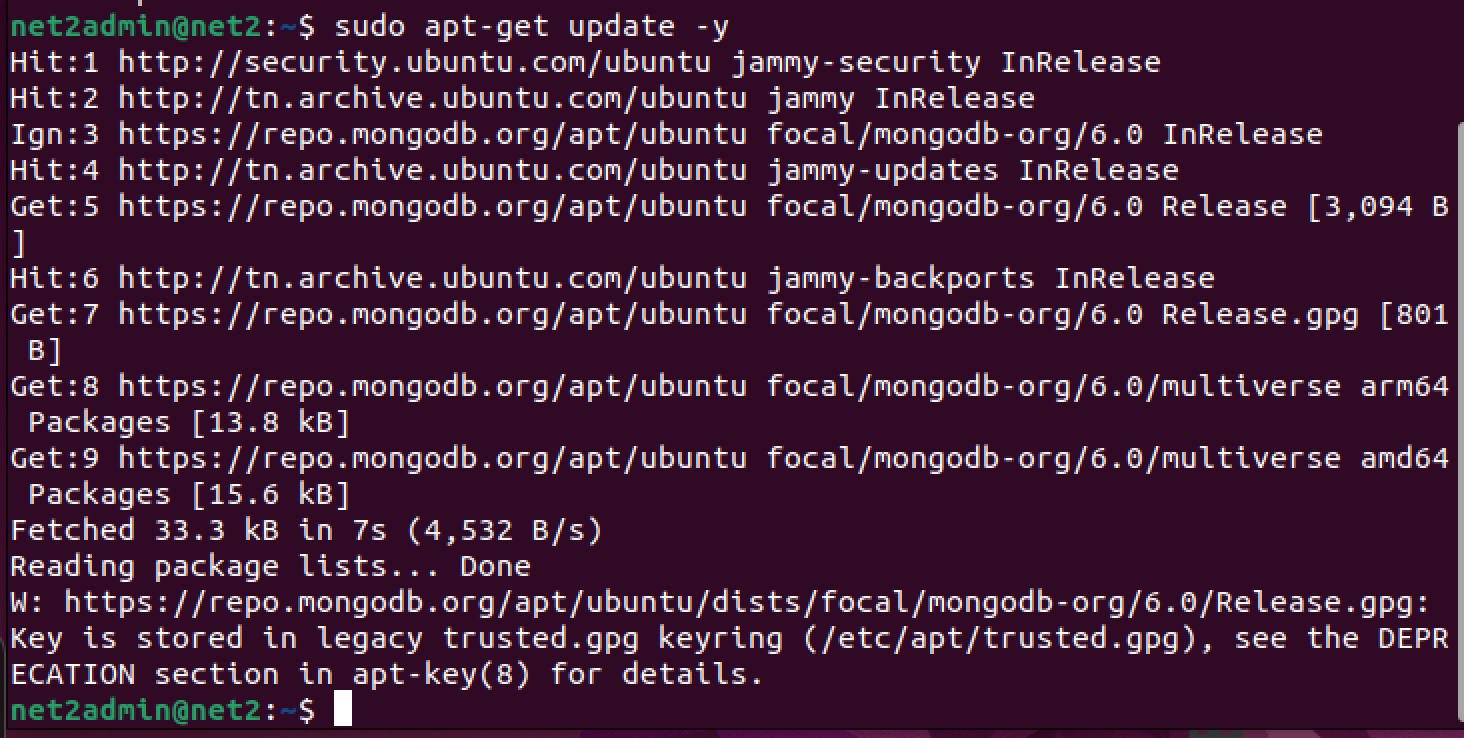
MongoDB has a dependency on a specific version of OpenSSL, `libssl1.1`. This particular version isn’t available by default in Ubuntu 22.04’s standard repositories, so we’ll need to download and install it manually. First, let’s grab the required `.deb` package:
sudo wget http://archive.ubuntu.com/ubuntu/pool/main/o/openssl/libssl1.1_1.1.1f-1ubuntu2_amd64.deb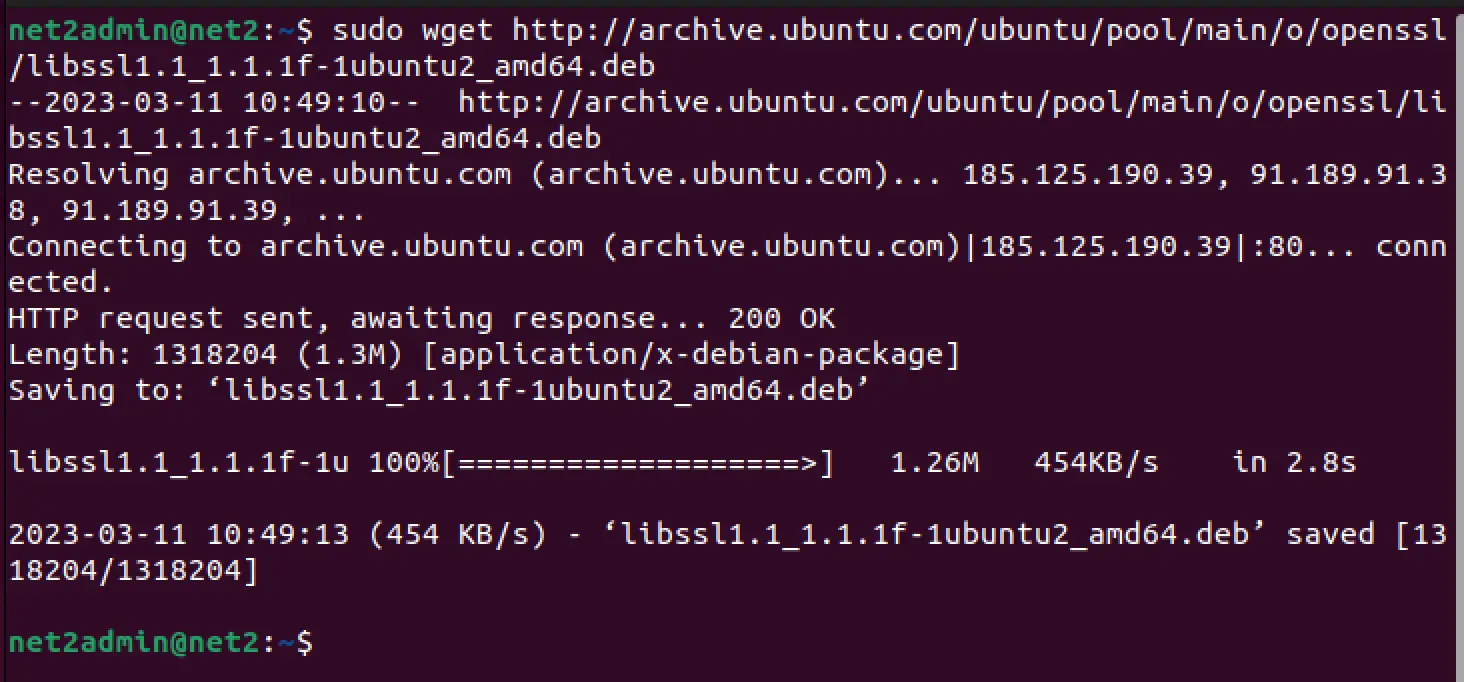
And now, let’s install the downloaded `libssl1.1` package using `dpkg` (Debian Package Manager):
sudo dpkg -i libssl1.1_1.1.1f-1ubuntu2_amd64.deb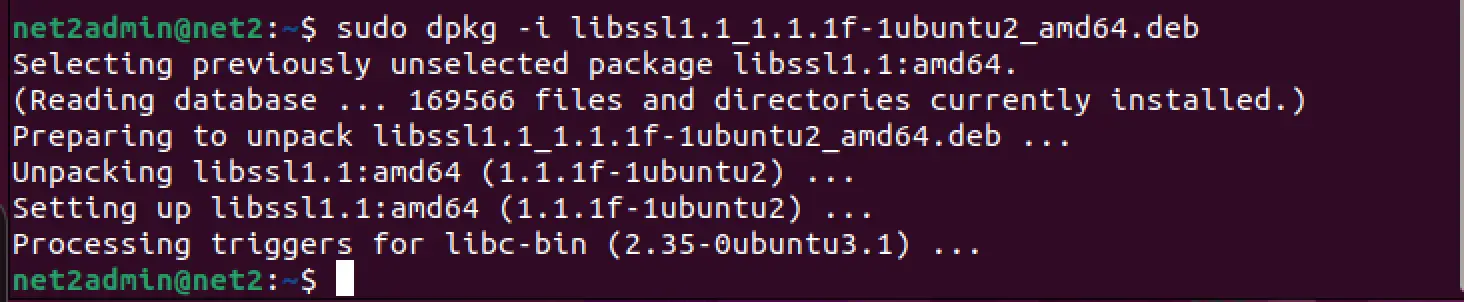
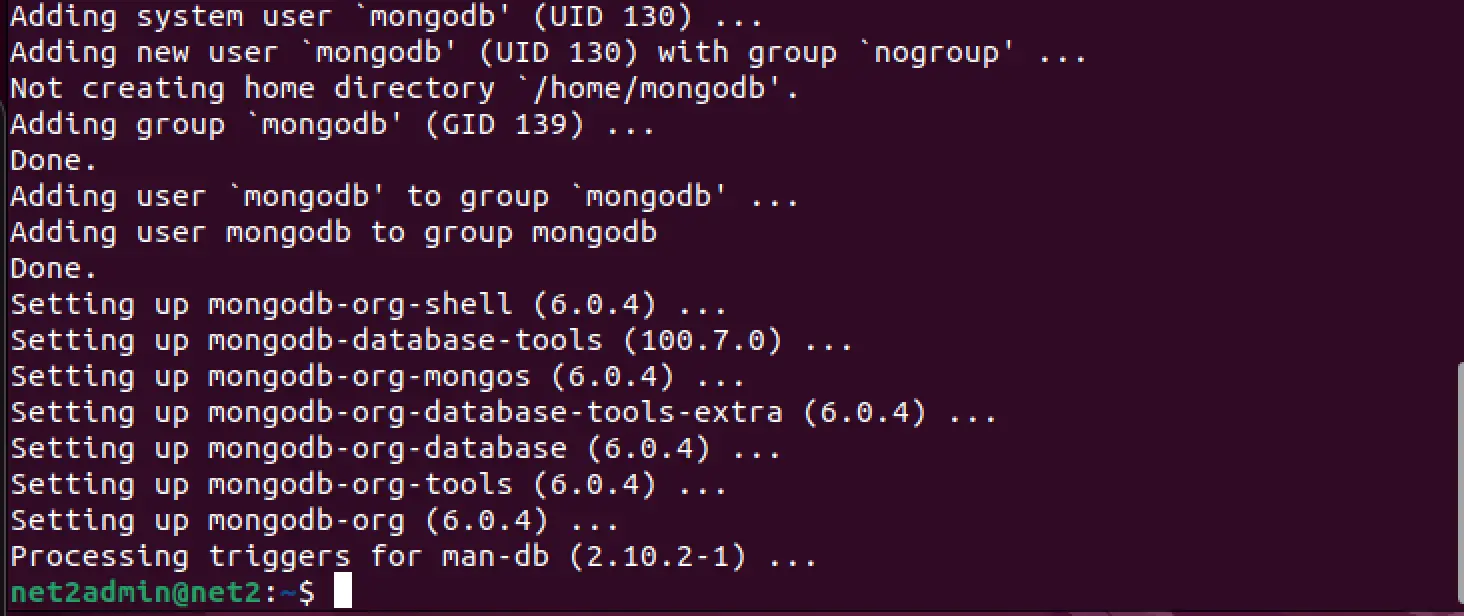
Finally, the moment we’ve been working towards! Let’s install the latest stable version of MongoDB. The `mongodb-org` package is a handy metapackage that will automatically pull in four essential component packages: `mongodb-org-server` (the database server itself), `mongodb-org-mongos` (the sharding router), `mongodb-org-shell` (which is now `mongosh`, the interactive shell), and `mongodb-org-tools` (a collection of command-line utilities for MongoDB).
sudo apt-get install -y mongodb-org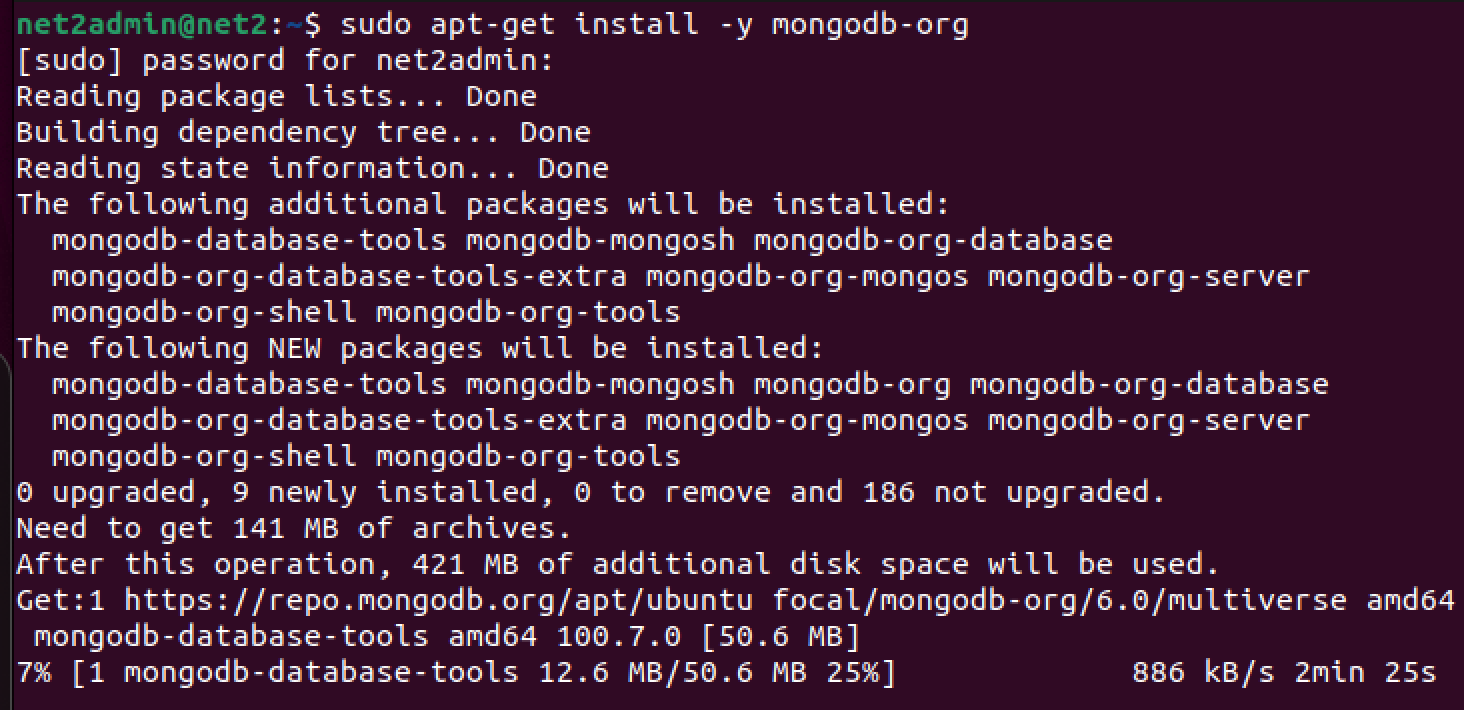
Read: Setting up Bluetooth on Ubuntu 22.04
Once the installation script finishes its magic, MongoDB might not start up on its own. It’s common to see a message similar to the one below, which usually indicates the service hasn’t been started or enabled to run at boot:
To check the current status of the MongoDB service (which runs as `mongod`), you can use this `systemctl` command:
sudo systemctl status mongod.service
If it shows as “inactive (dead)”, don’t fret! We just need to give it a nudge. To start the MongoDB service, run the following command:
sudo systemctl start mongod![]()
Now, let’s double-check the status again. This time, you should see it reported as “active (running)”:
sudo systemctl status mongod.service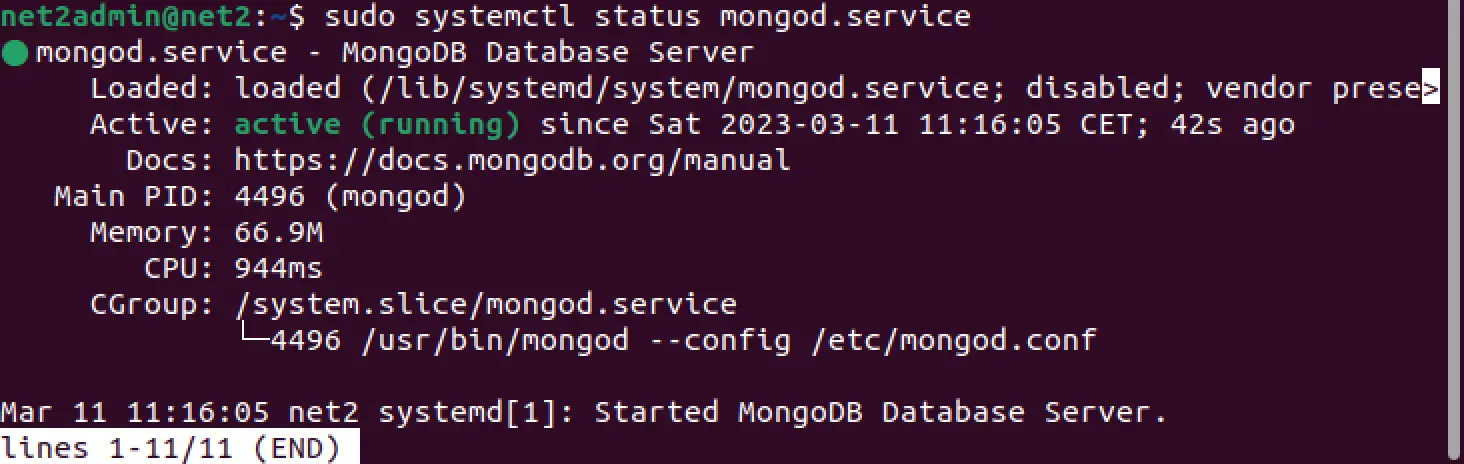
To make your life easier and ensure MongoDB is always ready for you whenever your computer boots up, you’ll want to enable the service to start automatically. It’s a simple one-liner:
sudo systemctl enable mongod.serviceThis command usually creates the necessary system links for the service to launch on boot. Typically, it executes silently or gives a brief confirmation message.
With MongoDB installed, running, and enabled, it’s time for the fun part: connecting to it! We’ll use the MongoDB Shell, `mongosh`. In your terminal, just type:
sudo mongoshUsing `sudo` here connects you as the root user to the MongoDB instance. For day-to-day development or production use, it’s a much better security practice to create a dedicated MongoDB user with specific permissions. But for now, this gets us in!
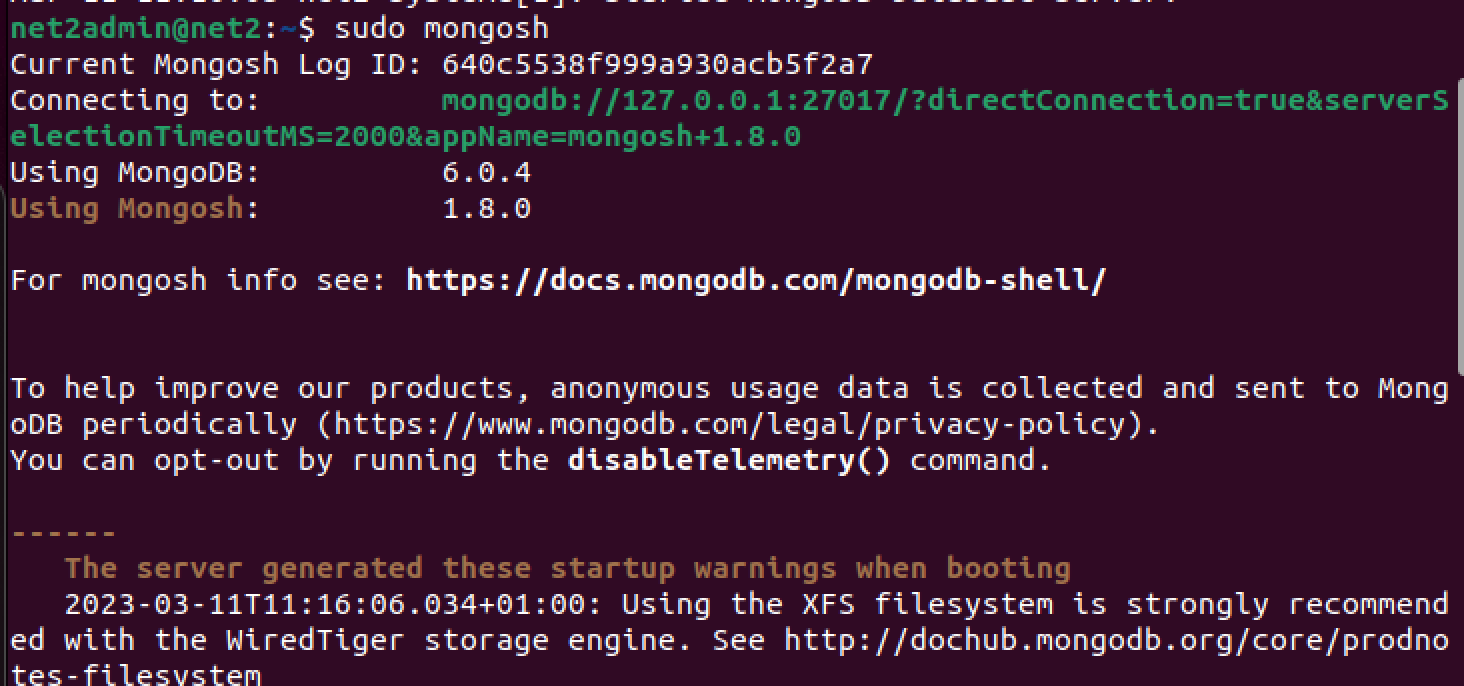
Awesome! You should now be greeted by the MongoDB shell prompt, meaning you’re ready to interact with your database server. Let’s try a couple of basic operations to get a feel for it.
For instance, to create and switch to a new database named `myDatabase`, you’d use the `use` command. A neat thing about MongoDB is that if the database doesn’t exist, it gets created implicitly when you first store data in one of its collections.
use myDatabase![]()
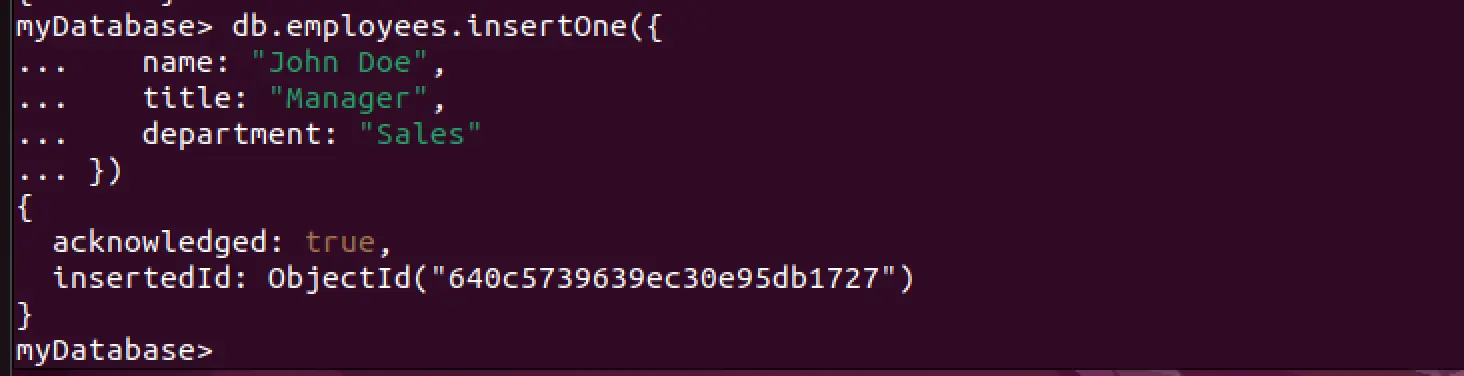
Now, let’s create a “collection” (which is MongoDB’s equivalent of a table in SQL databases) called `employees`. We’ll also insert our first “document” into it. A document is simply a set of key-value pairs, and MongoDB stores these in BSON format (think of it as a binary, more efficient version of JSON).

Quick Tip: The image above actually shows an `insertMany` example, which is great for adding multiple documents at once. My command example uses `insertOne` for simplicity with a single document. Both are perfectly valid ways to populate your collections!

Once your collection is created, you can easily add more documents. Use `insertOne()` for individual entries or `insertMany()` if you have a batch of documents to add. For example, if you wanted to add another employee record for “John Doe” with the title “Manager” in the “Sales” department, you could run this command:
One of the real beauties of MongoDB is its schema flexibility. You can add any number of fields to each document, and documents within the same collection don’t all need to have the exact same structure. Plus, MongoDB provides a rich query language and a host of methods to update, delete, and retrieve your documents with ease.
Read: How to Install Kubernetes on Ubuntu 22.04
How to Uninstall MongoDB from Ubuntu
If you ever find yourself needing to remove MongoDB from your Ubuntu system, the process is quite straightforward. First, it’s a good idea to stop the MongoDB service if it’s running:
sudo systemctl stop mongodThen, to remove the MongoDB packages themselves, you can use the following command. Using `purge` is generally recommended over just `remove` if you also want to get rid of system-wide configuration files associated with the packages. The asterisk (`*`) helps ensure all related `mongodb-org` packages are targeted:
sudo apt-get purge mongodb-org*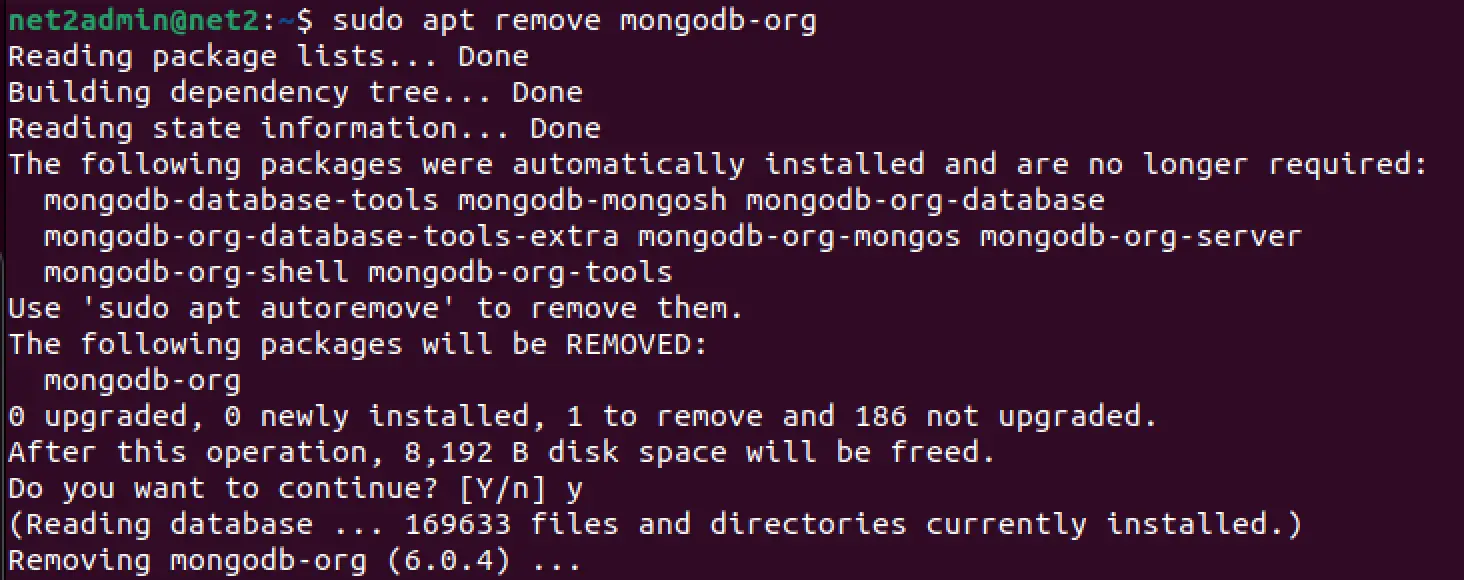
Note: The image shows the `apt remove mongodb-org` command. While this works, `apt-get purge mongodb-org*` is a more thorough option if you want to ensure configuration files are also deleted.

Finally, to clean up any dependencies that were installed for MongoDB but are no longer needed by any other package on your system, run:
sudo apt autoremove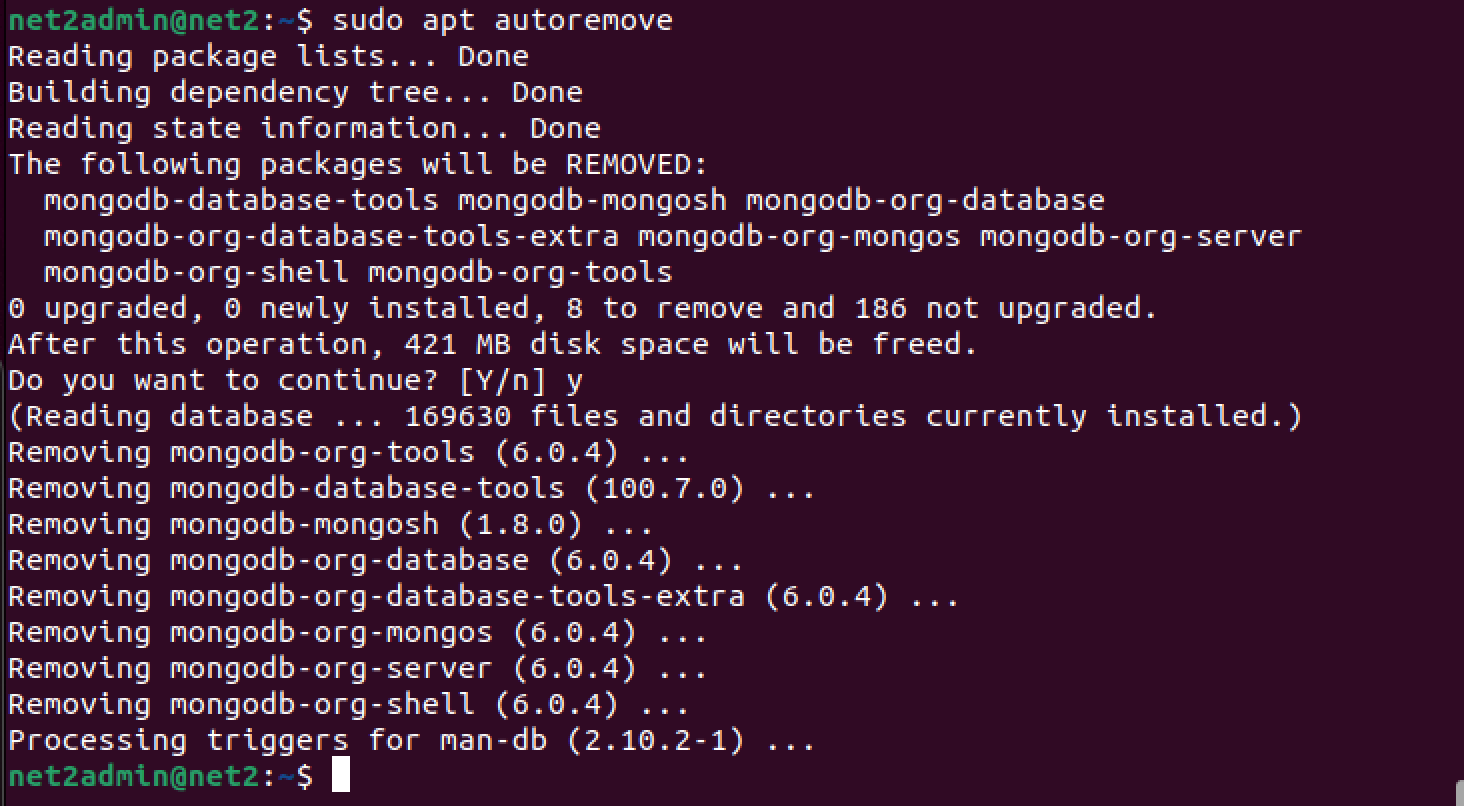
It’s important to know that this uninstallation process removes the MongoDB software packages and, if `purge` was used, its configuration files. However, it typically does not remove the actual data files (usually stored in `/var/lib/mongodb`) or log files (often found in `/var/log/mongodb`).
If you want to completely remove all traces of MongoDB, including your data and logs, you would need to manually delete these directories. Proceed with extreme caution if you choose to do this, as it will permanently delete your data:
sudo rm -r /var/log/mongodb
sudo rm -r /var/lib/mongodb
Again, be absolutely sure before running `rm -r` commands, especially with `sudo`, as there’s no undo!
Wrapping Up Our MongoDB Journey
And there you have it! Setting up MongoDB on your Ubuntu 22.04 system is a pretty smooth sail once you know the steps. By following the instructions we’ve walked through in this article, you should now have a fully functional MongoDB installation, ready for your development projects or for simply exploring this powerful NoSQL database. This setup is ideal for anyone looking into MongoDB database administration basics on Ubuntu.
Whether you’re a developer looking to integrate MongoDB for web applications, a data scientist needing a flexible datastore, or someone keen on understanding how to manage NoSQL data on Linux, I hope this guide has provided you with the clarity and confidence to get started. MongoDB offers a lot of power and flexibility, and now it’s at your fingertips.
If you like the content, we would appreciate your support by buying us a coffee. Thank you so much for your visit and support.