In this article I’ll show you how to restore your bootloader, your grub loader that allows you to switch between Windows and Ubuntu – now the bootloader or the grub loader can disappear for a number of reasons. If you have Ubuntu running on your computer but you decide to install Windows after you install Ubuntu, the Bootloader will be erased. Once you turn off your computer and then turn it back on, you will be landing on Windows !
That’s a serious issue because we want to be able to switch between Ubuntu and Windows.
In order to fix this issue we would need to create a bootable USB flash drive or hard drive of Ubuntu. Visit the Ubuntu website and download your Ubuntu flavor type. It is recommended to download the 64 bit version though. The download will take a while…
Read: Best Partition Managers for Linux Users
In the meantime we’re going to download the program called universal USB installer here. Once you have downloaded the USB installer file, click on it and then press Yes on any prompts.

Now if the Ubuntu file has finished downloading, you can select the Linux distribution from the drop-down. Make sure your USB is plugged in . Specify your USB drive as shown below and check the box “We will format [your USB drive ] as FAT32” :

Make sure beforehand to back up any important files. Click on Create and press Yes. We are creating a USB because we want to get into Ubuntu Bootloader and try to fix it so that we get a boot menu to switch between Windows and Ubuntu.
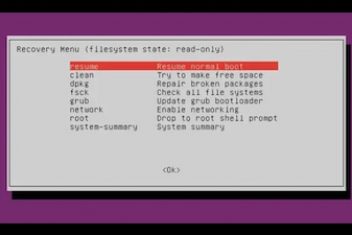
Read: How to Access Recovery Mode in Ubuntu Linux 22.04
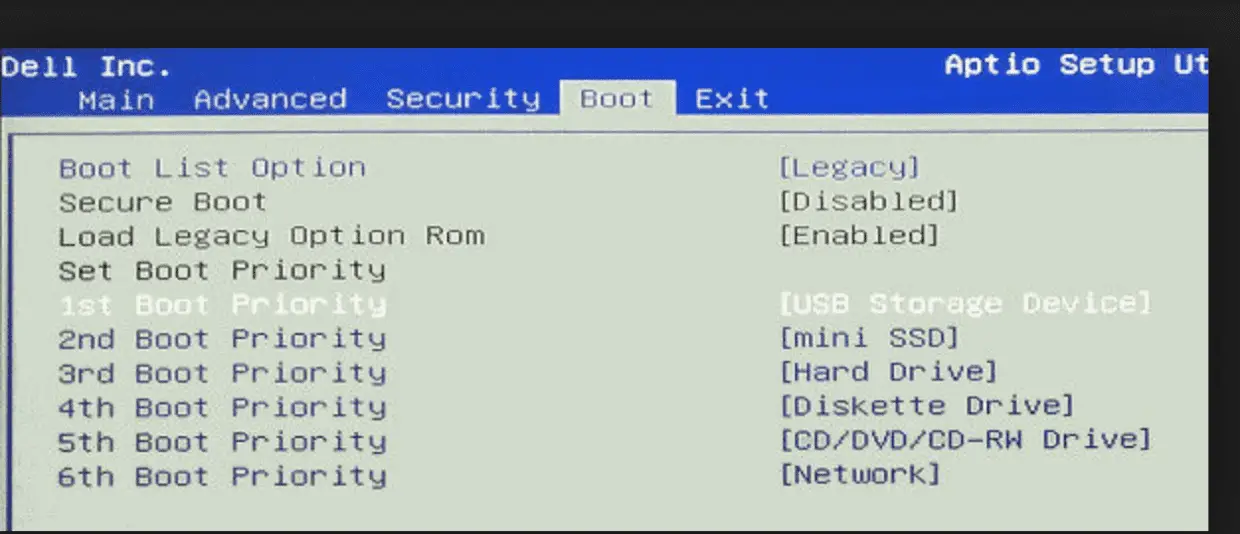
Wait about 15-20 minutes as it completes the creation of the USB. Now you can restart your computer and make sure to open the boot menu and boot into your USB storage device [make sure it has the priority as shown below] :

Read: How to install and uninstall applications on Ubuntu ? A Beginner’s guide
Ubuntu boot repair
Once you are ready to make your selection, choose ‘try Ubuntu without installing’ and wait until it loads up. This will bring you to a trial of Ubuntu to a version where basically it lives on that USB storage device. Open up a terminal and type in the command :
sudo add-apt-repository ppa:yannubuntu/boot-repair
And then
sudo apt-get update
and finally write :
sudo apt-get install boot-repair
This latter will simply install boot repair. So go ahead and type in the command :
boot-repair
This will open the boot repair program (see below). You would need to wait a little until it loads up.

Boot repair Ubuntu
Read: How to fix Ubuntu boot issues
Now click on Recommend Repair .This will take a few minutes…
You will get a popup window asking you to boot up your computer. So go ahead and restart your machine. In the boot menu you will hopefully find Ubuntu along with your windows installations.
Customizing GRUB Bootloader
In this section, we are going to customize the grub loader so that we would be able to add our own menu entries and delete duplicates.
So go ahead and log in into Ubuntu. Open up a terminal and type in the command
sudo fdisk – l
This will show us all the available partitions on the current device. An example output is shown below:

Read: Resolving “Symbol ‘grub_calloc’ Not Found” GRUB Boot Errors
Now issue the command :
cd /boot/grub/
And then
sudo gedit grub.cfg
Which will open up the file grub.cfg. Now we look up for a windows menu entry. One of the partitions should contain the windows files which you can check by displaying its content. Below you can see two windows menu entries :

Here is an example output with a Fedora installed :

You can delete the entry you wish to remove by making a selection as shown above. This will delete the corresponding menu entry. You can also remove other menu entries that you don’t really use . The next time you reboot, you will notice in the boot menu that the entry is gone.
If you like the content, we would appreciate your support by buying us a coffee. Thank you so much for your visit and support.


