Gunzip It is a utility that decompresses already compressed files such as images, documents, audio tracks, etc . Gunzip accepts many file extensions such as .gz, -gz, _z,.z, -z , .Z, .tgz or .taz. After applying gunzip, the original file’s extension will be restored.
Gunzip currently is able to decompress files that were compressed by gzip,compress, zip, or pack. Input format detection is automatic. When the formats gzip and zip were used, gunzip does a 32-bit CRC checks. For pack however, gunzip will actually verify the uncompressed length.
In this tutorial, you will learn how to use the gunzip command through simple examples so that you will be able to decompress files easily.
Read: 4 Benefits of Compressing Files and Folders Using Tar Backup in Linux OS
Syntax of gunzip
The gunzip command has a simple syntax with has switches that control its behavior. Gunzip can be used according to the syntax below :
gunzip [Option] [archive name/file name]
Decompressing files using gunzip
In order to decompress a .gz file with gunzip, run the following command:
gunzip your_filename.gz. [gunzip command in linux]

gunzip Linux
After the decompression, the original file name, timestamp and ownership mode will be restored .
The -d switch allows also to perform a decompression operation as well.
Read: How to compress JPEG or PNG images in Linux using the terminal
Decompressing while keeping the original file: -k option
By default, after the decompression by gunzip, the original compressed file will no longer be found. In order to retain a copy of the original file, use the -k switch as follows :
gunzip -k filename.gz

unzip Linux command: Gunzip
Displaying the file content while Decompressing: -c option
In order to display the output on the terminal, you would need to use the -c switch as follows :
gunzip -c your_filename.gz
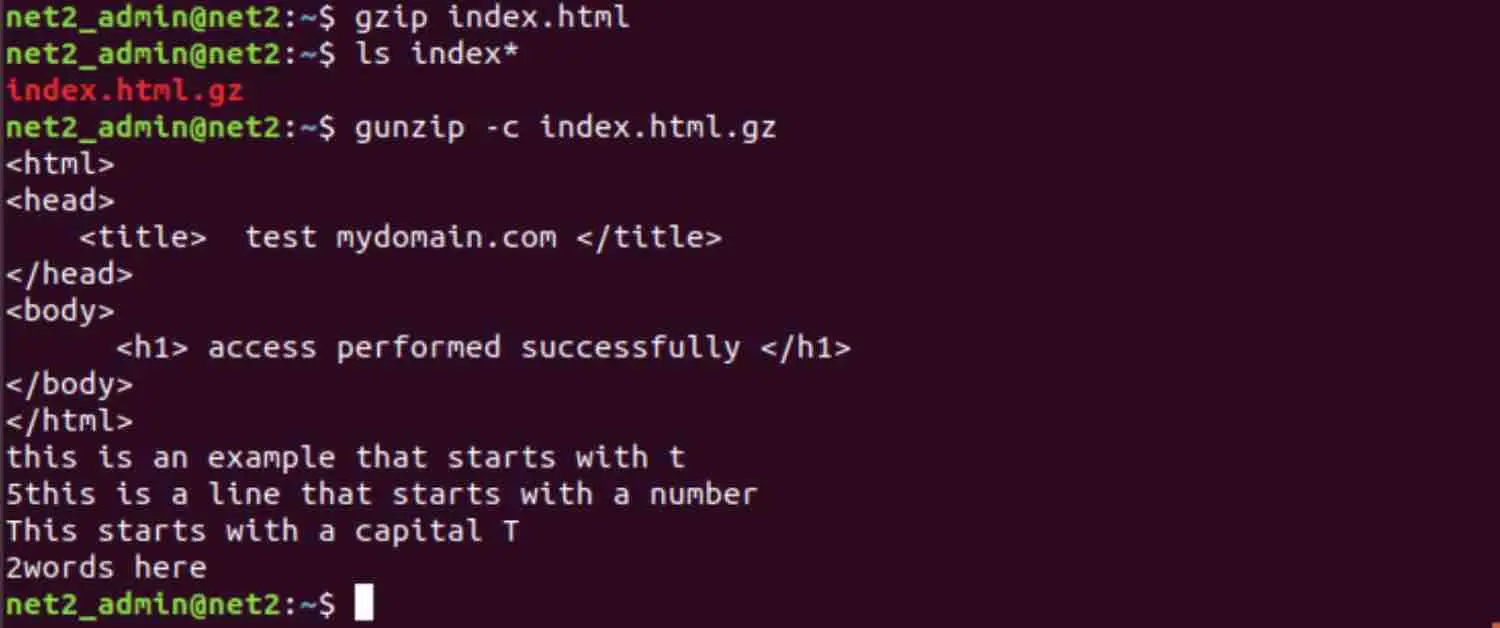
unzip file Ubuntu
We can see in the snapshot above the content of the decompressed file index.html.
Decompressing to another folder
It is possible to decompress the file to another folder while keeping the original one, using also the -c option as follows :
gunzip -c your_filename.gz > /anotherdirectory/path/
Decompressing multiple files
The gunzip tool can also accept multiple files as input arguments, for example :
gunzip your_file1.gz your_file2.gz your_file3.gz
Recursive decompressing : -r option
In order to decompresses all files recursively in a specific directory, use the -r switch:
gunzip -r directory
gunzip will descend into the directory provided and decompresses all files it finds there.
Compression/Decompression information output: -l option
After decompressing a file, gunzip is able to provide further information about the decompression/compression operation:
gunzip -l index.html.gz
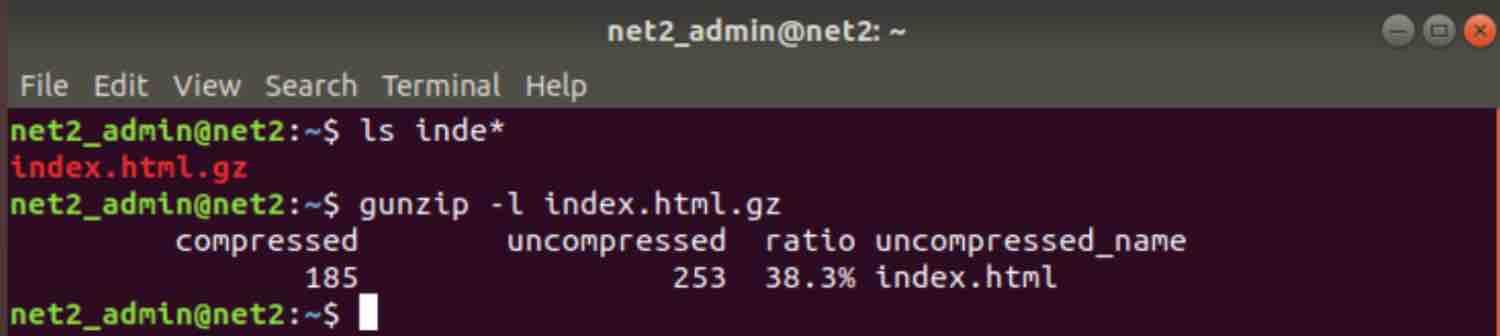
The output returned, as shown in the snapshot above, includes the uncompressed and compressed size, the compression ratio and the uncompressed file name.
Read : How to use the Tar command in Linux to compress and extract files
Verbose output: -v option
Using the -v option, will return additional information as shown below:
gunzip -lv index.html.gz

unzip Ubuntu command: Gunzip
The additional fields shown are :
crc : Displays the uncompressed data 32-bit CRC information
date & time: Yields the uncompressed file time stamp
Decompression Forcing : -f option
If you are running gunzip in a script, it could refuse to decompress certain files. This is in fact not related to gunzip functionality per se, but most of time , it could be due to external factors. For instance, if you are decompressing a file whose original name already exists in the corresponding folder, then gunzip wouldn’t proceed with the operation.
Read : How to find the largest files on Linux
You will actually be prompted if the file already exists like the example below :

However this is because you are in dialog mode, but imagine this is executed as part of a long script, you wouldn’t answer each and every prompt. In this situation, you could use the -f switch in order to force the decompression as in the following command:

As you can notice, there was no prompt. However, you would need to be careful since this will overwrite the file with the same name.

As you can see, the other file got lost…
Integrity test: -t option
In order to verify that a given file was compressed using the gzip tool, execute gunzip with -t switch as shown below :
gunzip -t your_filename.gz

As you can see, no message has been returned which indicates that the file is valid and that it was indeed compressed using gzip. If the file however is invalid, you will get a message back.
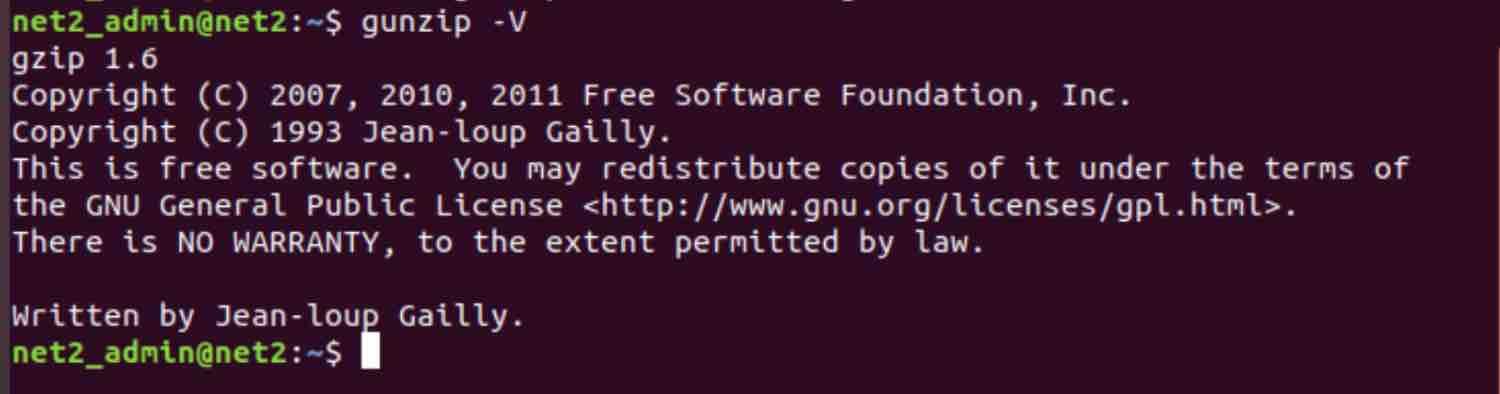
Gunzip version output: -V option
In order to display the current gunzip version number, use the command below :
gunzip -V
For more on gunzip and how to unzip gz files in linux, you may want to refer to the original documentation here.
If you like the content, we would appreciate your support by buying us a coffee. Thank you so much for your visit and support.
“Gunzip It is a utility that decompresses files such as images, documents and audio tracks.”
No it does not. It decompresses files created by gzip, zip, compress or pack. Those files in turn may be a compressed copy of any type of file.
Keep reading- the files must have been compressed already yes – Thanks for your comment