Developers nowadays are using Git to help them control and manage their ever changing source code versions as well as to keep track of potential code changes. Git enables developers and programmers to create different branches, revert to previous code versions, make sophisticated code comparisons and many other features. In this tutorial, we will demonstrate the steps required to install one of the most popular version control systems, .i.e. Git on Ubuntu 18.04 using two methods. The same instructions apply for similar Linux distros.
Git installation using the apt command
Like many other applications, the recommended way to install Git is to use Ubuntu’s default repositories. Although this is the fastest and easiest method, the version you would get might not be the latest. In case you need the most recent version, you can skip to the next section in which you would be able to install git from source.
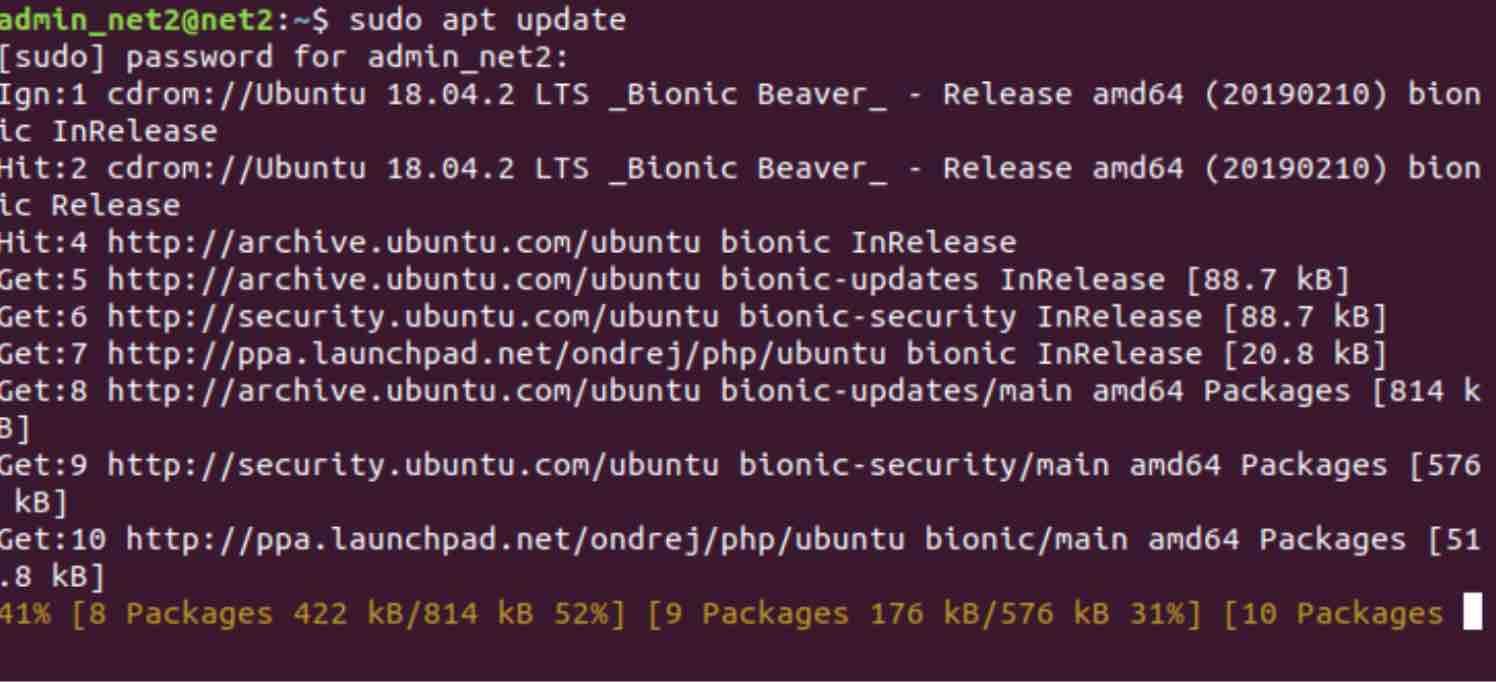
As with most installations using the apt package management utilities, you would first need to update your package list index by running the usual :
sudo apt update
Read: How to install and uninstall applications on Ubuntu : A Beginner’s guide
One this finished, go ahead and run the command below :
sudo apt install git [install git Ubuntu command]
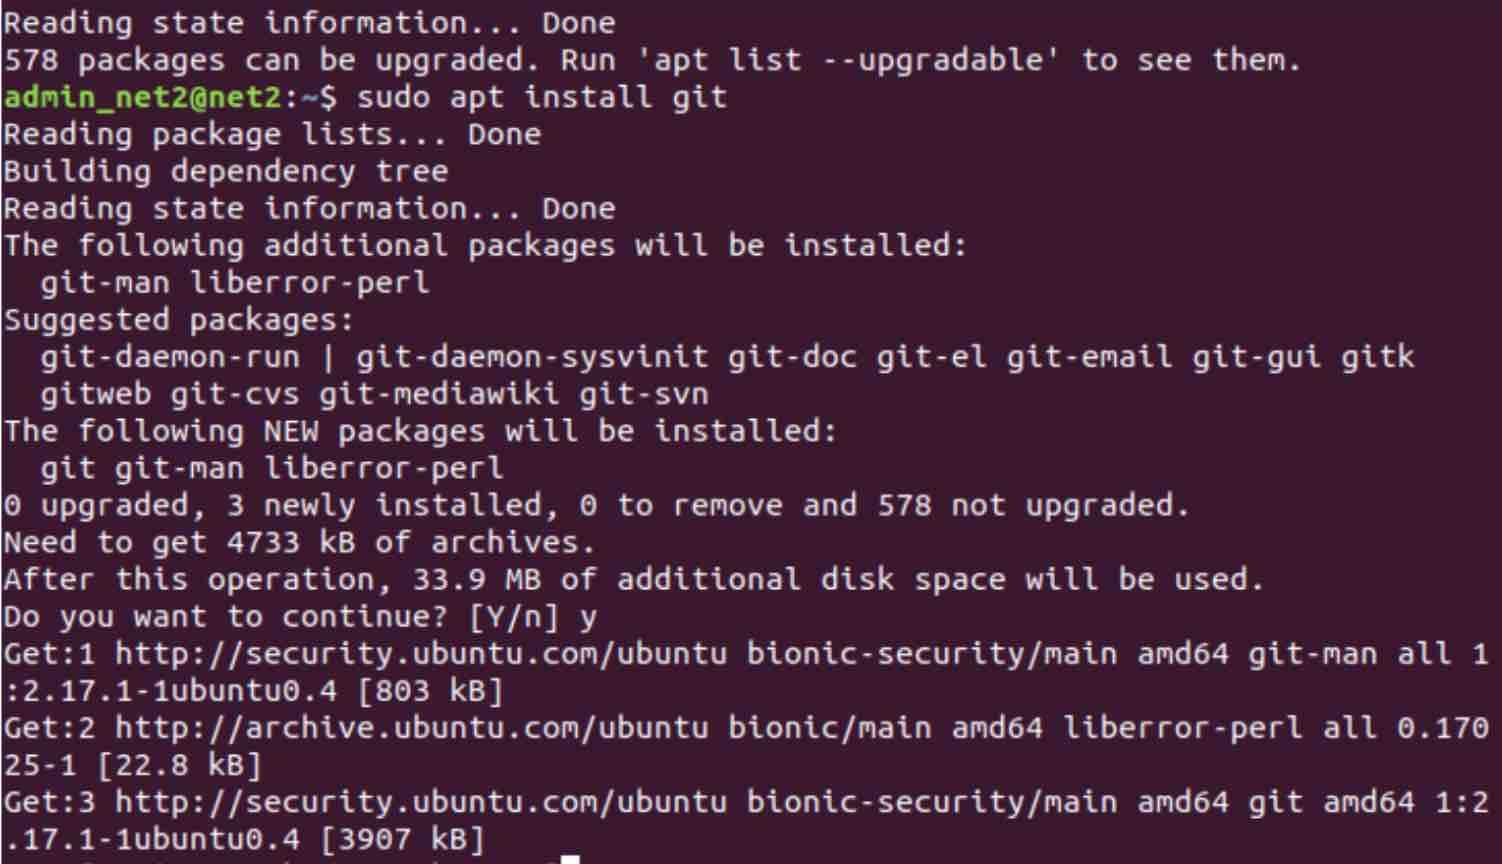
Install git on ubuntu
To make sure Git has been installed properly, issue the following command:
git –version

Now that Git has been installed successfully, you can proceed to configure Git and start using it.
Installing Git from Source
Downloading and compiling git from source will provide you with the most up-to-date version. This however will take longer than the previous installation and you won’t be able to perform maintenance via your apt package manager.
Read: How to discard changes in Git
You would first have to install what Git requires in terms of software which is already available in the default repositories. Run the commands below :
sudo apt update
followed by
sudo apt install make libssl-dev libghc-zlib-dev libcurl4-gnutls-dev libexpat1-dev gettext unzip
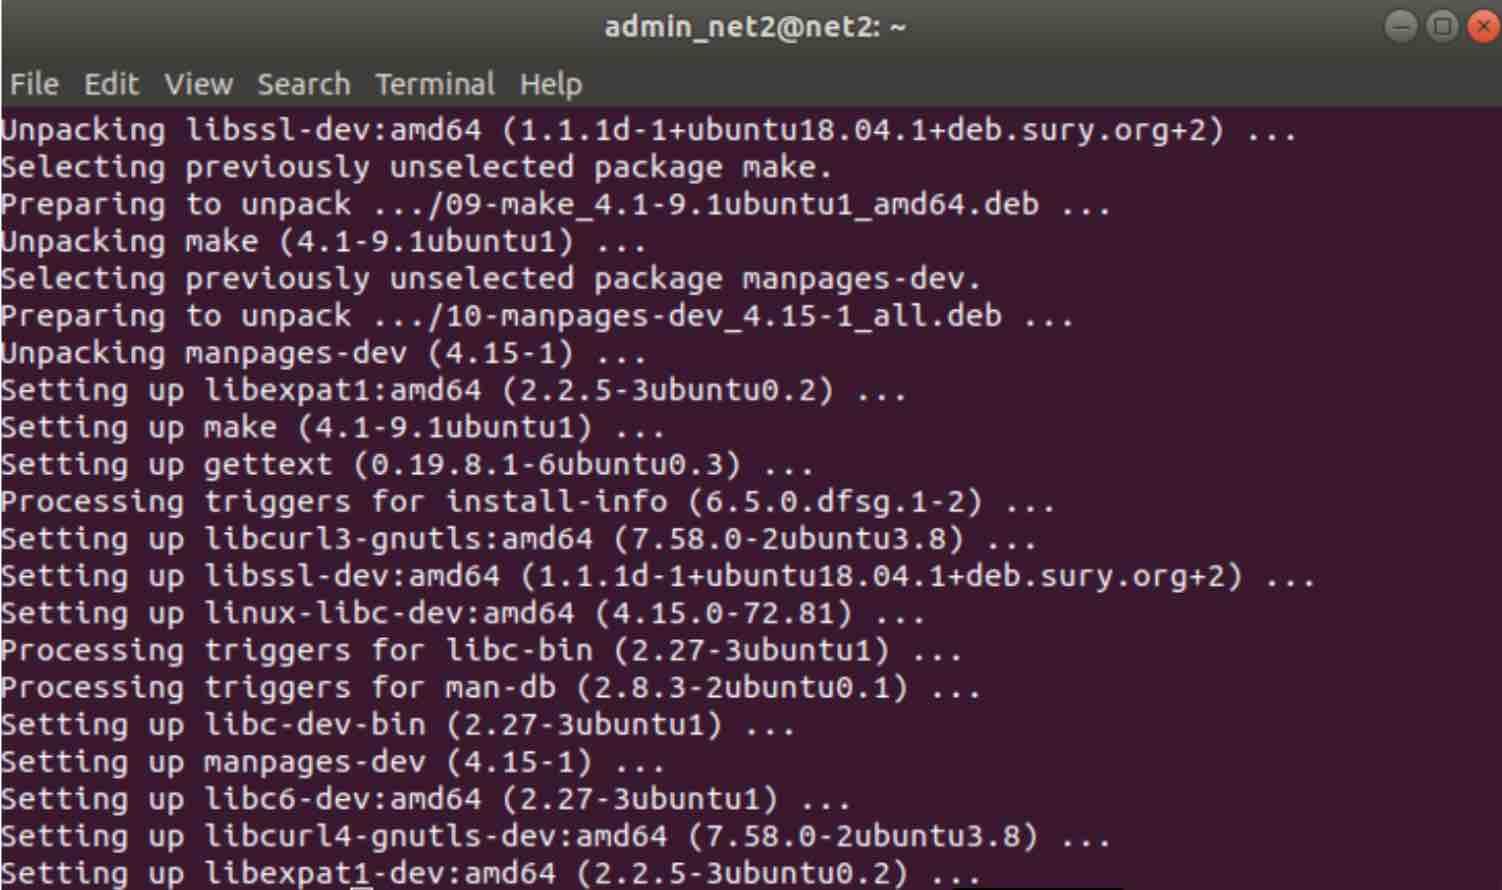
How to install git in Ubuntu from source
Read: How to Upgrade Git on Windows
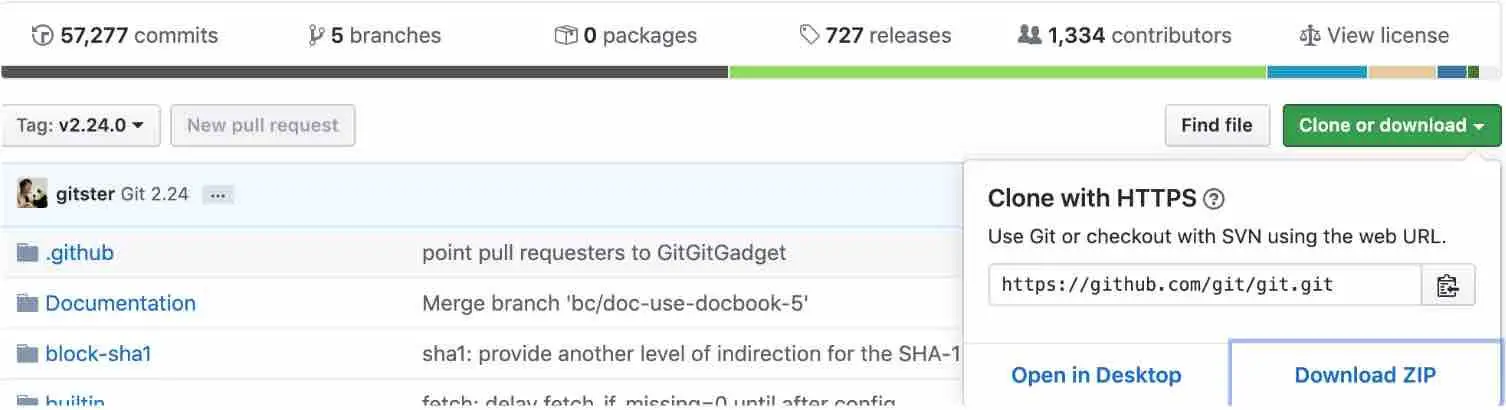
Once the required dependencies have been installed, visit the Git project’s mirror on GitHub which is available via the following URL:
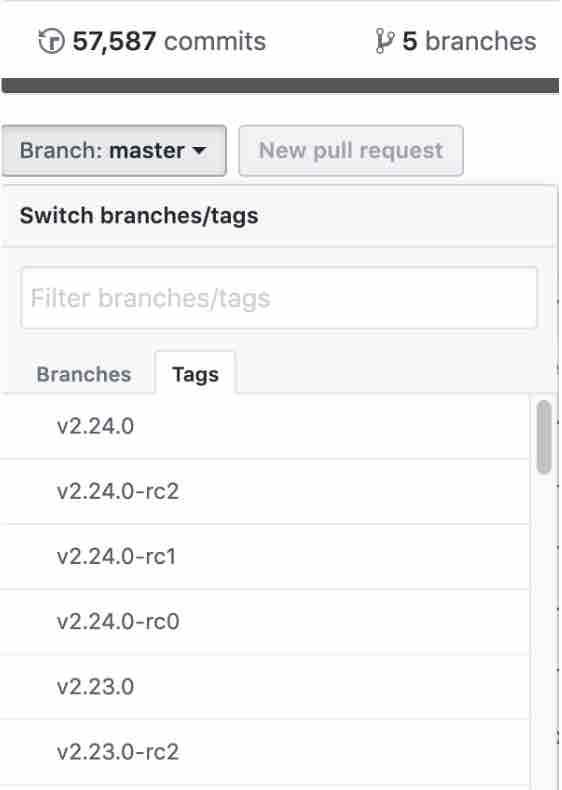
Once there , make sure you are on the master branch as shown below :

.. Click on the Tags tab and choose your desired version of Git. Try not to download a release candidate version (with an rc* at the end) since they may have some instabilities.
Next click on the button “Clone or download” on the right hand side. Now right click on “Download ZIP” button and copy the link to the file with zip extension.
Now open up your terminal and change to the /usr/src or to the tmp directory in order to download temporary files.
cd /usr/src
or
cd /tmp
Once in the /usr/src or /tmp directory, you would need to use the wget tool to install the zip file with the link that you copied. Let’s name the file git.zip.
Read: Five best code editors for Linux
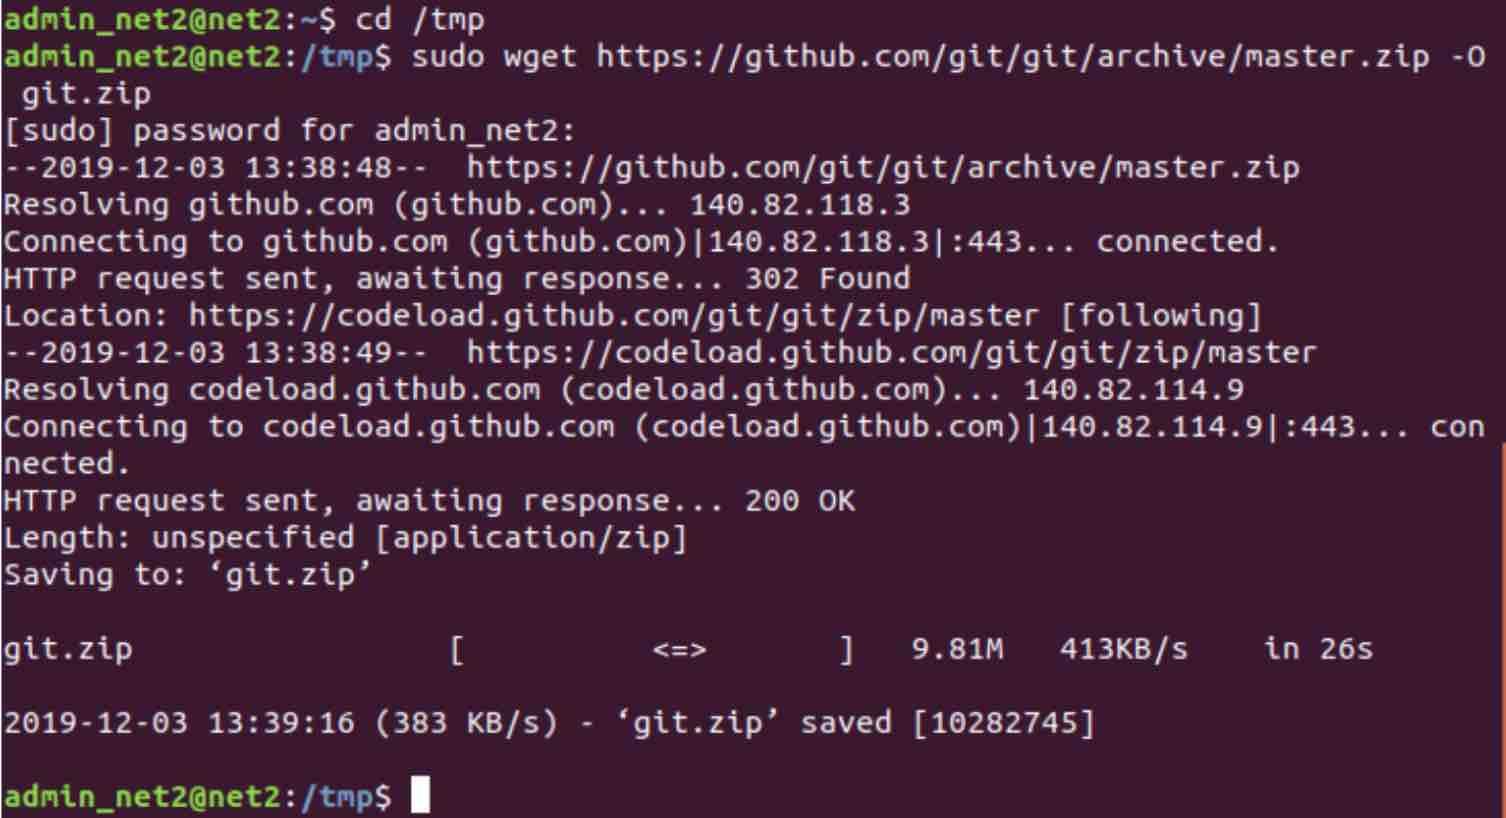
Now to download the git.zip file, type in the command below :
sudo wget https://github.com/git/git/archive/master.zip -O git.zip
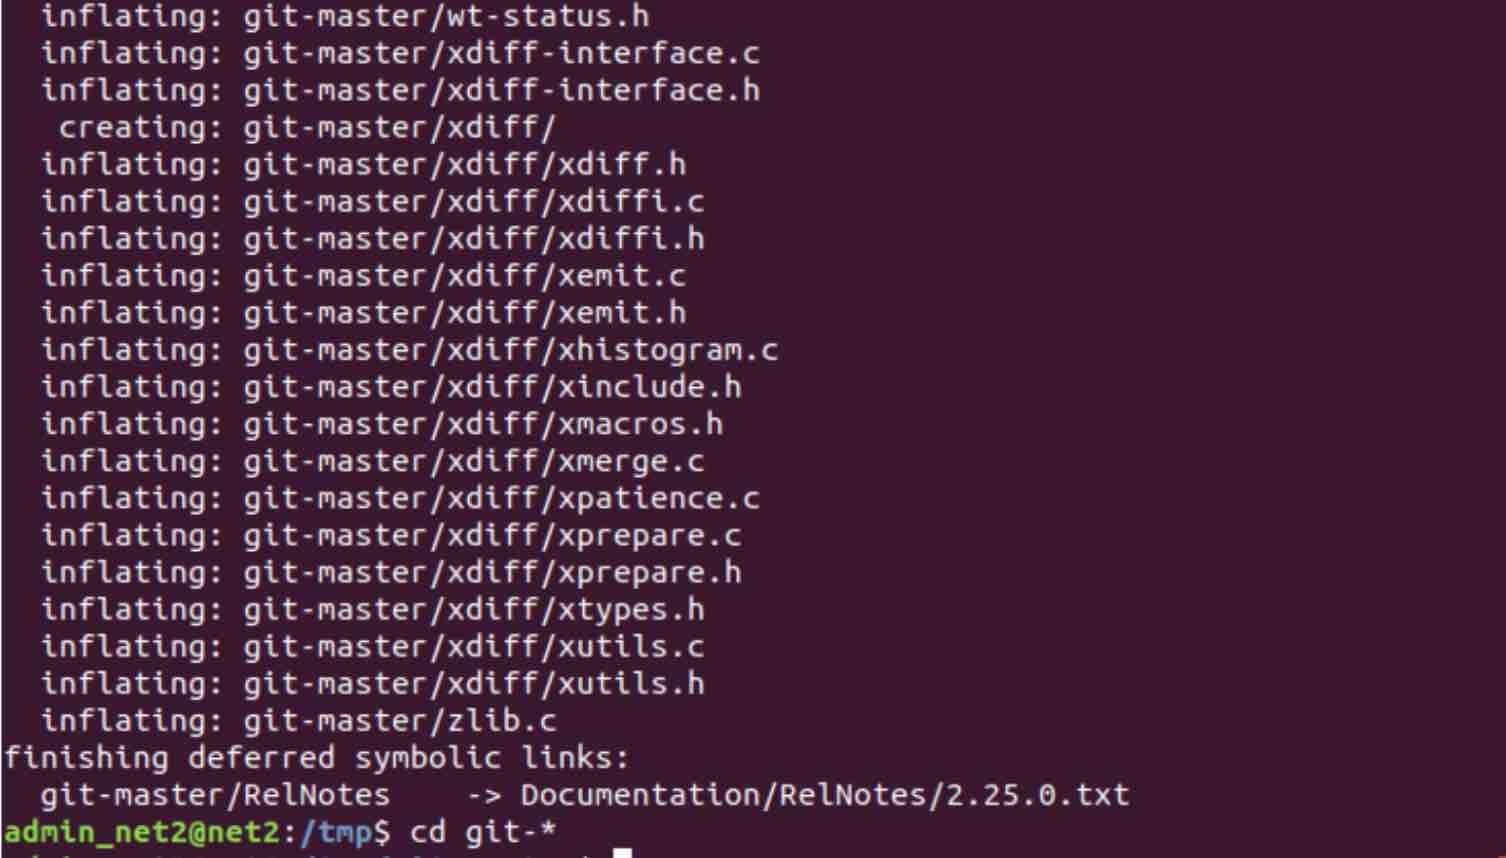
Once finished, unzip the downloaded file and change to the new resulting directory by typing the commands:
unzip git.zip
cd git-*
Read: Git Fetch vs Pull
Now, to make and install the package, type in the two commands below:
sudo make prefix=/usr/local all
sudo make prefix=/usr/local install
Finally, to verify that the installation was done successfully, run the command below to see the version:
git –version

Upgrade to a newer version
In case you need to upgrade to a more recent version, you can simply clone the repository much like you would do using Chrome WebIDE or Microsoft Visual Studio, and then do a build and finally an install. Finding the URL to be used for the clone task is straightforward: Just go to the branch or tag you are interested in and copy the clone URL as shown below:
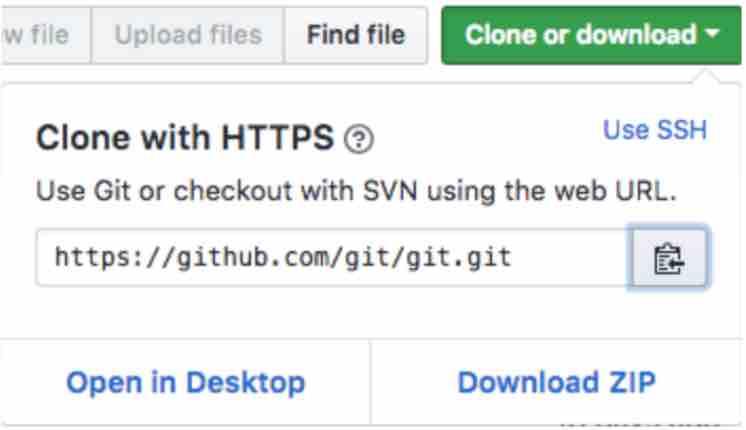
Next move to your home directory and apply the git clone utility to the URL above (that you copied):
cd ~
git clone https://github.com/git/git.git
This will overwrite the older version of Git with this new version. It will also create a new folder in your current folder. You just need to repeat the steps above :
cd git
sudo make prefix=/usr/local all
sudo make prefix=/usr/local install
Git configuration
Once Git is installed, you can now proceed to set it up using the Git config command, in order that you would be able to trigger commits, pushs and pulls.
For security reasons, you would have to provide the name and the email address by typing:
git config –global user.name “your name here”
git config –global user.email “youremail@domain.com”
Once this has been accounted for, you can run the command below to verify the credentials:
git config –list
Output
user.name=your name
user.email=youremail@domain.com
This personal information is stored in the Git configuration file /.gitconfig .
Besides the essential personal information above, there exists many other options. In case you did not enter your name and your Email, you will get warning messages when you try commit your work to Git.
Conclusion
You have seen two methods to Install Git. The first one which uses Ubuntu’s default repositories is the simplest and fastest but it may not provide you with the latest version. The second method however will let you install and compile the most recent version from source but it is a bit more complicated and you will not be able to maintain it via the Ubuntu package manager. Once you have installed Git with either of the methods above, you will be able to start using it .
If you like the content, we would appreciate your support by buying us a coffee. Thank you so much for your visit and support.