If you’re venturing into vector graphics or searching for a robust tool for your design projects, I’ve got some exciting news. Gravit Designer is a fantastic, free and complete vector graphics design application that runs wonderfully on Ubuntu.
It’s become a personal favorite for many, and I’m here to explain why it might just become yours, too. Gravit Designer truly shines with its remarkable precision, supporting any unit you can think of (pixels, mm, cm, you name it!) right from creation to final export.
It offers handy features like automatic anchors and layouts, perfect for crafting pixel-perfect screen layouts. Beyond that, you get access to multiple fills and edges, a variety of effects, different blending modes, and shared styles to keep your designs consistent and professional.
Key Capabilities of Gravit Designer: What Makes It Stand Out?
- Versatile File Handling: One of the first things you’ll appreciate is its flexibility. You can easily import sketches, existing design models, and apply various transformations. When your artwork is ready, Gravit Designer allows you to export to standard formats like PDF, SVG, and high-quality images, giving you fine-grained control over cuts and other export settings. Projects are saved in its native .gravit file format, but exporting to PNG, JPG, or PDF is also a breeze. Plus, the developers are continually working to add support for even more popular vector graphics formats.
- Multilingual Interface: Working in your preferred language can significantly boost productivity. Gravit Designer caters to a global audience with a wide array of interface languages, including English, German, Portuguese, Spanish, Polish, Turkish, Italian, Dutch, and several others. This is a great plus for Gravit Designer key features for digital artists worldwide.

- Advanced Organizational Tools: For intricate designs, organization is crucial. Gravit Designer offers solid support for layers, pages, and objects. These features help you manage complex artwork efficiently and maintain a clean, structured workspace.
- Master Pages for Consistency: If you’re working on projects with multiple pages, such as website mockups or comprehensive documents, the master page functionality is a lifesaver. It enables subsequent pages to inherit common design elements and characteristics, ensuring consistent formatting across your entire project – a real time-saver!
- Intuitive Object Interaction: Interacting with your design elements is very straightforward. You can select any object—be it a text box, a shape, or any other component—simply by clicking it within the drawing canvas. Once an element is selected, a comprehensive set of transformation tools becomes active, allowing you to effortlessly adjust its position, change its size, or group it with other elements for more complex manipulations.
- Contextual Toolbar: The user interface features a cleverly designed dynamic toolbar that intelligently adapts based on the tool you’re currently using. This contextual approach is excellent for reducing on-screen clutter by hiding unnecessary options, allowing you to focus on the task at hand since you can only work with one primary tool at any given moment.
- Adaptive Options Display: The number of visible options dynamically changes depending on your active tool, with most functions represented by clear, small icons. Some buttons will open dedicated windows or panels offering more advanced functions, providing deep control when you need it without overwhelming you initially.
- Stability and Web Accessibility: In my experience, Gravit Designer is a stable application. A significant advantage is its availability as a web-based tool, meaning you can run it directly from your browser. This gives you the flexibility to work on your designs from almost anywhere, even if you’re not on your primary Ubuntu machine.
Read: How to Install MongoDB on Ubuntu 22.04
Getting Gravit Designer Up and Running on Your Ubuntu System
Installing Gravit Designer on your Ubuntu machine is quite simple, and you’ve got a couple of solid methods to choose from. My go-to for ease of installation and automatic updates is usually via Snap packages. Here’s how to install Gravit Designer using Snap on Ubuntu:
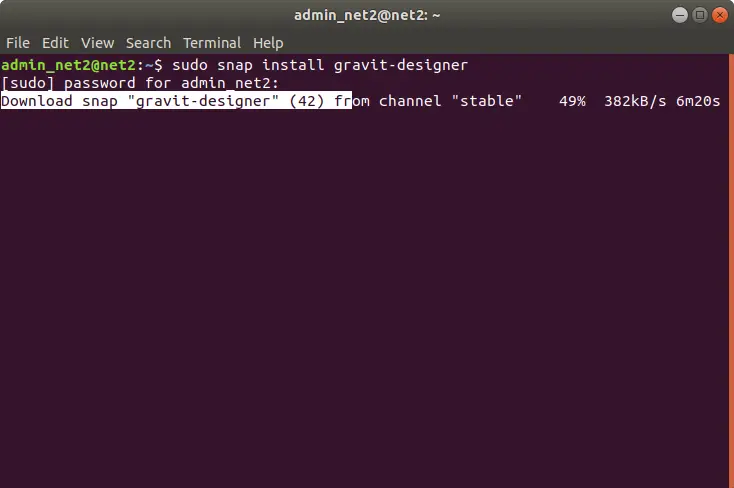
First, you’ll need to open your terminal. The common keyboard shortcut for this is Ctrl + Alt + T. Once your terminal is open, type in the following command to install the stable version of Gravit Designer and press Enter:
sudo snap install gravit-designerYou’ll see the installation process in the terminal, like this:
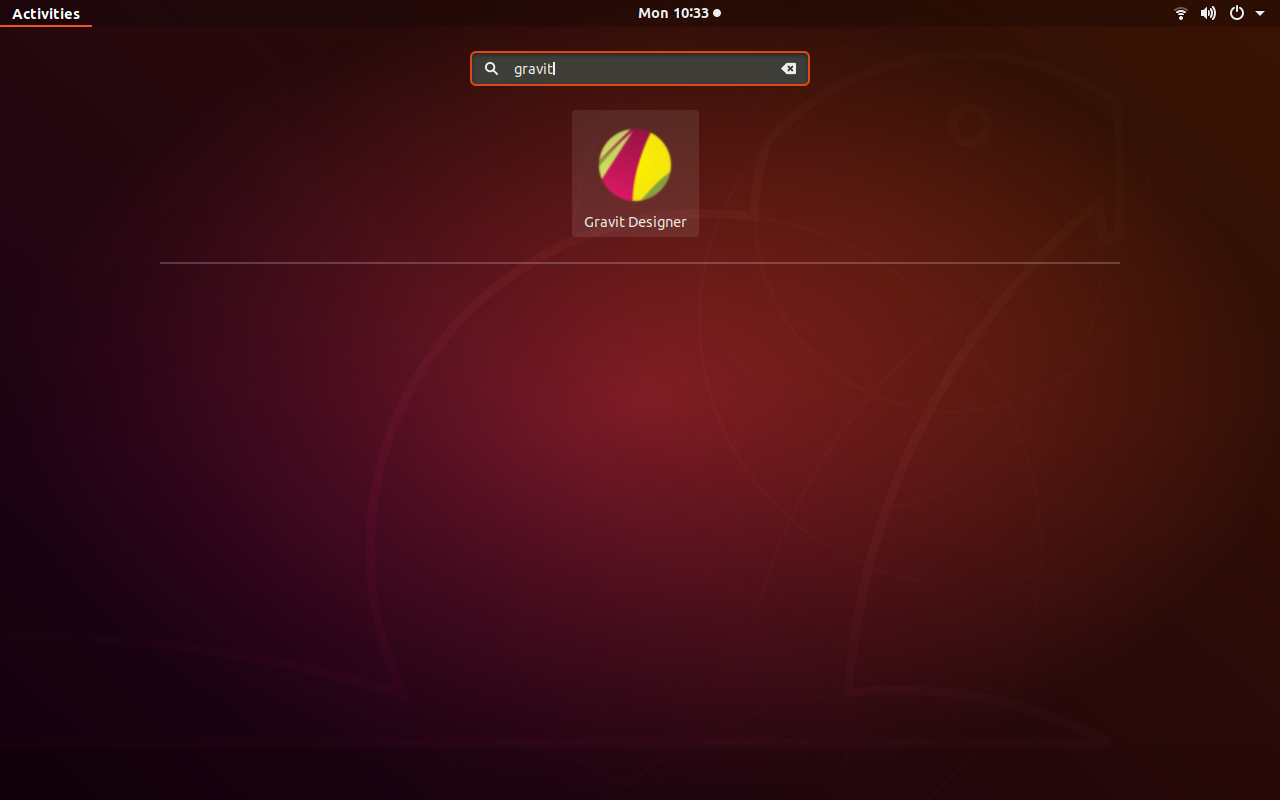
Once the installation wraps up, you can easily find Gravit Designer in your applications launcher. Just search for “Gravit Designer,” and it should pop right up!
Another excellent option, especially if you prefer portable applications or Snaps aren’t your preference, is to use the AppImage format. AppImages are self-contained packages that run on most modern Gnu/Linux distributions without needing a formal installation process, making them a great choice for portable vector graphics software on Linux.
For downloading Gravit Designer AppImage for Linux, you can typically find the AppImage file on the official website or related software repositories. The original source mentioned this link: Gravit Designer download link. After you’ve downloaded the file, you’ll need to follow a few steps to get it running:
- If the downloaded file is compressed (e.g., a .zip or .tar.gz archive containing the AppImage), you’ll need to extract it first.
- Next, open your terminal and navigate to the directory where you saved (and possibly extracted) the AppImage file. For example, if you saved it in a folder named `GravitDesigner` inside your Downloads folder, you would type:
cd ~/Downloads/GravitDesigner(Assuming the file is `GravitDesigner.AppImage` and the folder is `GravitDesigner`)
- Once you’re in the correct directory, you need to make the AppImage file executable. This tells your system that the file can be run as a program. Use the following command:
sudo chmod a+x GravitDesigner.AppImage(Replace `GravitDesigner.AppImage` with the actual filename if it’s different. Using `chmod +x GravitDesigner.AppImage` without `sudo` often works if you own the file.)
- Finally, to launch Gravit Designer, you can execute it directly from the terminal with:
./GravitDesigner.AppImage
As an alternative to step 4, once you’ve made the AppImage executable (step 3), you can often just double-click the file in your file manager to start the application. Super handy!
Just a heads-up: to begin using Gravit Designer, you’ll generally need to create a free account. This process is usually quick and straightforward.
If you like the content, we would appreciate your support by buying us a coffee. Thank you so much for your visit and support.