MySQL Workbench is a user-friendly program supported by Oracle Corporation, designed for managing MySQL databases. It’s not just a database management tool; it also comes with extra features for working with MySQL databases. People like database administrators, architects, and developers often use it to visualize how their databases are structured.
This guide will show you how to install MySQL Workbench on Ubuntu 22.04. But here’s the catch: You need to have a MySQL server up and running on your system for it to work. If you don’t have one, don’t worry; we’ll guide you on setting it up. If you already have a MySQL server installed, you can skip that part and jump to the next section.
How to install MySQL server on Ubuntu 22.04
To install a MySQL server on Ubuntu 22.04, follow these step-by-step instructions:
Step 1: Update system repositories
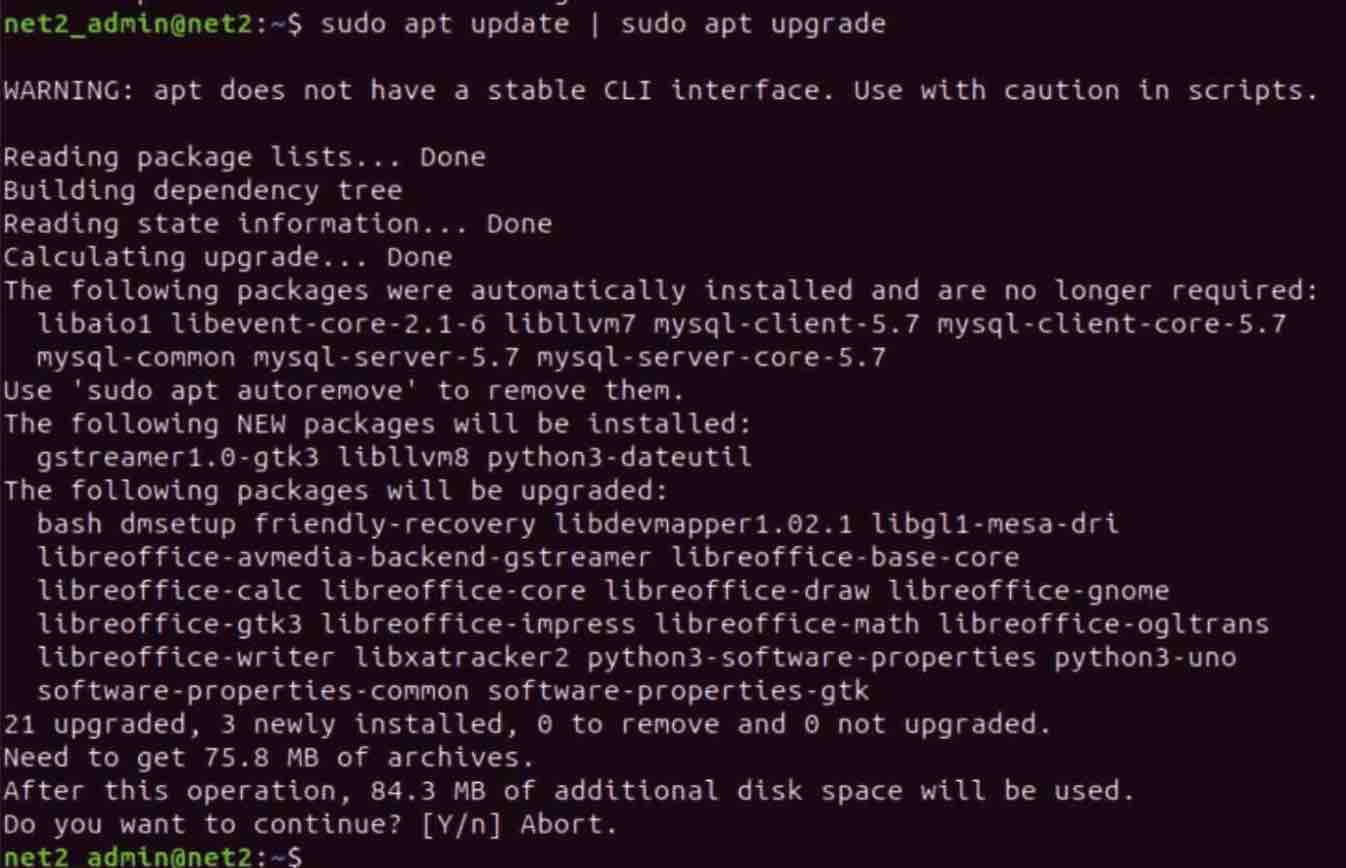
Before installing MySQL server, it is recommended to update the system repositories. To do so, open the terminal and run the following commands:
sudo apt update
sudo apt upgrade
Read: How To Solve phpMyAdmin Not Working on Ubuntu 22.04
Step 2: Install MySQL server in Ubuntu 22.04
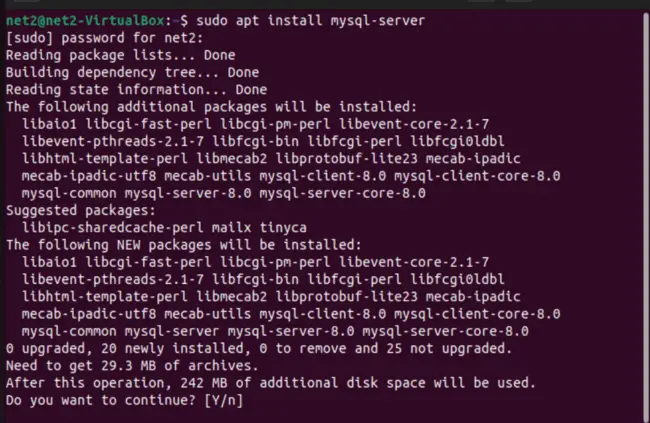
To install MySQL server on Ubuntu 22.04, run the following command in the terminal:
sudo apt install mysql-server
Read: How to change MySQL root password
Step 3: Verify MySQL service status
After installing MySQL server, verify its service status by running the following command:
sudo systemctl status mysql
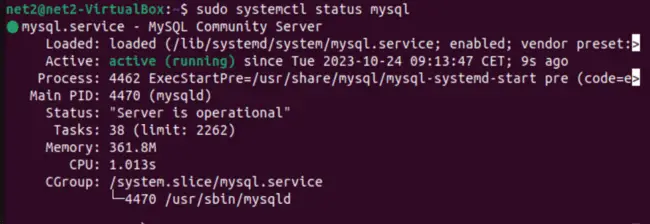
If the service is running, you should see an output similar to the snapshot above.
Step 4: Configure MySQL server
To configure MySQL server, run the following command in the terminal:
sudo mysql_secure_installation
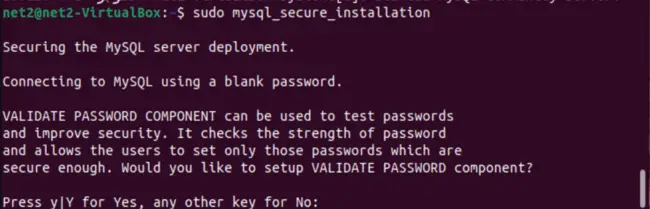
This command will prompt you to set a root password and perform other security-related tasks.
Step 5: Log in to the MySQL server
To log in to the MySQL server, run the following command in the terminal:
sudo mysql -u root -p
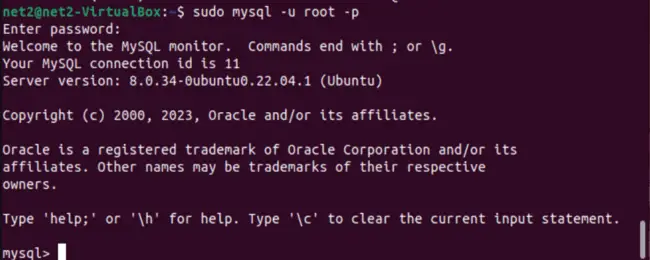
You will be prompted to enter your root password.
Read: How to Install MongoDB on Ubuntu 22.04
How to Install MySQL Workbench in Ubuntu 22.04
To install MySQL Workbench on Ubuntu 22.04, run the following command in the terminal:
sudo snap install mysql-workbench-community

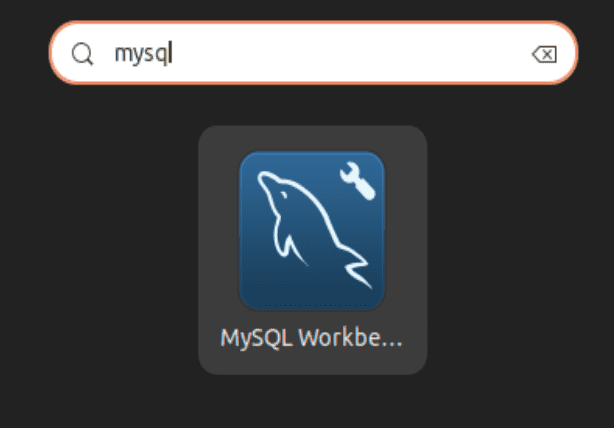
Next, choose “Applications” in the menu, locate the MySQL Workbench application, and open it:
Conclusion
This tutorial has shown you how to set up MySQL server on Ubuntu 22.04 and how to install MySQL Workbench. By following these steps, you should now have a working installation.
If you like the content, we would appreciate your support by buying us a coffee. Thank you so much for your visit and support.