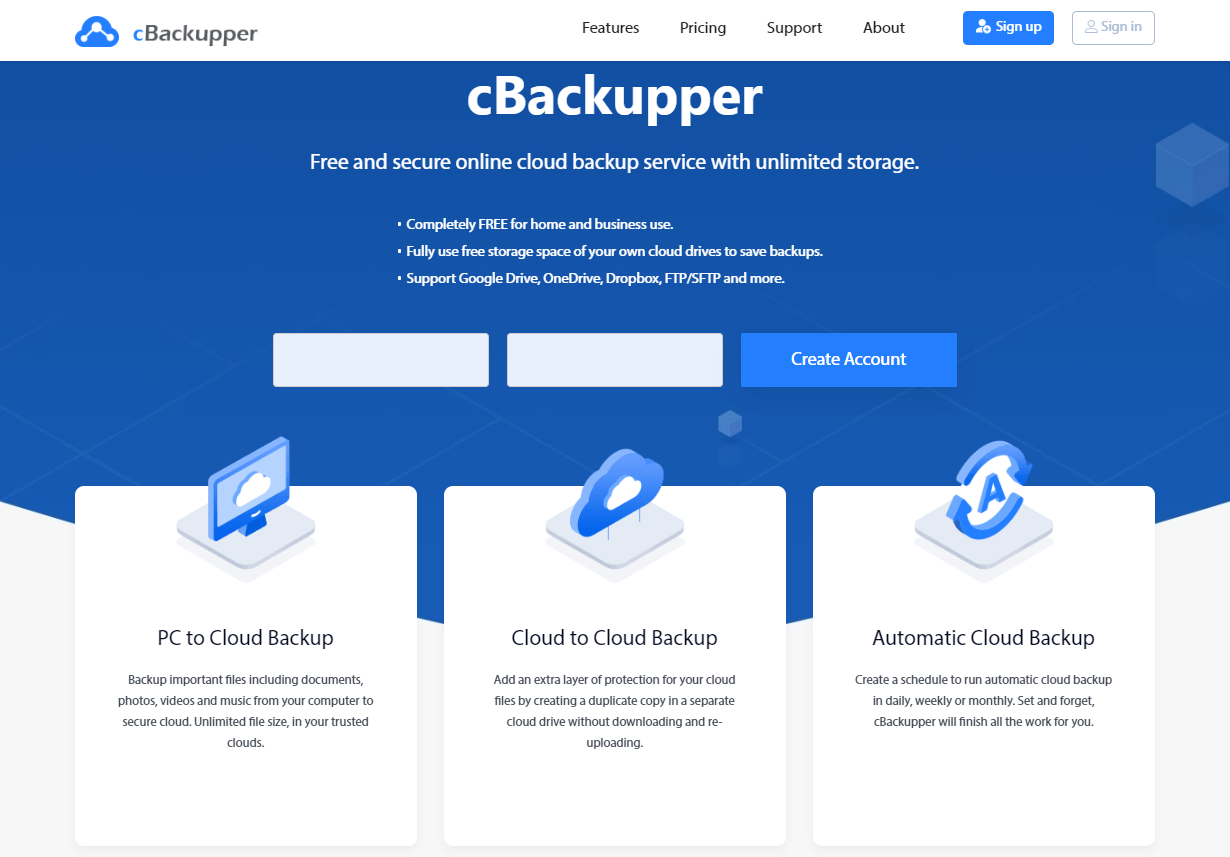
cBackupper is a free cloud backup service for home and business use. It provides unlimited cloud storage, backups cloud files, websites, supports backup versions and distinguishspace for backup files and other files etc.
Why do you need cBackupper?
Perhaps you have heard the WannaCry ransomware attack, the biggest ransomware in 2017, that can prevent users from accessing their system or personal files and demand ransom to decrypt files. According to statistics, on May 15th, the virus attacks at least 150 countries and covers many important industries, such as, financial, energy, medical, education etc. Finally, the attack causes heavy losses to computer users.
In view of this case, local or external backup is not enough to protect files. Also, these backups can also be damaged by local or natural disaster, such as, system crash, disk failure, fire, flood, and more.
So, backing up files to cloud becomes a great choice for users who want to add another lock to files. However, in clouds, you may encounter other unexpected events, for example, cloud server crash, stolen.
To avoid this situation, you could consider using cBackupper, a free online backup service, which can make your cloud files and website much safe by an exact copy on different clouds. And you can restore your cloud files to its original or other location at any time. Besides, its interface is very simple and easy to understand, without any professional skills, everyone can finish the backup process with a few clicks.
Read: 4 Doubts you might have about moving to the cloud
What can cBackupper do for you?
In this part, I’ll briefly introduce the main features of free cBackupper and help you understand this software clearly.
Cloud to cloud backup: Create an exact copy of cloud files on another cloud without downloading and uploading, and avoid data losses owing to ransomware, hackers, server crash etc.
Automatic cloud backup: Add a schedule for cloud backup, such as, daily, weekly or monthly, to continuously back up files and get rid of manually backup.
Read:
Filter settings: Selectively backup file with certain file extension. Exclude the file types you don’t want to backup or only include the file types need to be backed up.
Version management: Every backup is a single version (known as differential backup) and you can restore your files to any previous version by time and date. Except for the first full backup, other versions only retain the changes from previous versions.
Flexible restore: Restore files to previous version anytime anywhere. You can use original or new location as destination path.
Read: Five best open source Backup utilities for Linux
Combine cloud storage into one: Connect your cloud drives (eg: Google Drive, OneDrive, Dropbox) to cBackupper and it will automatically combine the free space to get more backup space.
How to use cBackupper?
To use cBackupper, you need to create a cBackupper account first, then connect your own cloud drives and move files between cloud storage with a step-by-step guide. Here I’ll take two Google Drive accounts as an example.
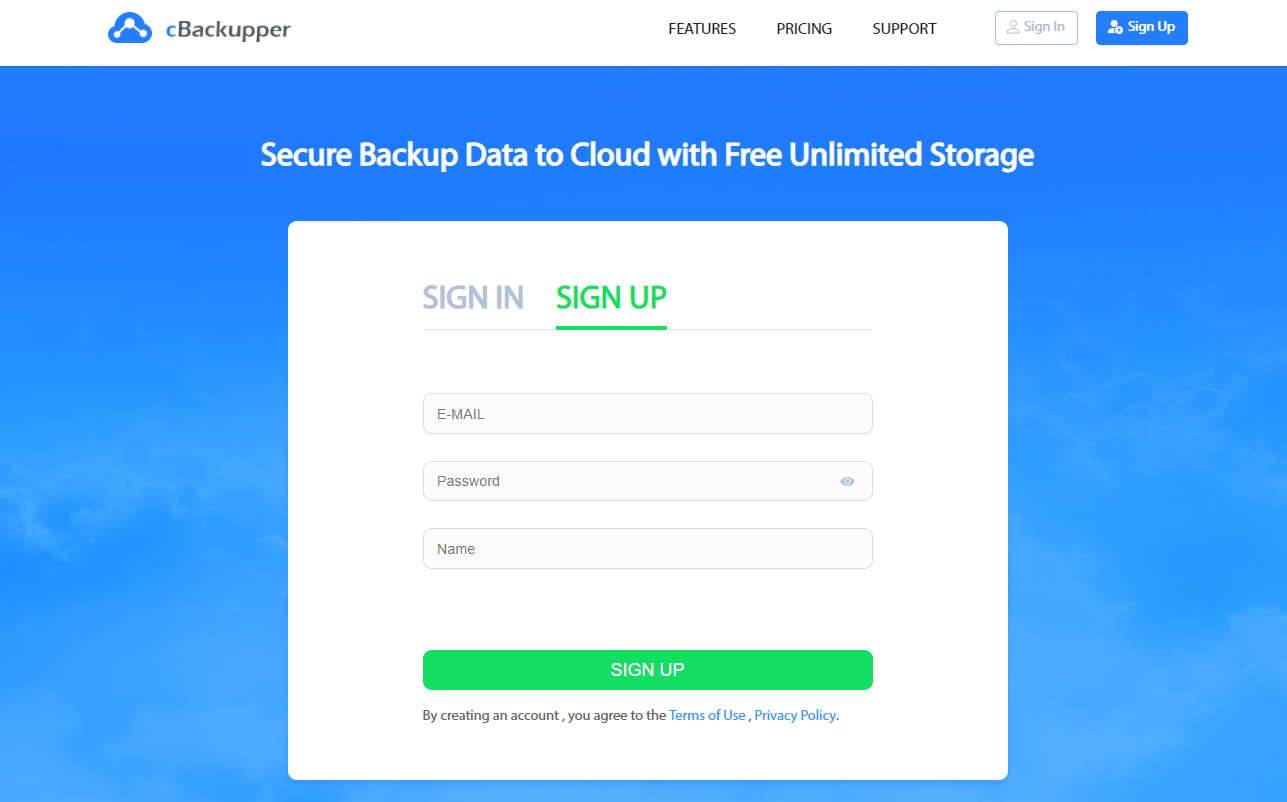
Step 1. Go to cBackupper and click “Sign up” at upper right, then type your email, password, name, then click “Sign up” again. After that, log in to cBackupper with the registered account.
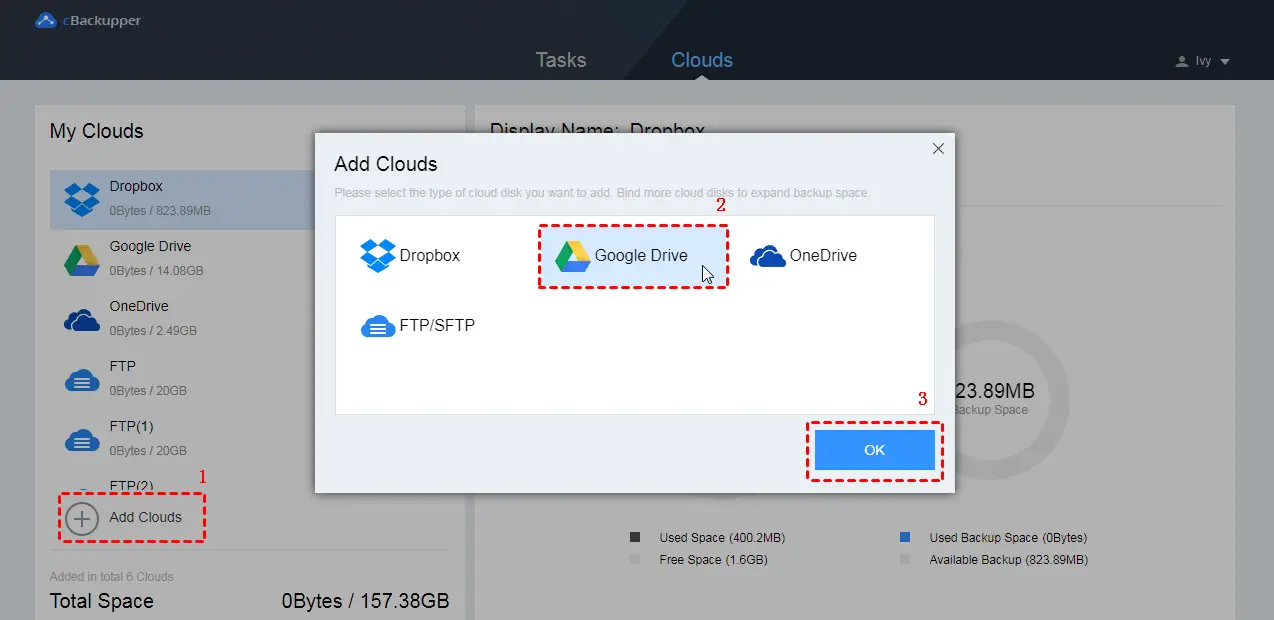
Step 2. Add Google Drive to cBackupper. Click “Clouds” and “Add Clouds” subsequently, tap on “Google Drive” and “OK”, then authorize cBackupper.
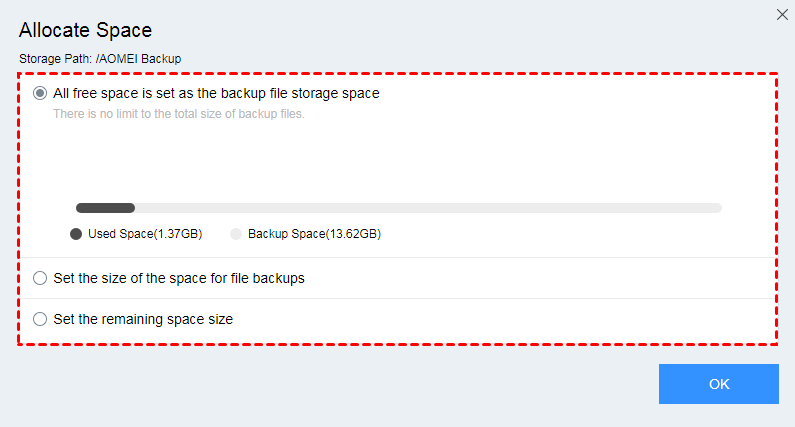
Step 3. Allocate space for backup files and other files. In the “Add Clouds” page, click “Allocate” and select one of the following options to distinguish space for backup files and other files. Then, tick the checkbox before “Note” and click “OK”.
Read: Cloud storage : What you need to know
Step 4. Repeat Step 2-3 to add another Google Drive.
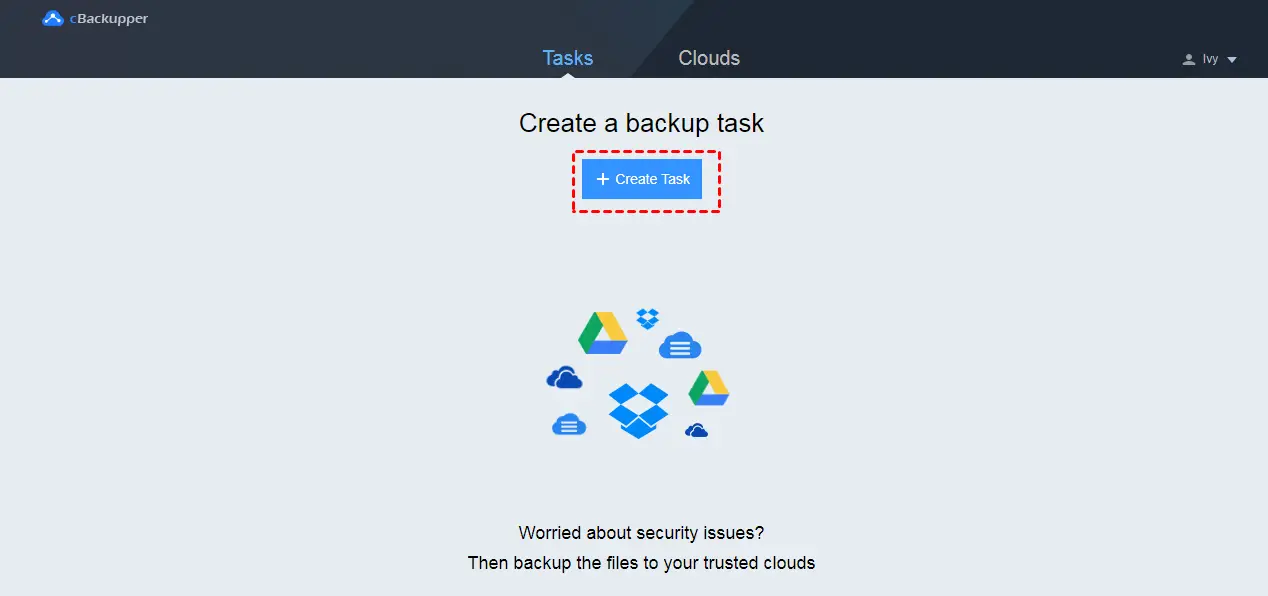
Step 5. Click “Tasks” and “Create Task” in order.
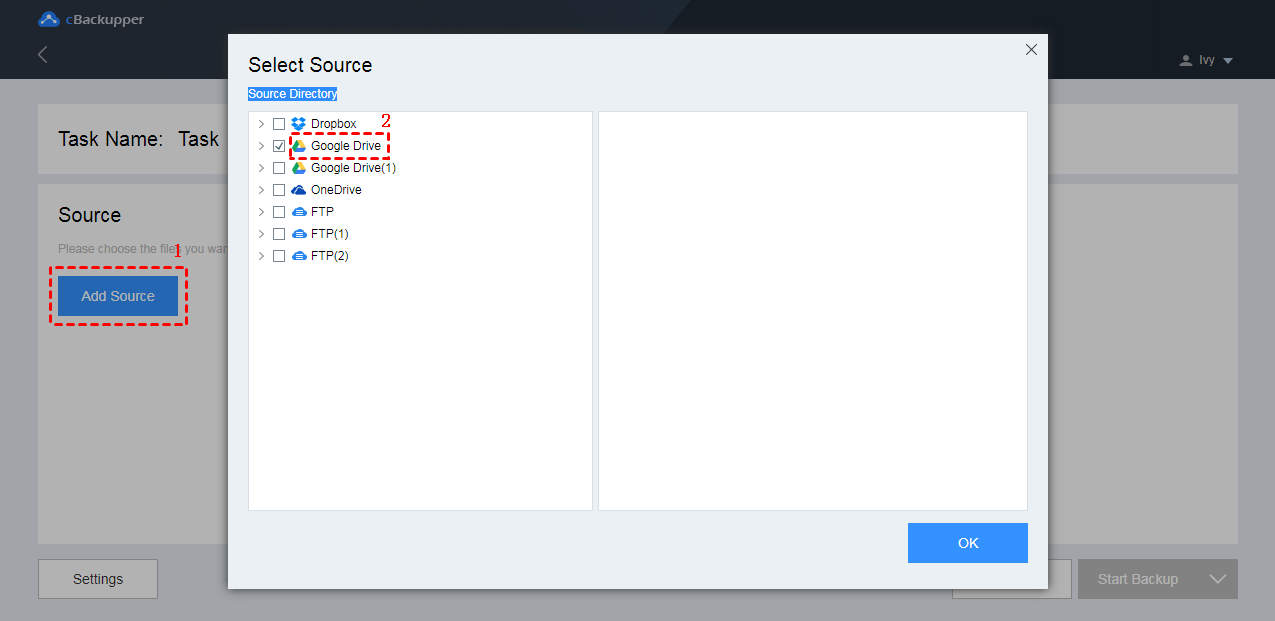
Step 6. Click “Add Source”, then tick “Google Drive” and hit “OK”.
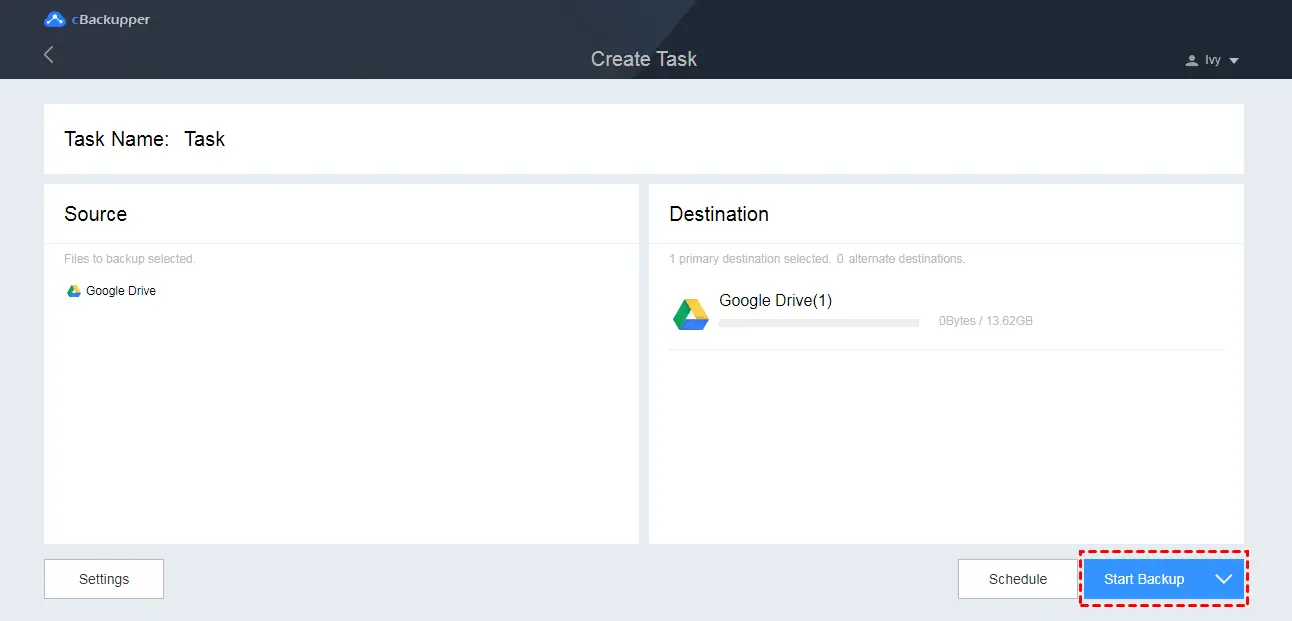
Step 7. Click “Add Destination”, then select another Google Drive and click “OK”.

Step 8. To set automatic cloud backup, click “Schedule”. To backup certain file types, click “Settings” and “File Filter”. After that, click “Start Backup” and wait patiently.
This is the entire process to use cBackupper. All steps are fixed and you just need replace Google Drive in the example with your own cloud drives. If you are interested in, you can try it yourself.
If you like the content, we would appreciate your support by buying us a coffee. Thank you so much for your visit and support.