In its default setting, Windows automatically links you to the most recent wireless network you were connected to. If you find yourself near multiple previously connected wireless networks, Windows employs a prioritization system to select
a WiFi network. While Windows 7 provides users with a graphical interface to control the order of wireless network priorities, Windows 10 requires you to utilize the command prompt. This brief article will guide you through the process of adjusting wireless network priorities in Windows 10.
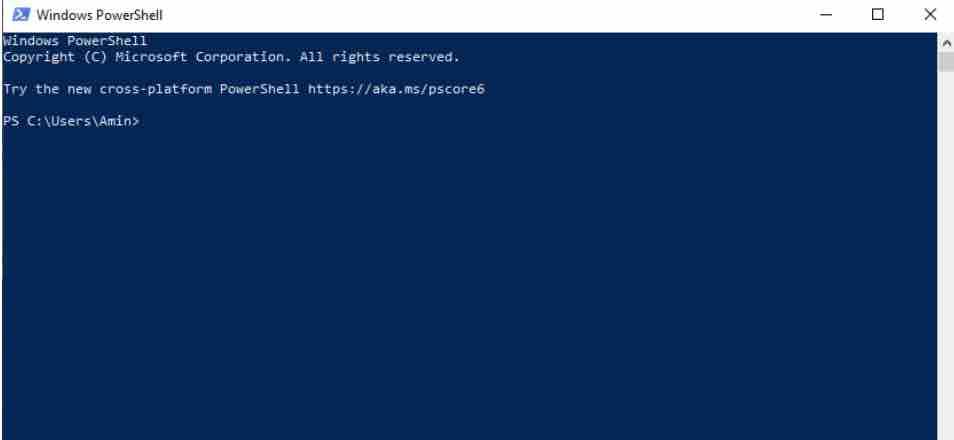
Windows PowerShell
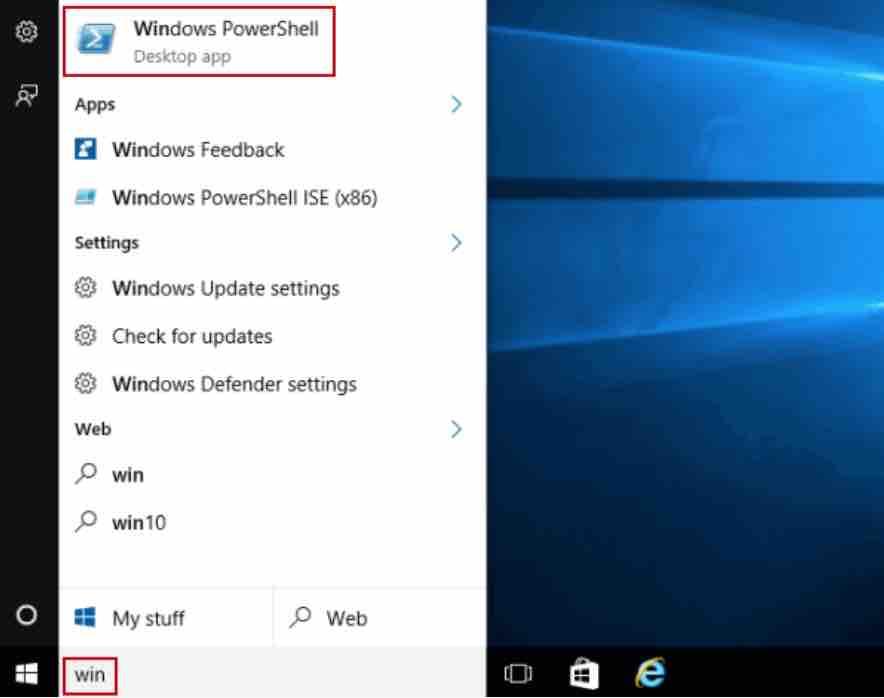
In your taskbar, type in ‘win’ in the search box :

Read: What is PowerShell and how it can be installed
Next, choose Windows PowerShell in the list.

Read: How to fix WiFi not working on Ubuntu
View available networks
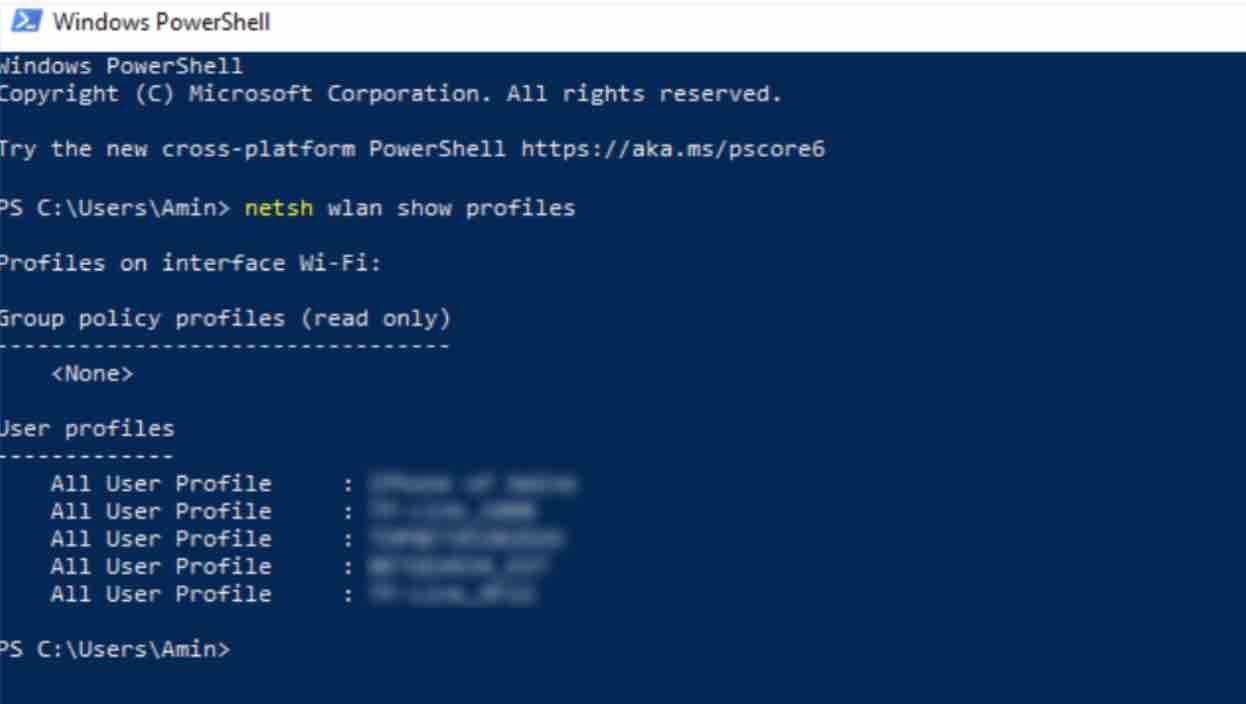
Now you need to access the list of wireless networks located within range of your computer. To do this, enter the following command and confirm with Enter:
netsh wlan show profiles

Find your favorite network
The User Profiles section shown above lists all the wireless networks you have connected to from your PC. You will find old hotspots as well as public access points used during your travels. Note down the names of the priority networks.
Read: How to remove unused WiFi networks in Windows 10
Change the priority
Enter the following command by replacing “ favorite wifi name ” with the name of your favorite network and “ interface name ” with the name of your interface, then confirm with the key Enter.
netsh wlan set profileorder name = “favorite wifi name” interface = “interface name ” priority = 1
Now Windows will automatically connect to the priority wireless networks you have just set up.
If you like the content, we would appreciate your support by buying us a coffee. Thank you so much for your visit and support.


