Got a file with sensitive data that needs safeguarding against unwanted prying eyes, be it humans or machines? Well, in that case, the go-to approach is to encrypt that folder pronto! Encrypting a folder grants you the power to cloak its contents
and slam the door shut with a password, ensuring your precious data stays under wraps and keeps those crafty folks at bay.
Now, in this handy tutorial, we’ll lay out three nifty software applications that can do the trick of fortifying a folder with a password.
7-Zip
7-Zip, an open source file archiving software, boasts an impressive compression rate that’ll leave you amazed.
With 7-Zip at your disposal, you’ll have the power to fashion an archive that houses all the files and folders you wish to safeguard. What’s more, you can encrypt it absolutely free using the top-notch AES-256 encryption algorithm.
Every single file residing within the archive will receive a solid layer of encryption and fortification. You’ll even have the freedom to introduce fresh files into this secure haven, as well as tinker with, swap, or eliminate existing ones.
However, it’s worth noting that there’s a catch to this solution. Whenever you make alterations to the files nestled within the archive, 7-Zip will have to go through the process of compressing and encrypting the archive all over again. Depending on the amount of data involved, this could potentially take quite a while.
Read: How to fix 403 Forbidden Error
Here’s how to password protect a folder with 7-Zip:
To get started, grab ahold of the 7-Zip software and get it installed on your machine. If you happen to be using the Chocolatey package manager, just type in the following command:
choco install 7zip
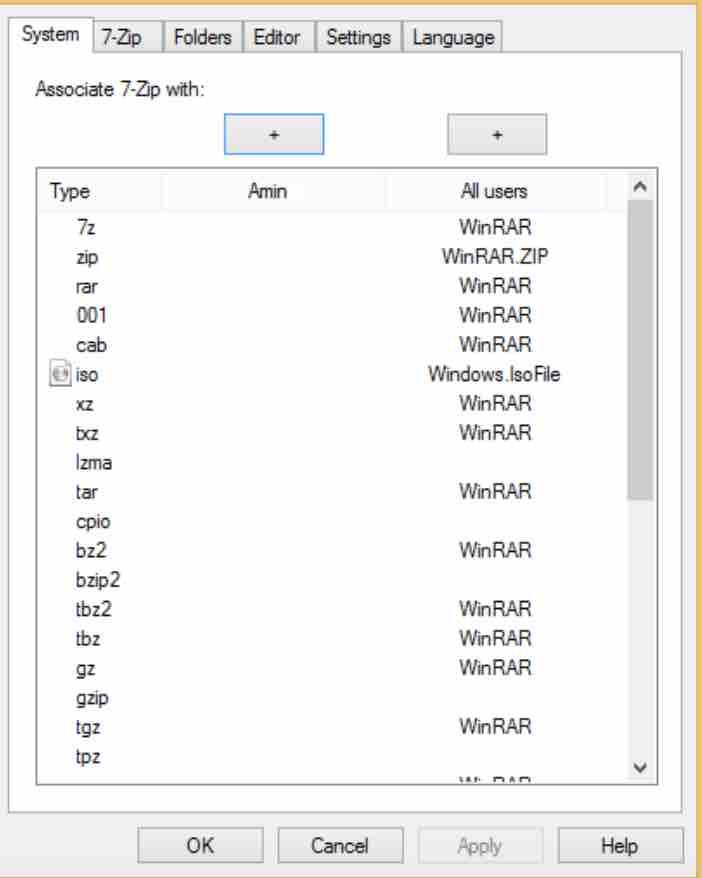
For added convenience, let’s set 7-Zip as the default program for opening archives. Simply follow these steps: Go to Tools > Options and hit the “+” button located above either the User or All users section, depending on whether you want it as the default program solely for your user account or for all users across the system.
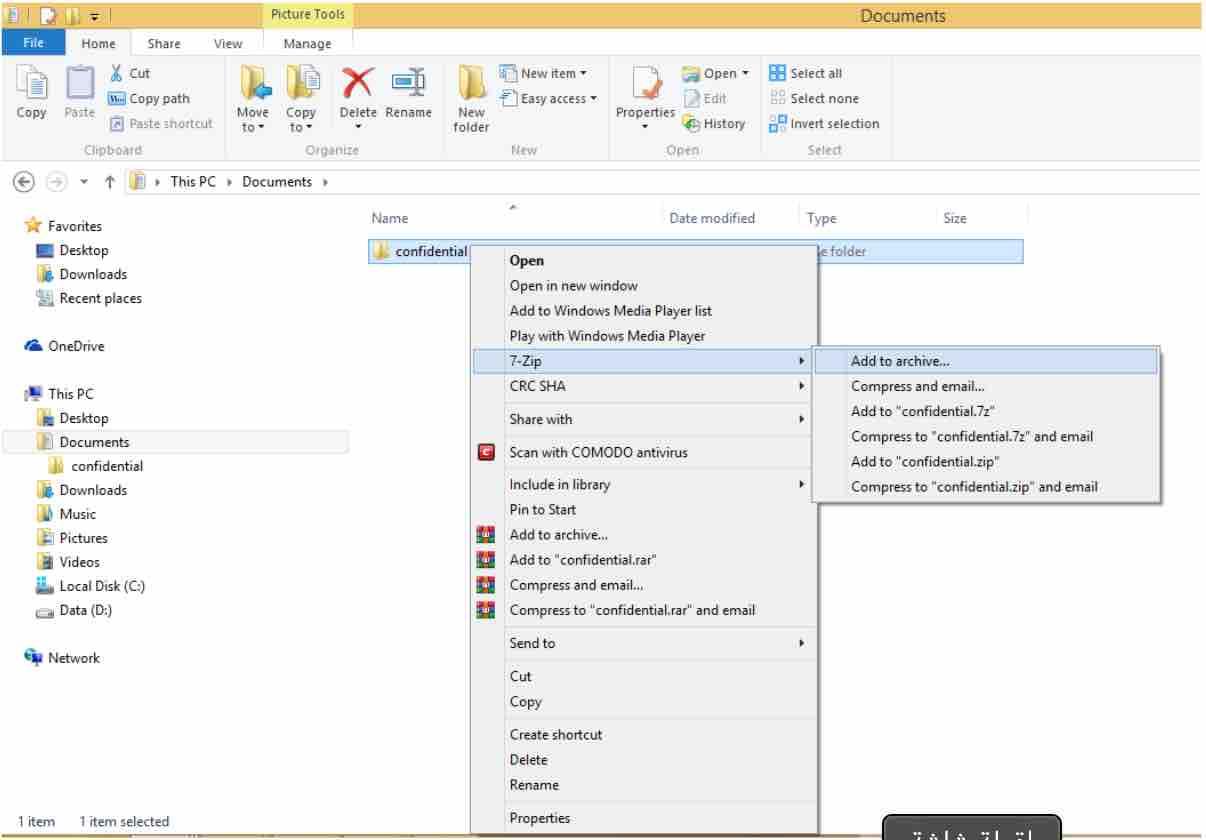
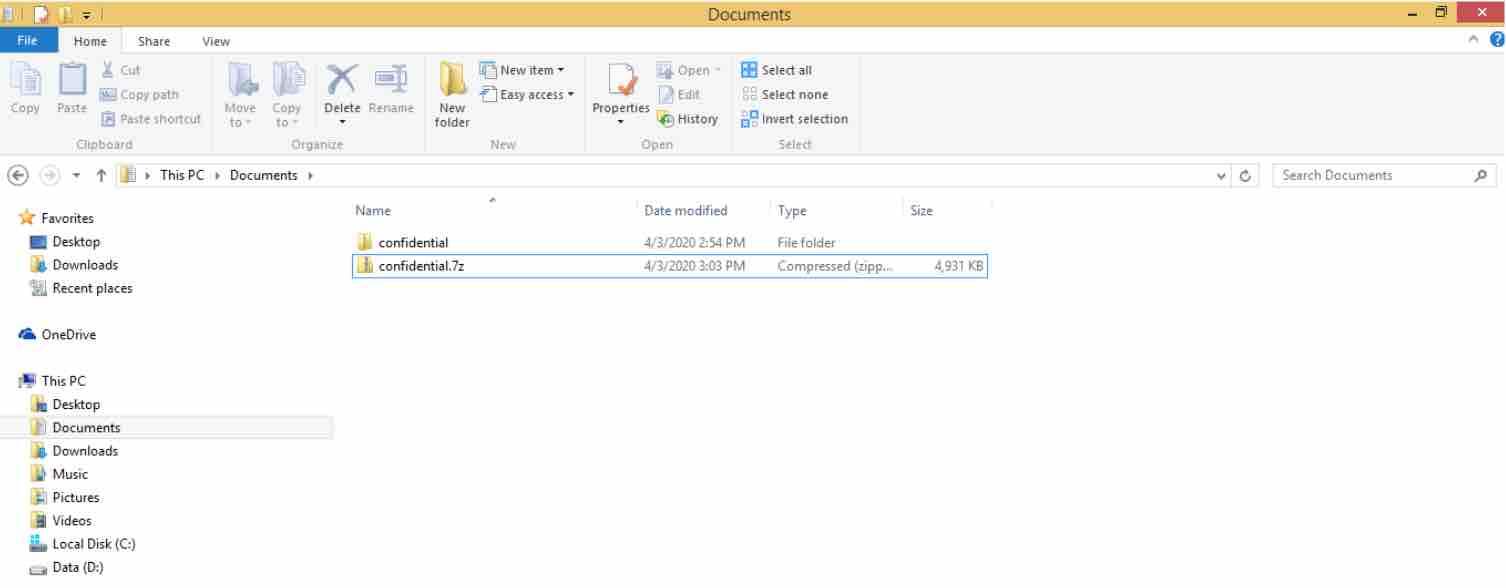
In the File Explorer, create an archive containing the files and / or folders to be secured:
- Right click on a folder then do 7-Zip> Add to archive.
- Individually select the files and / or folders to protect, right click on the selection then click 7-Zip> Add to archive.
Choose LZMA2 as the compression method, enter the password which will allow you to decrypt the archive then check the Encrypt file names box.
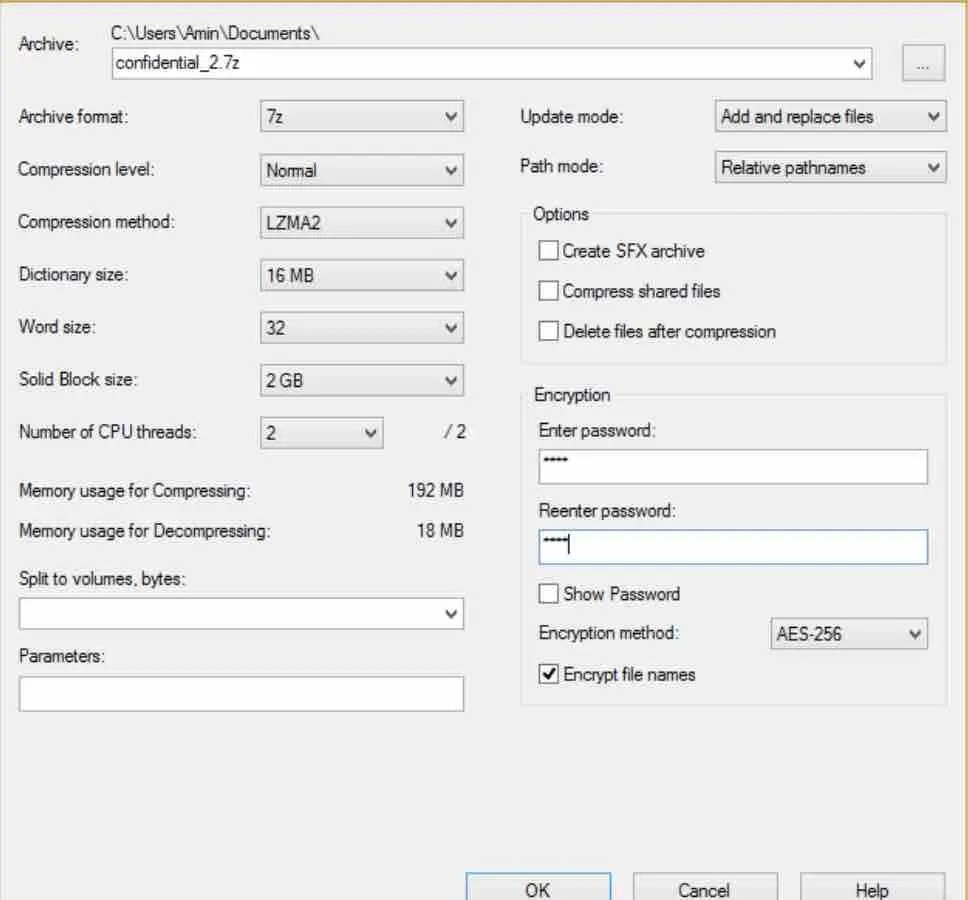
Click OK to start creating the encrypted archive.
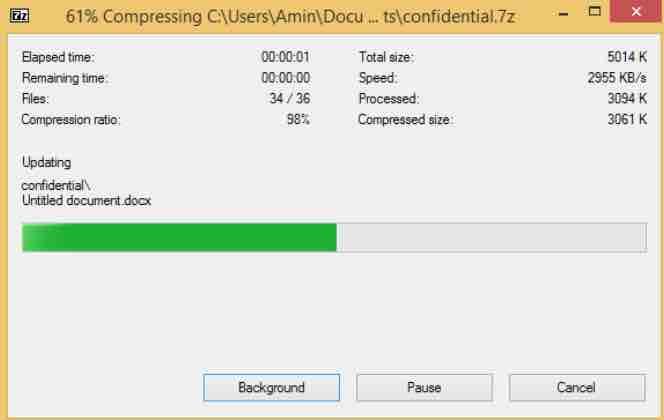
The creation of the archive takes more or less few seconds to few minutes depending on the volume of data to compress and encrypt and on the performance of your system.
Here, your compressed and encrypted archive is created! All the files and folders it contains are now secure and can only be decrypted with the password you provided when you created it.
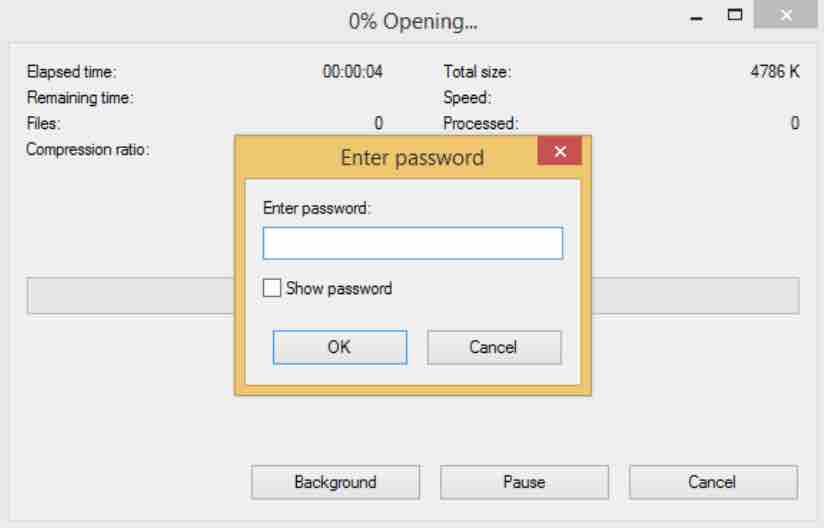
To view the contents of the archive, double-click it in File Explorer and then enter the password you entered when you created the archive.
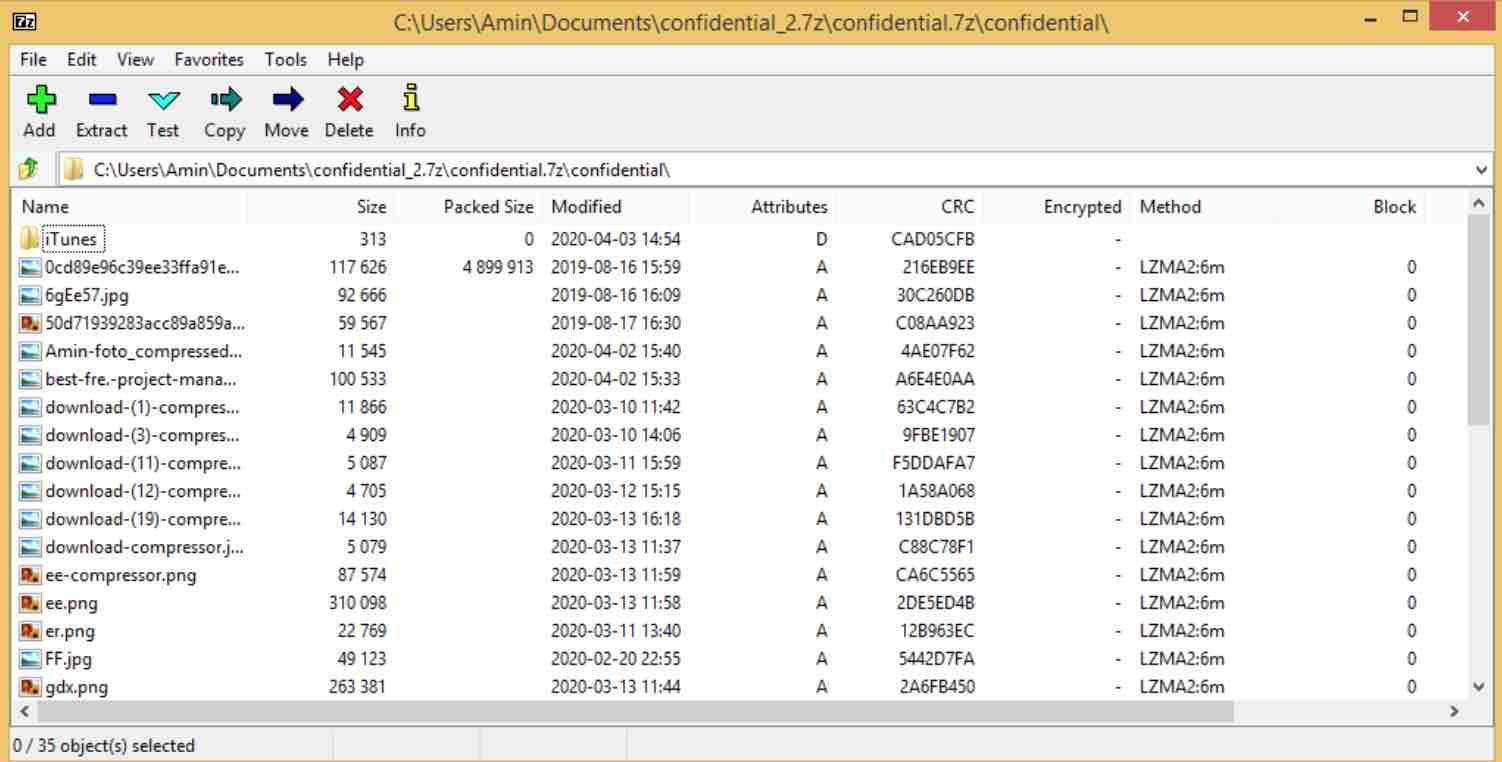
The list of files and folders in the archive is displayed in 7-Zip.
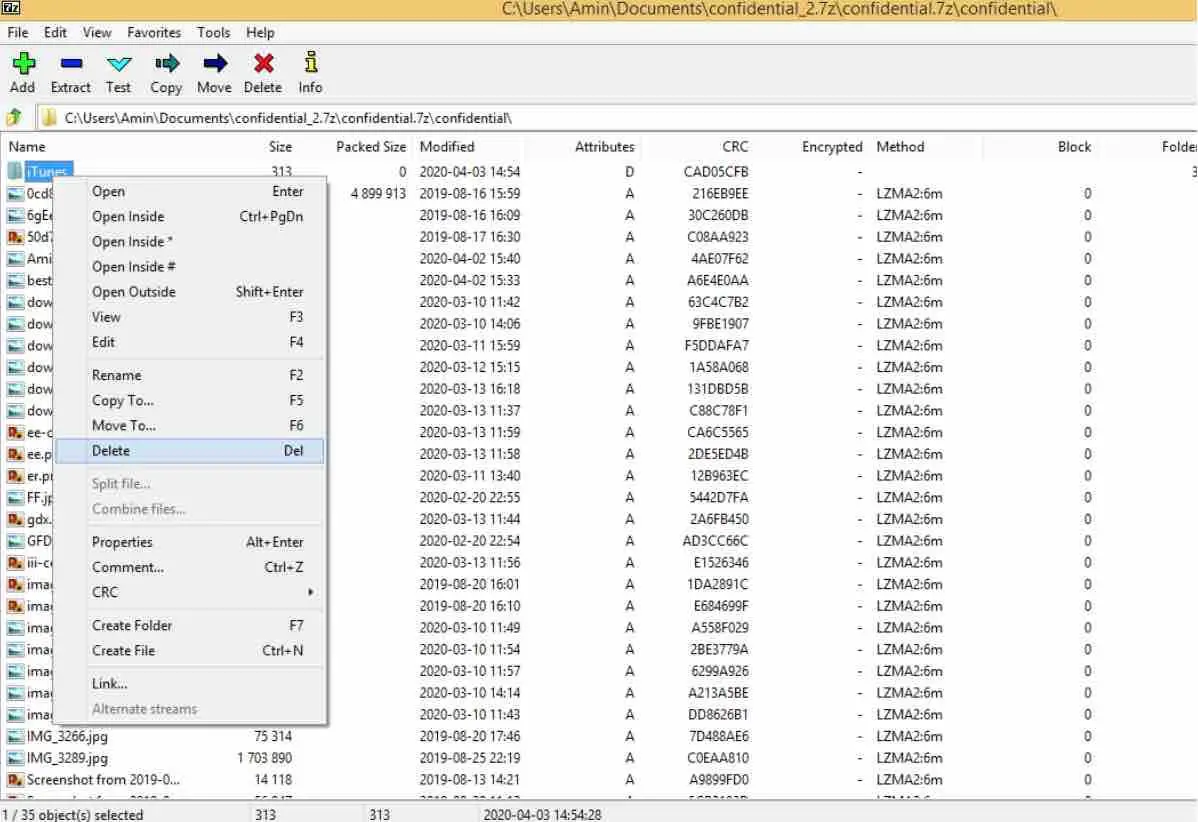
You can modify, rename and delete files from the archive by right-clicking on the specific file.
To add a file or folder to the archive, drag and drop the file / folder from File Explorer to 7-Zip.
EncryptOnClick
Looking to safeguard all the files in a folder with just a few clicks? Well, you’re in luck because EncryptOnClick, a fantastic free software, has got you covered!
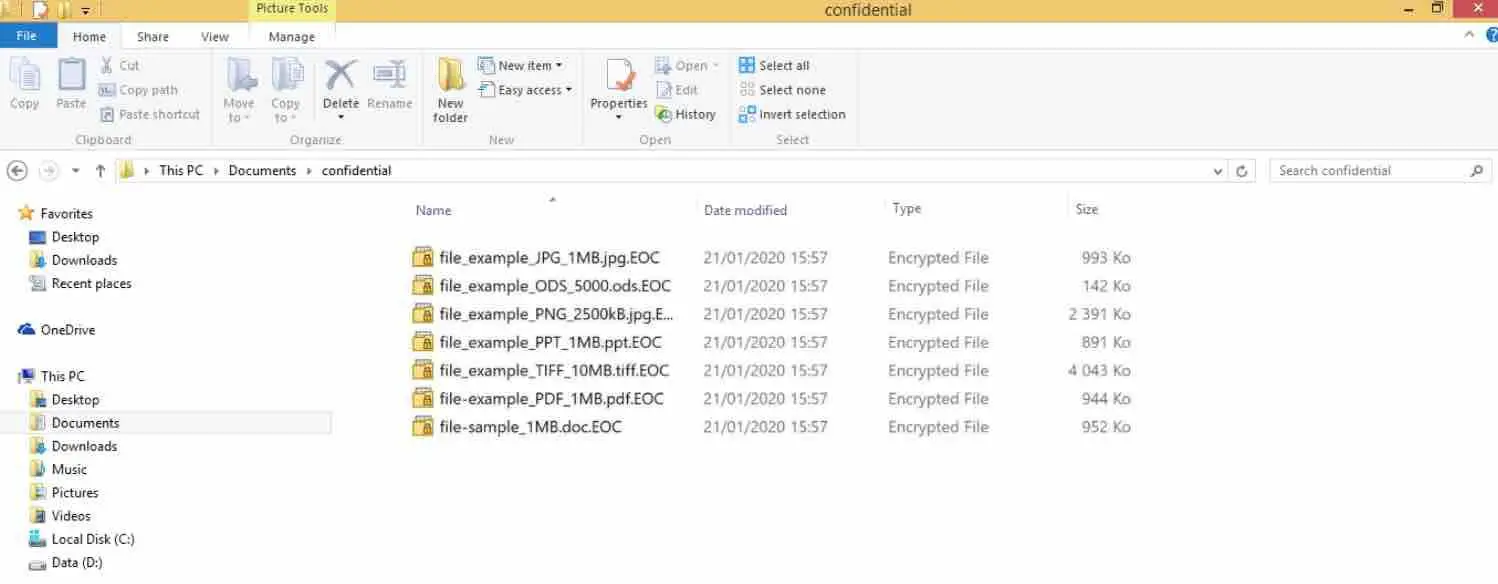
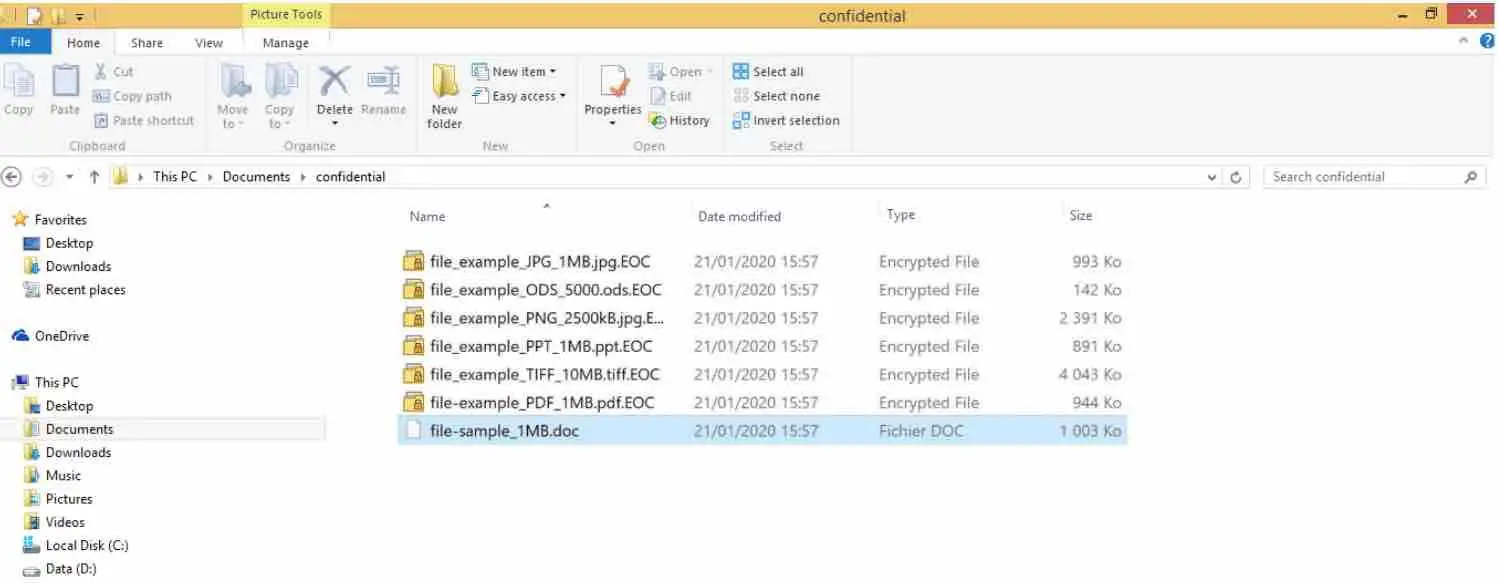
Once you’ve encrypted your files, they’ll undergo a transformation and become .EOC files. To access and read them, all you need to do is input the password you established during the encryption process.
Let’s take a peek at some of the noteworthy features this software brings to the table:
Utilizes the robust AES-256 encryption algorithm.
Implements both compression and encryption, effectively reducing file size.
Offers the flexibility to encrypt specific files or the entire contents of a folder.
Provides the option to encrypt file names, making it compatible with SecureZip.
Boasts a user-friendly interface that’s intuitive to navigate.
Now, let’s dive into the steps for password-protecting all the files in a folder using EncryptOnClick:
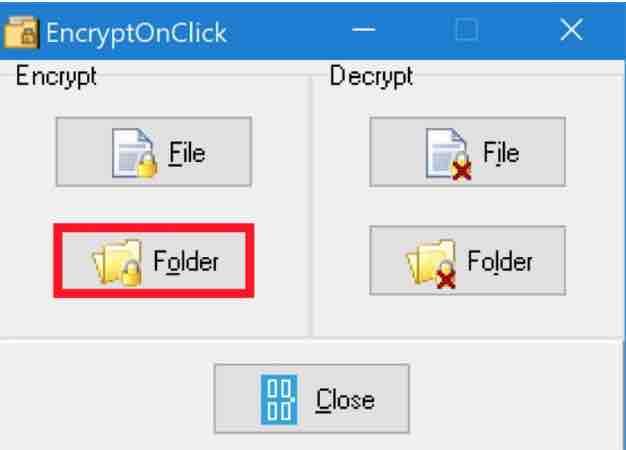
First off, grab yourself a copy of EncryptOnClick. Install it on your system, then fire it up. Once you’re in, head over to the Encrypt section and click on the Folder button:
Select the folder containing the files to encrypt and protect with a password.
Enter an effective password then check (if necessary):
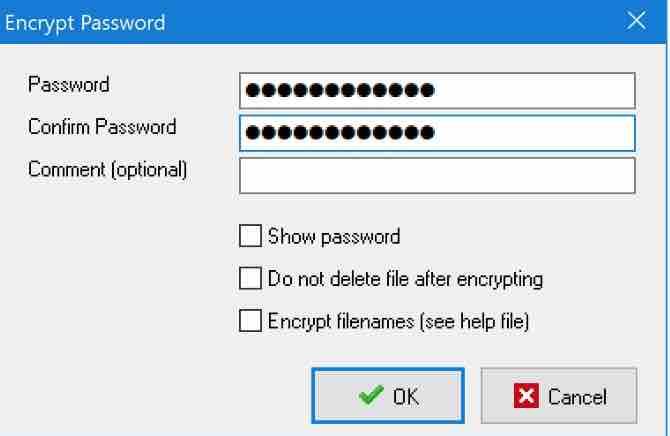
Do not delete file after encrypting in order not remove the original files after encryption.
Encrypt filenames to encrypt file names.
Read: How to speed up your Windows computer
Click OK to start encrypting files in the selected folder.
Here are the files before and after EncryptOnClick encryption:

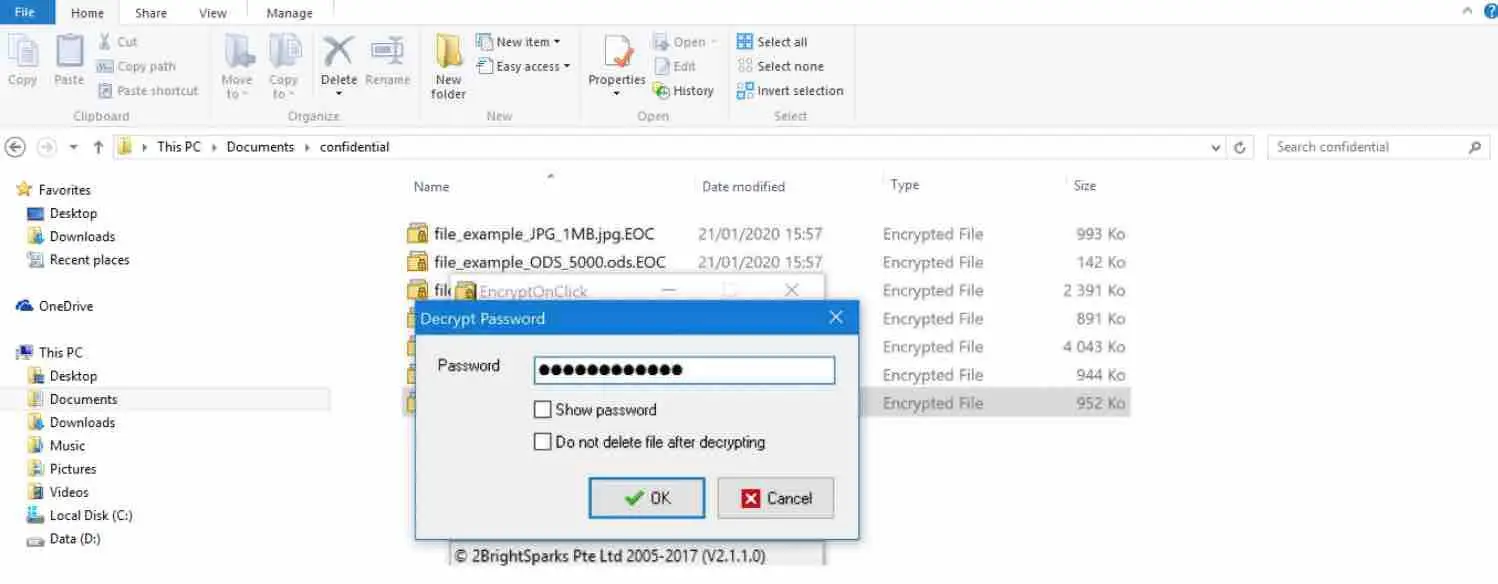
To decrypt a file and access its content, double-click it and then enter the password.
It is now accessible :
To decrypt all the .EOC files in a folder at once, open EncryptOnClick and click the Folder button in the Decrypt section.
Read: Can’t connect to WiFi on Windows 10, here is what to do.
VeraCrypt
Looking for some top-notch encryption software that won’t cost you a dime? Well, look no further than VeraCrypt! This remarkable tool enables you to:
Craft encrypted containers, known as “container files,” where you can securely stash all your important files and folders. Everything placed inside these containers gets encrypted and shielded by a trusty password. In the realm of your operating system, these containers take shape as virtual disks.
Encrypt partitions or even system disks like USB keys or the very partition where Windows has set up camp.
Now, let’s kick things off by delving into the first feature on our list: container files.
The concept is as straightforward as can be: We’ll whip up an encrypted container file with a size that suits our fancy, then proceed to deposit the files and folders we wish to protect inside it. Of course, it’s crucial to define a container size that’s spacious enough to accommodate our needs.
To create this nifty container file, we’ll enlist the help of a program called TruPax. Unlike VeraCrypt, TruPax possesses the nifty ability to automatically adjust the container’s size based on the volume of data you intend to stow away. This means you won’t end up with a container that’s either disappointingly small or needlessly gargantuan, wasting valuable space. However, if you’re keen on having some breathing room within the container, fret not! There’s an option to cater to that preference as well.
Read: How to fix bluetooth problems in Windows 10
What you should know about TruPax:
- The encryption algorithm is AES-256.
- The hashing algorithm is SHA-512.
- Containers created with TruPax are compatible with TrueCrypt 6+ and VeraCrypt 1.14+.
If you want to use other encryption and hashing algorithms, you must go through VeraCrypt. TruPax does not currently offer other algorithms but, according to the author, it is in the pipeline.
TruPax is not required, but its approach makes it very practical for creating container files with a suitable size.
Step 1: Create an encrypted container file with TruPax
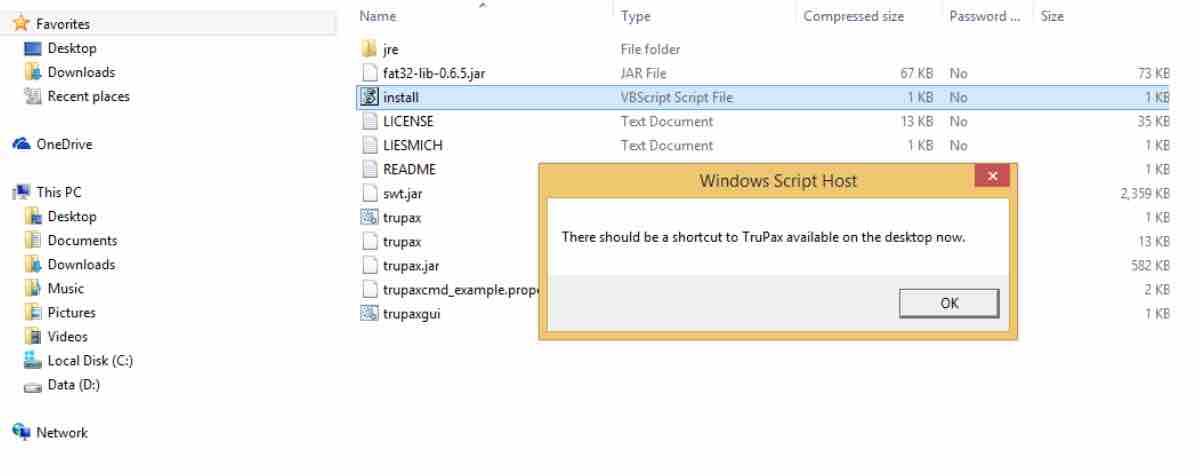
Download the TruPax archive: it contains TruPax + the Java Runtime Environment (JRE), necessary to run the TruPax program which is developed in Java.
Unzip the archive and then double-click the install.vbs file to create a shortcut to TruPax on the desktop.
When you run TruPax from the desktop, you will end up on the main window of the program. Here, the goal is to select the files and folders that you want to add to the encrypted container. To do this, nothing could be simpler: click the Add Files and Add Folder buttons on the right.
[Optional] Check the Wipe Afterwards box to securely delete the selected files / folders after creating the container.
[Optional] In the Free Space field, enter the amount of free space (in bytes) to add to the container. Suffixes are allowed, for example: 25MB (for 25MB), 500k (for 500KB) or 3GB (for 3GB).
To create the encrypted container, click on Make Volume at the bottom right and enter the name of the container file followed by the .hc extension.
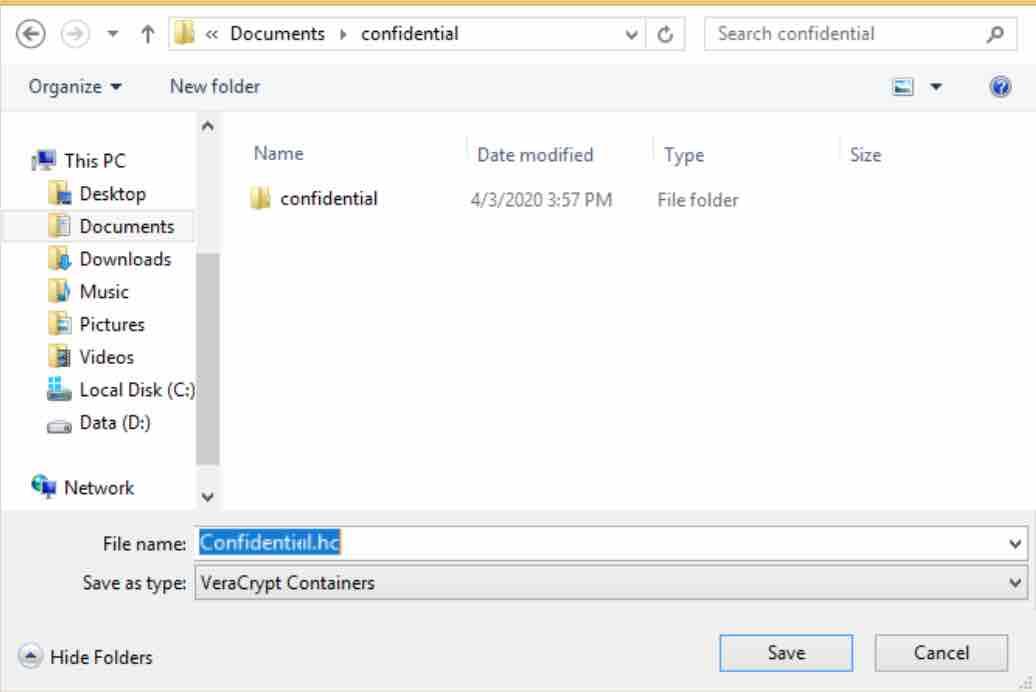
Finally, choose the password that will encrypt / decrypt the container (the background color indicates the security level of your password) and then click Proceed.
Now, your sensitive data is stored in a fully encrypted and password protected container file .hc. Your data is now secure. 😉
Let’s see now how to decrypt our container in order to read, modify and delete the files / folders it contains, or to add new data.
Read: How to fix Windows 10 errors using free software
Step 2: decrypt the container with VeraCrypt
Your encrypted container is available as a .hc file. To be able to read, modify or delete the files contained in this container file, you must install VeraCrypt.
Download VeraCrypt and install it with the default options.

Once VeraCrypt is installed, you will notice that the container file is now linked to the VeraCrypt application.
Double-click the container file to open it with VeraCrypt. Once the container has been decrypted with the password, VeraCrypt will mount it in File Explorer as a virtual disk, accessible via a drive letter.
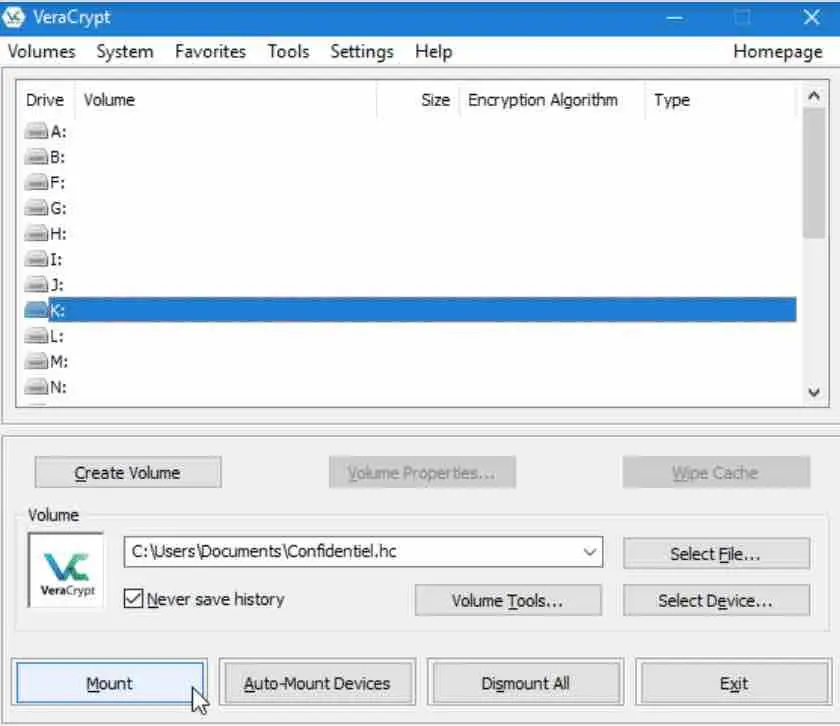
From now on, select the drive letter to assign to the container then click on the Mount button to mount the container in File Explorer.
Enter the password to decrypt the container:
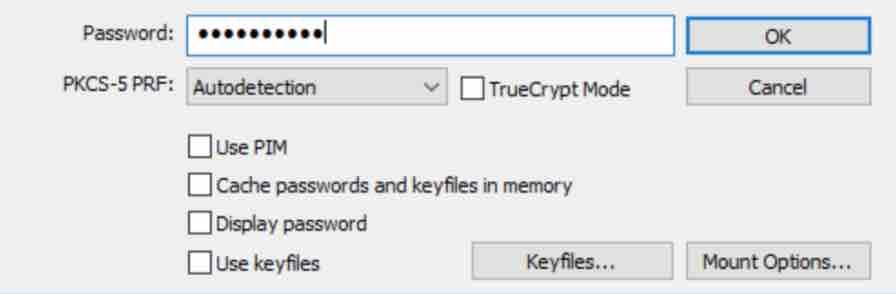
VeraCrypt then decrypts the container and displays in the program window the drive from which it is accessible, its size and its encryption algorithm.
That’s it, your container is now decrypted. In the VeraCrypt window, double-click the drive letter you have chosen to open the container in File Explorer. You can read, create, delete or modify your files as before.
Attention: don’t forget to dismantle your container once you are done. To do this, simply click on the Dismount button in VeraCrypt.
Conclusion
Now that you’ve explored three software options for password-protecting folders on Windows 10, let’s dive into how you can utilize them effectively:
Scenario 1: If your aim is to shield the individual files within a folder rather than the folder as a whole, then EncryptOnClick is your go-to solution.
Scenario 2: If your objective is to fortify the entire folder itself, here are two different approaches based on your specific needs:
If you have a limited number of files to protect and don’t frequently make changes to the folder’s contents, 7-Zip is the ideal choice.
However, if you prioritize maximum security, have a substantial number of files that require protection, and regularly modify the folder’s contents, then your best bet is VeraCrypt. It’s the heavyweight champion in terms of securing your data.
If you like the content, we would appreciate your support by buying us a coffee. Thank you so much for your visit and support.