As an IT professional, encountering the dreaded “403 Forbidden” error can be a frustrating roadblock, often resulting from issues related to file permissions, Apache and NGINX configuration files, or a corrupt .htaccess file.
This error typically manifests with messages like “403 Forbidden: You don’t have permission to access / on this server” or “Forbidden: You don’t have permission to access this resource.” Fear not, as we’ll guide you through three step-by-step solutions to overcome this challenge.
1. Rectifying File Permissions
One of the most common culprits behind the “403 Forbidden” error is improper file permissions. If the site administrator forgets to enable read access for public users, they will be unable to access the requested resource. As a site admin, it’s crucial to ensure that publicly accessible files have the correct read permissions.
A good practice is to start with zero permissions and gradually add them as needed. Directories should have a permission mode of 755, granting the owner full access while allowing group users and others to read and execute. Files, on the other hand, should have a permission mode of 644, providing the owner with read and write access, and everyone else with read access only.
To rectify file permissions, navigate to your web root directory (e.g., /var/www/html) and execute the following commands:
sudo find /var/www/html -type d -exec chmod 755 {} \;
sudo find /var/www/html -type f -exec chmod 644 {} \;
These commands use the `find` utility to locate directories and files, and the `chmod` command to set the appropriate permissions. Remember to restart the Apache or NGINX server after making these changes:
sudo systemctl restart apache2.service # For Apache on Ubuntu
sudo systemctl restart nginx # For NGINX on Ubuntu
sudo systemctl restart httpd # For Apache on RHEL/CentOS
Read: How to install Apache web server on Ubuntu 22.04
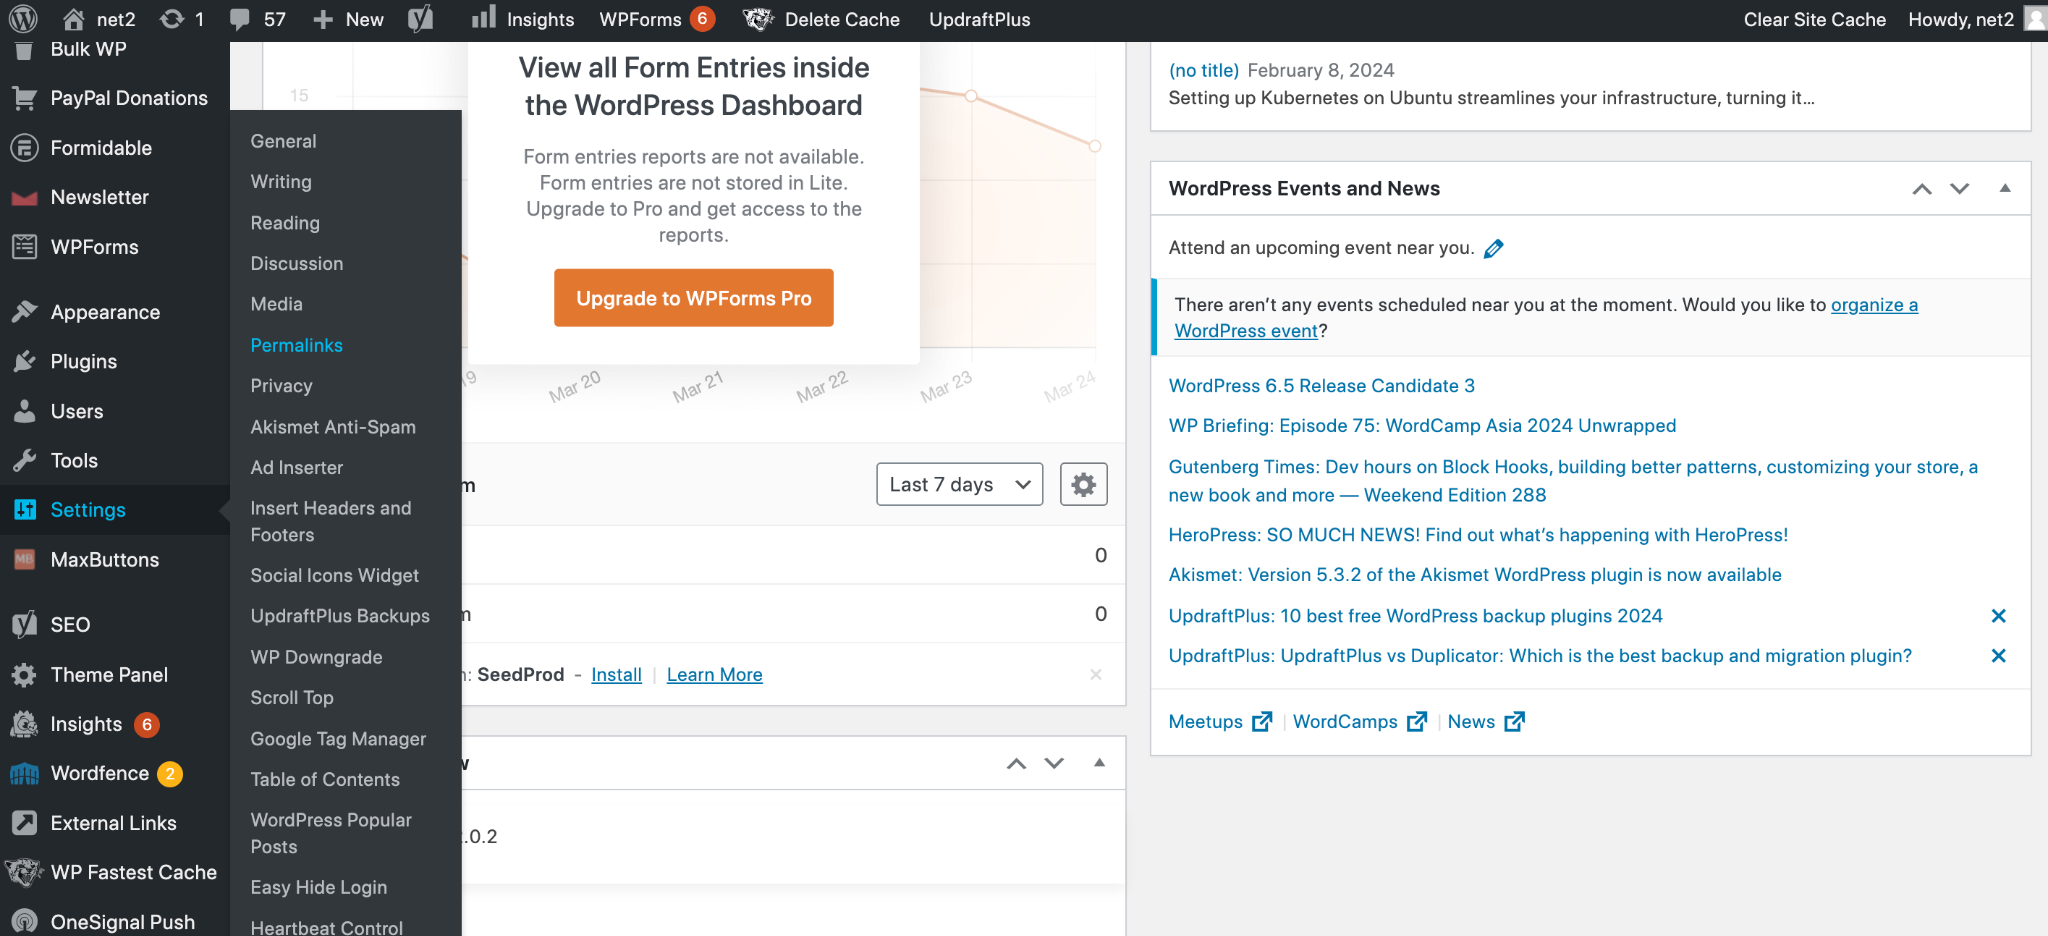
2. Fixing the .htaccess File for WordPress Websites
If you’re managing a WordPress website, a corrupted .htaccess file may be the root cause of the “403 Forbidden” error. To resolve this, simply log in to your WordPress dashboard, navigate to Settings > Permalinks, and click the “Save Changes” button. This action will create a new .htaccess file for your website.
3. Configuring Apache Directives
For Apache 2.4 users, the introduction of the `mod_authz_host` module may lead to access restrictions and the “403 Forbidden” error. This module implements rules such as:
– `Require all granted`: Allow all requests
– `Require all denied`: Deny all requests
– `Require host net2.com`: Only permit requests from net2.com
To mitigate this, ensure that your main Apache configuration file (e.g., /etc/apache2/apache2.conf) contains the following code block:
“`
<Directory />
Options FollowSymLinks
AllowOverride None
Require all denied
</Directory>
<Directory /usr/share>
AllowOverride None
Require all granted
</Directory>
<Directory /var/www/>
Options Indexes FollowSymLinks
AllowOverride None
Require all granted
</Directory>
“`
For RHEL-based web servers, ensure that the `/etc/httpd/conf/httpd.conf` file contains the appropriate configuration to ease access to the `/var/www` section.
By following these three solutions methodically, you’ll be well-equipped to conquer the “403 Forbidden” error on Apache and NGINX servers, ensuring seamless access to your web resources.
If you like the content, we would appreciate your support by buying us a coffee. Thank you so much for your visit and support.