Samba lets you share your file across multiple operating systems seamlessly. For example, a samba file sharing server running on Ubuntu can let you access your files from a macOS or a Windows laptop/desktop via a network.
Requirement
- Ubuntu 16.04+ system
- An open port 445 to allow incoming TCP traffic
- Working network connection to be able to share files
Installation
- Open up a terminal (Ctrl + Alt + T) and type following commands
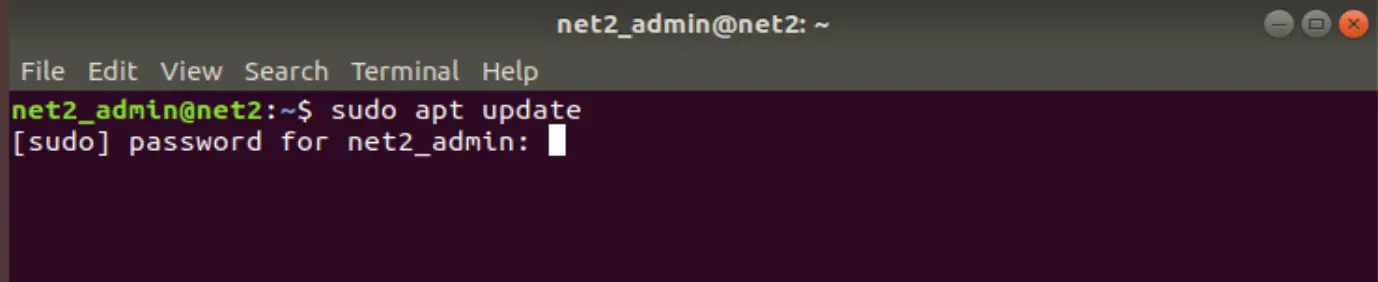
sudo apt install samba -y
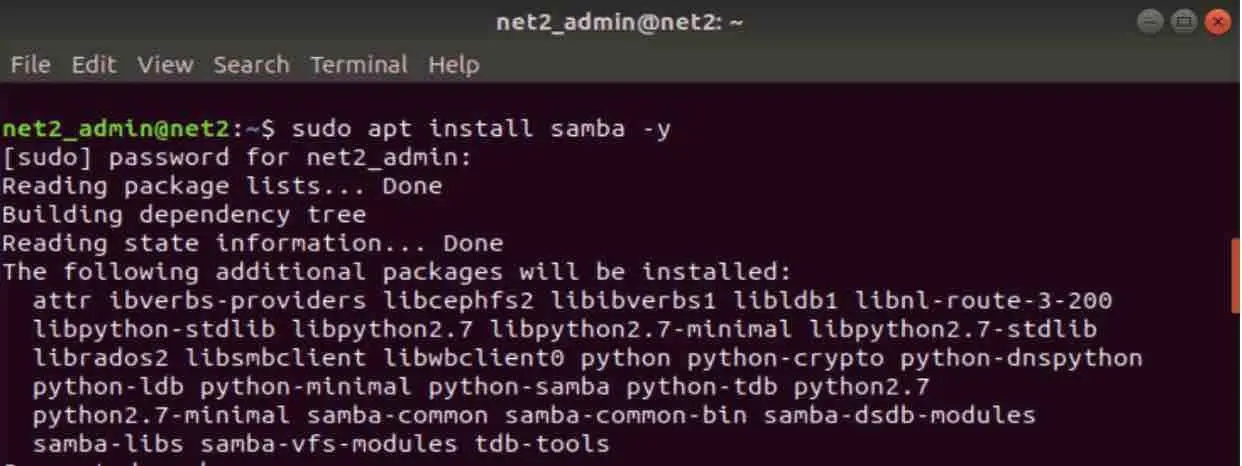
After both commands have successfully executed, and if there is no error on our terminal, it means that we have successfully installed the samba server on our system. To check if the installation was successful run below command:

We should be able to see something like the above result.
You may be interested to read: How to install Apache web server on Ubuntu ?
Configuration
Once we have successfully installed Samba, we need to create a directory which will be shareable through the network.
To create a directory, type in the below command in terminal (Ctrl + Alt + T)
mkdir samba_share

This command creates a new directory “samba_share” in our home directory, which we will be sharing over the network.
To enable this new directory as share in samba, we need to edit the “smb.conf” file. Open the file “/etc/samba/samba.conf” in your preferred text editor. Here I am going to use vim for the editing.

Once the file opens up, insert the following lines at the bottom of the file:
[sambashare]
comment = Samba on Ubuntu
path = /home/username/sambashare
read only = no
browsable = yes
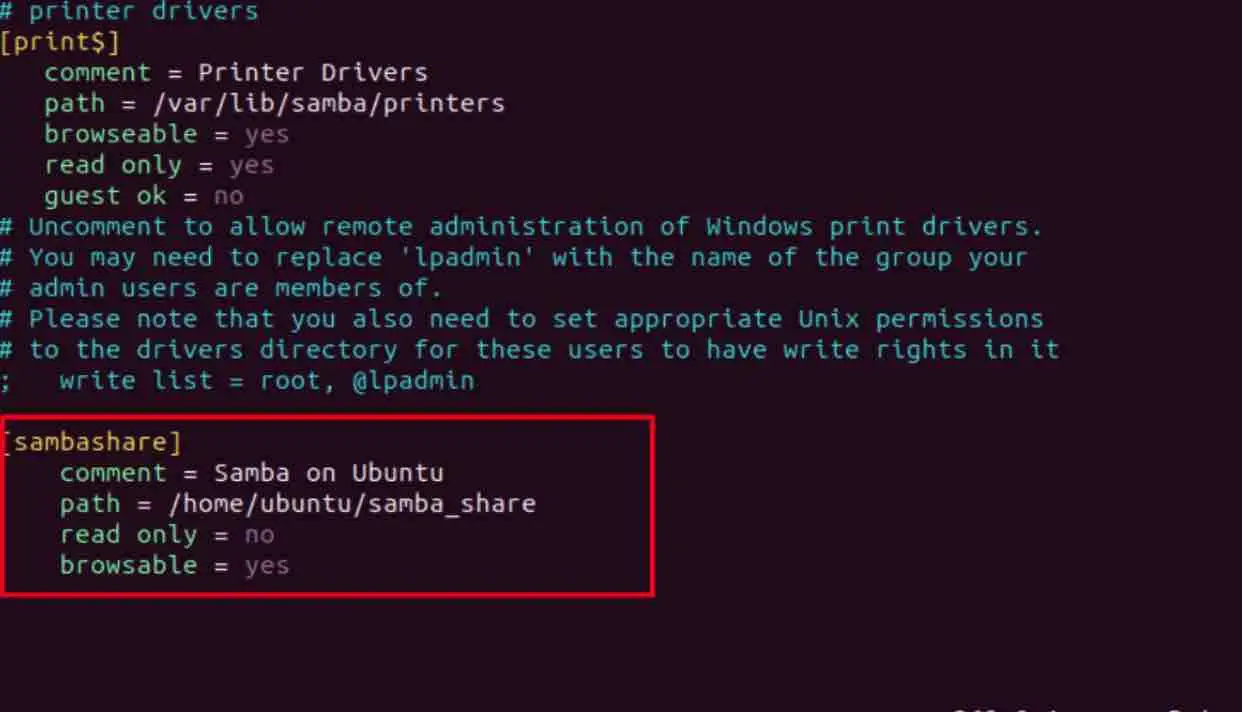
Notice the <username>, replace this with your current username to complete the path. Once done, save the file and exit the editor.
What we have added:
- [sambashare]: This is the name of our share
- comment: A short description of the share
- path: Path which we are going to share
- read only: This will grant the permission to modify the content of the directory as we have provided value as no, if you want your share directory to be read-only, provide value as yes.
- browsable: When this is set to yes, the file managers, like Nautilus on Ubuntu, can list this under network section
Once we are done with the settings file, we need to restart samba service.
sudo service smbd restart
This is important because if we do not restart the service, the new settings will not be loaded and the service would be running on the old configuration.
You may be interested to read: How to install OpenSSH server on Ubuntu ?
Setting up an account
Samba does not use system user password, so we need to set up a Samba password for our current account.
sudo smbpasswd -a username

Notice that I have replaced “username” with “net2_admin”. You can replace that with whatever username you would prefer.
After doing this, our Samba server is ready to share the files over the network.
Testing
Before starting out the testing, we need to find out our Ubuntu machine’s IP address by issuing the “ifconfig” command. An example output is provided below :
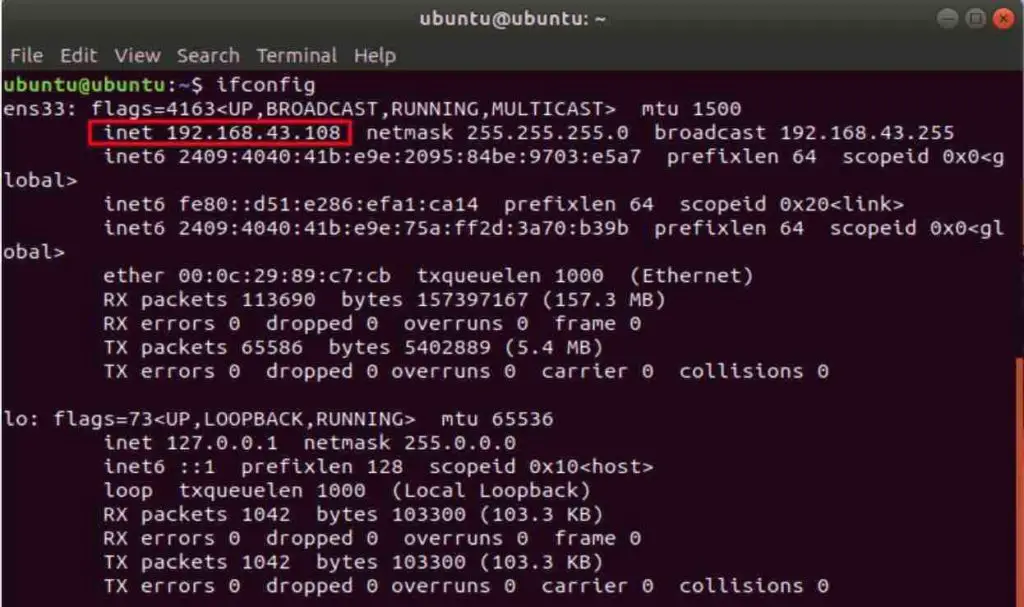
Once we have the IP address, we are ready to test out our server.
Now that we have out samba server ready, we should know how to access the server from different operating systems. Here we will be looking at how to access samba from Windows, Ubuntu, and macOS.
Windows
Open the run dialog box (Win + R) and type in the following:
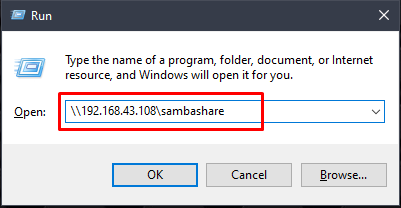
A prompt will open up asking for credentials. Supply the credentials we obtained in the last step of configuration. Once right credentials have been supplied, you’d be able to see the files that are in “samba_share” directory over the network.
Ubuntu
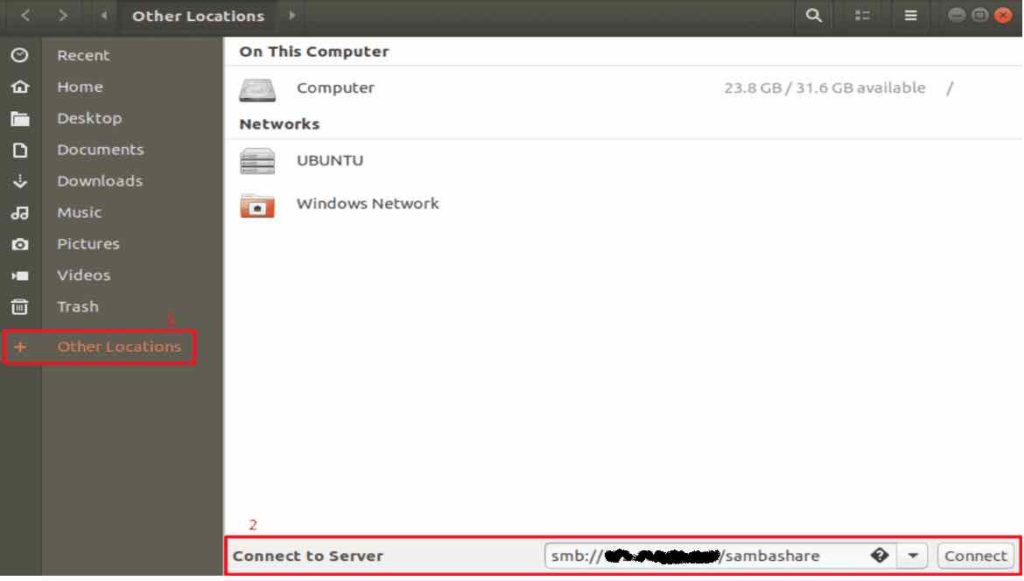
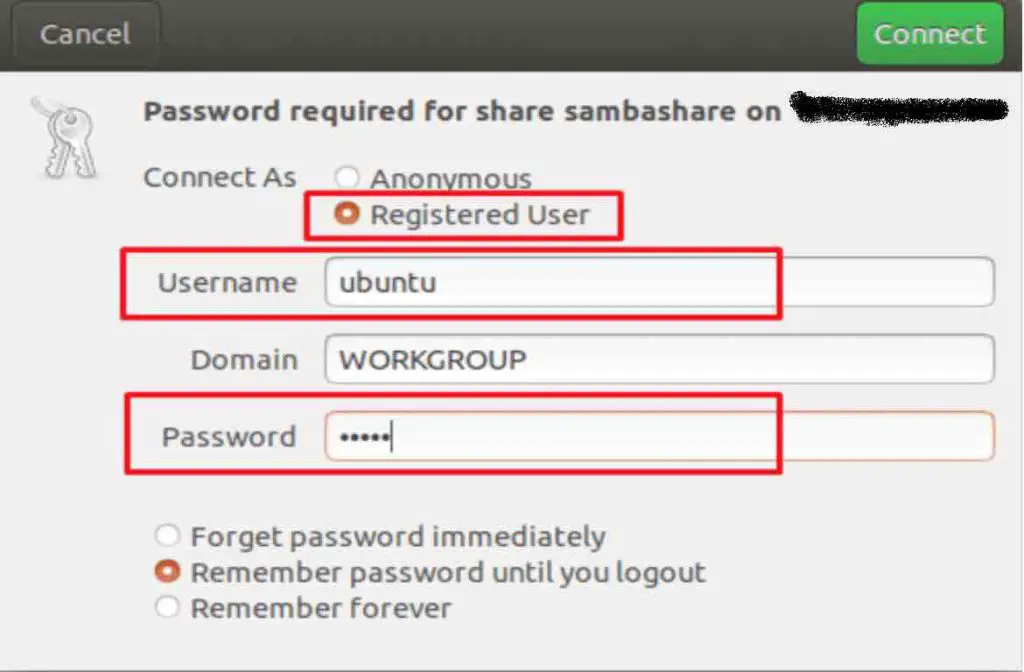
On Ubuntu file manager, go to Other Location > Connect to Server, put in the command: “smb://<ip_address>/sambashare”, hit connect. You will then be asked to enter the credentials.
macOS
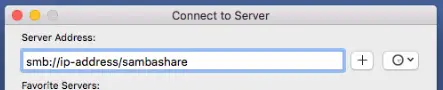
On macOs, go to “Go > Connect to Server” in finder the menu, type in the command “smb://<ip_address>/sambashare”, provide the credentials. You will then see the network files.
We have successfully installed Samba on our Ubuntu machine, through which we can share a directory over a network without any hassle.
If you like the content, we would appreciate your support by buying us a coffee. Thank you so much for your visit and support.