It is very likely that the name of Android Studio sounds familiar to you , that you have heard it on some occasion or have read something about it. But you may not be entirely clear what it is orwhat it is for.
As many of you may already know, Android Studio plays a key role in Android application development .
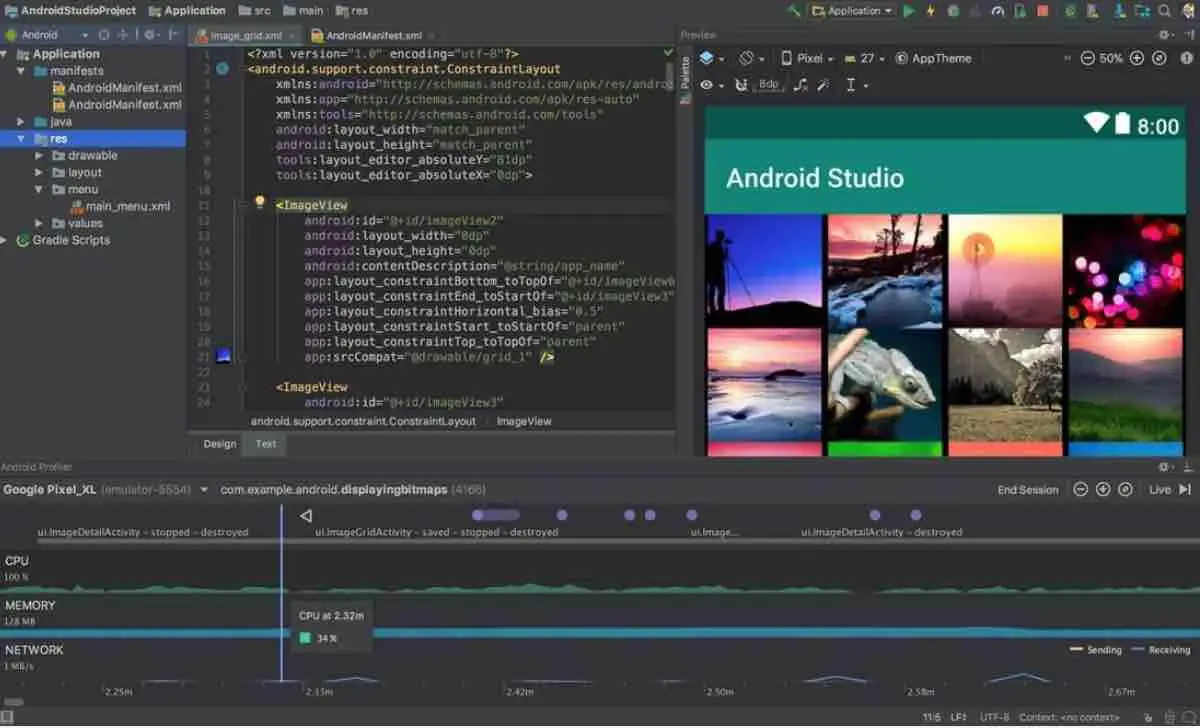
What is Android Studio?
Android Studio is a development environment , a software, that has tools and services for developers to create new applications for Android. In this development environment you will find the necessary tools to create applications . This includes the coding and the design of the user interface of the application .
What you can do with Android Studio?
Android Studio is designed so that you can perform various actions , all of them related to creating Android applications. That is why many see it as an essential service or tool for developers. It can be used it for various things:
- Create applications: Thanks to an interface that is easy to use and very visual, users will be able to create their own applications. Additionally, designs and templates are provided, depending on the type of app, to help with its development.
- Use as an Android emulator : Android Studio has an emulator, which you can use to test functions of the operating system or test the applications you have created on the phone.
- Analyze other apps : A good feature, especially for those who are interested in learning about application design. A function that is also available is to analyze or use the work of other developers.
In this tutorial, you will learn how to install Android Studio development application on Ubuntu 18.04 using three different methods.
Machine requirements
Android Studio needs a lot of computing power, .i.e. CPU and RAM. Here are some important specifications that your machine must meet in order to properly install and use Android Studio:
- 64-bit distribution capable of running 32-bit applications .
- GNU C Library (glibc) 2.19 or later.
- 3GB RAM minimum, 8GB RAM recommended . Plus 1GB for Android Emulator.
- 2 GB minimum available disk space , 4 GB Recommended ( 500 MB for IDE + 1.5 GB for Android SDK and emulator image system ).
- A minimum screen resolution of 1280 x 800 .
Java installation
Before installing Android Studio, you would first need to install the Java Development Kit from Oracle. Follow our article to do so.
Read: Best Android emulators for Windows 10
Using Ubuntu software repository.
This is the easiest way to install software on your Ubuntu 18.04. Open your Ubuntu Software area and search ‘Android Studio’ in the search box as shown below. It will show up in the first position.
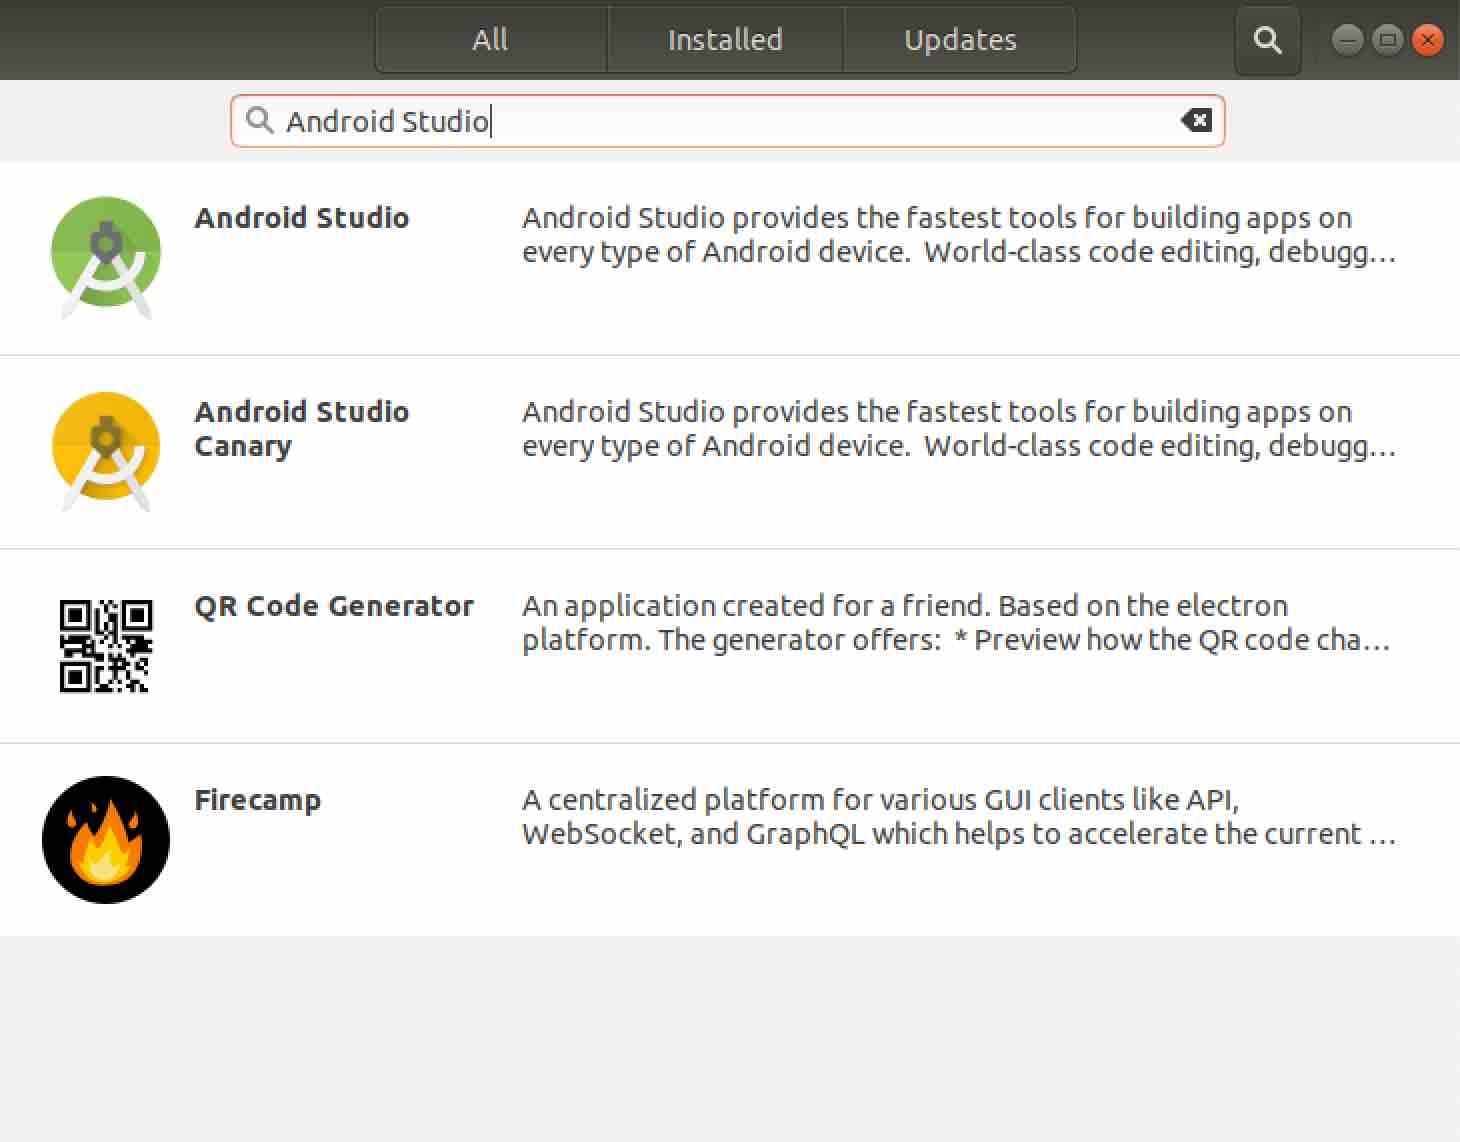
Once the software is located, installing it is as easy as clicking the install button . After a successful installation process, you should be able to locate the launcher in Ubuntu. If it installed successfully, you can skip the remaining methods and review the final configuration section.
Using the Snap tool.
The Snap tool can be very useful for installing software packages . Snaps are containerized software packages that make the installation process easy. There are no files to modify or write any commands.
However, you must first have Snap installed on your machine. To install Snap , you just have to open a terminal (Ctrl + Alt + T) and type in the apt command below:
sudo apt install snapd
After successfully installing Snap, you can now proceed to install Android Studio with the following command:
sudo snap install android-studio
Read: Best Android phone cleaner apps
This will take a while, you have to wait a few minutes. It is expected to install successfully, but if for some reason the installation fails due to an error like the following:
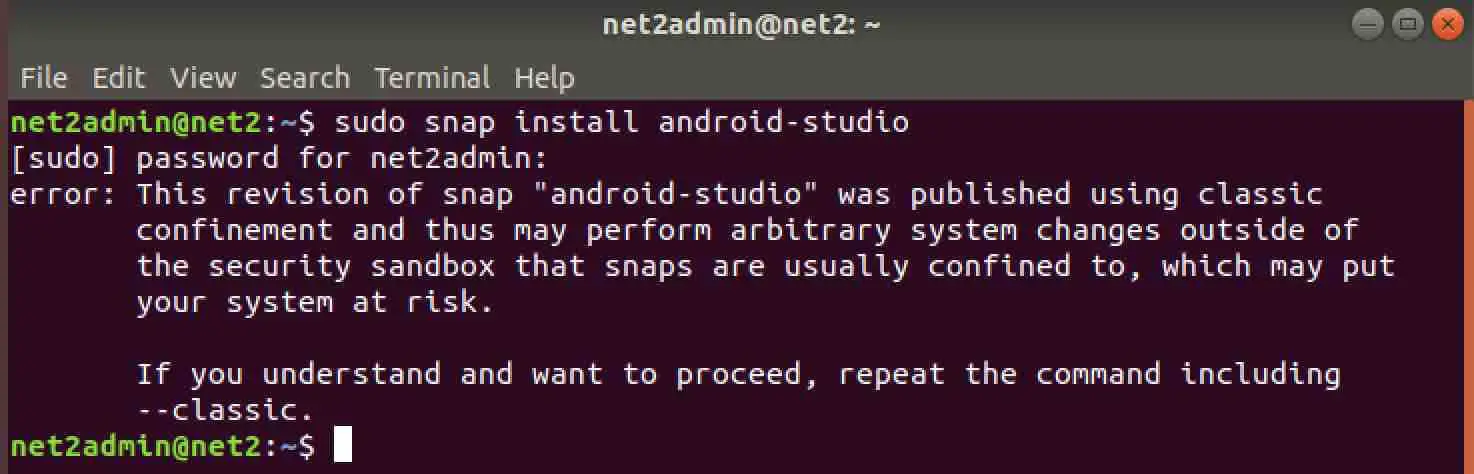
You will need to add the –classic parameter to the command as shown below:
sudo snap install android-studio –classic
If it installs successfully, you can skip the other methods and review the final configuration section.
Using umake
Android Studio can also be installed using umake which was formerly known as Ubuntu Developer Tools Center. Ubuntu Make offers a command line utility that helps install several development tools. Since Ubuntu Make is accessible from the Ubuntu repository, you would just need to run the command below to install it :
sudo apt-get install ubuntu-make
Now install Android Studio , invoke the command below:
umake android
Using the Zip file
This is a reliable method to install Android Studio . However, it may take some time.
First you will need to install the Java Development Kit. Refer to our article on how to do this.
Next you can proceed to the download of the Android Studio zip file from its android studio online official page.
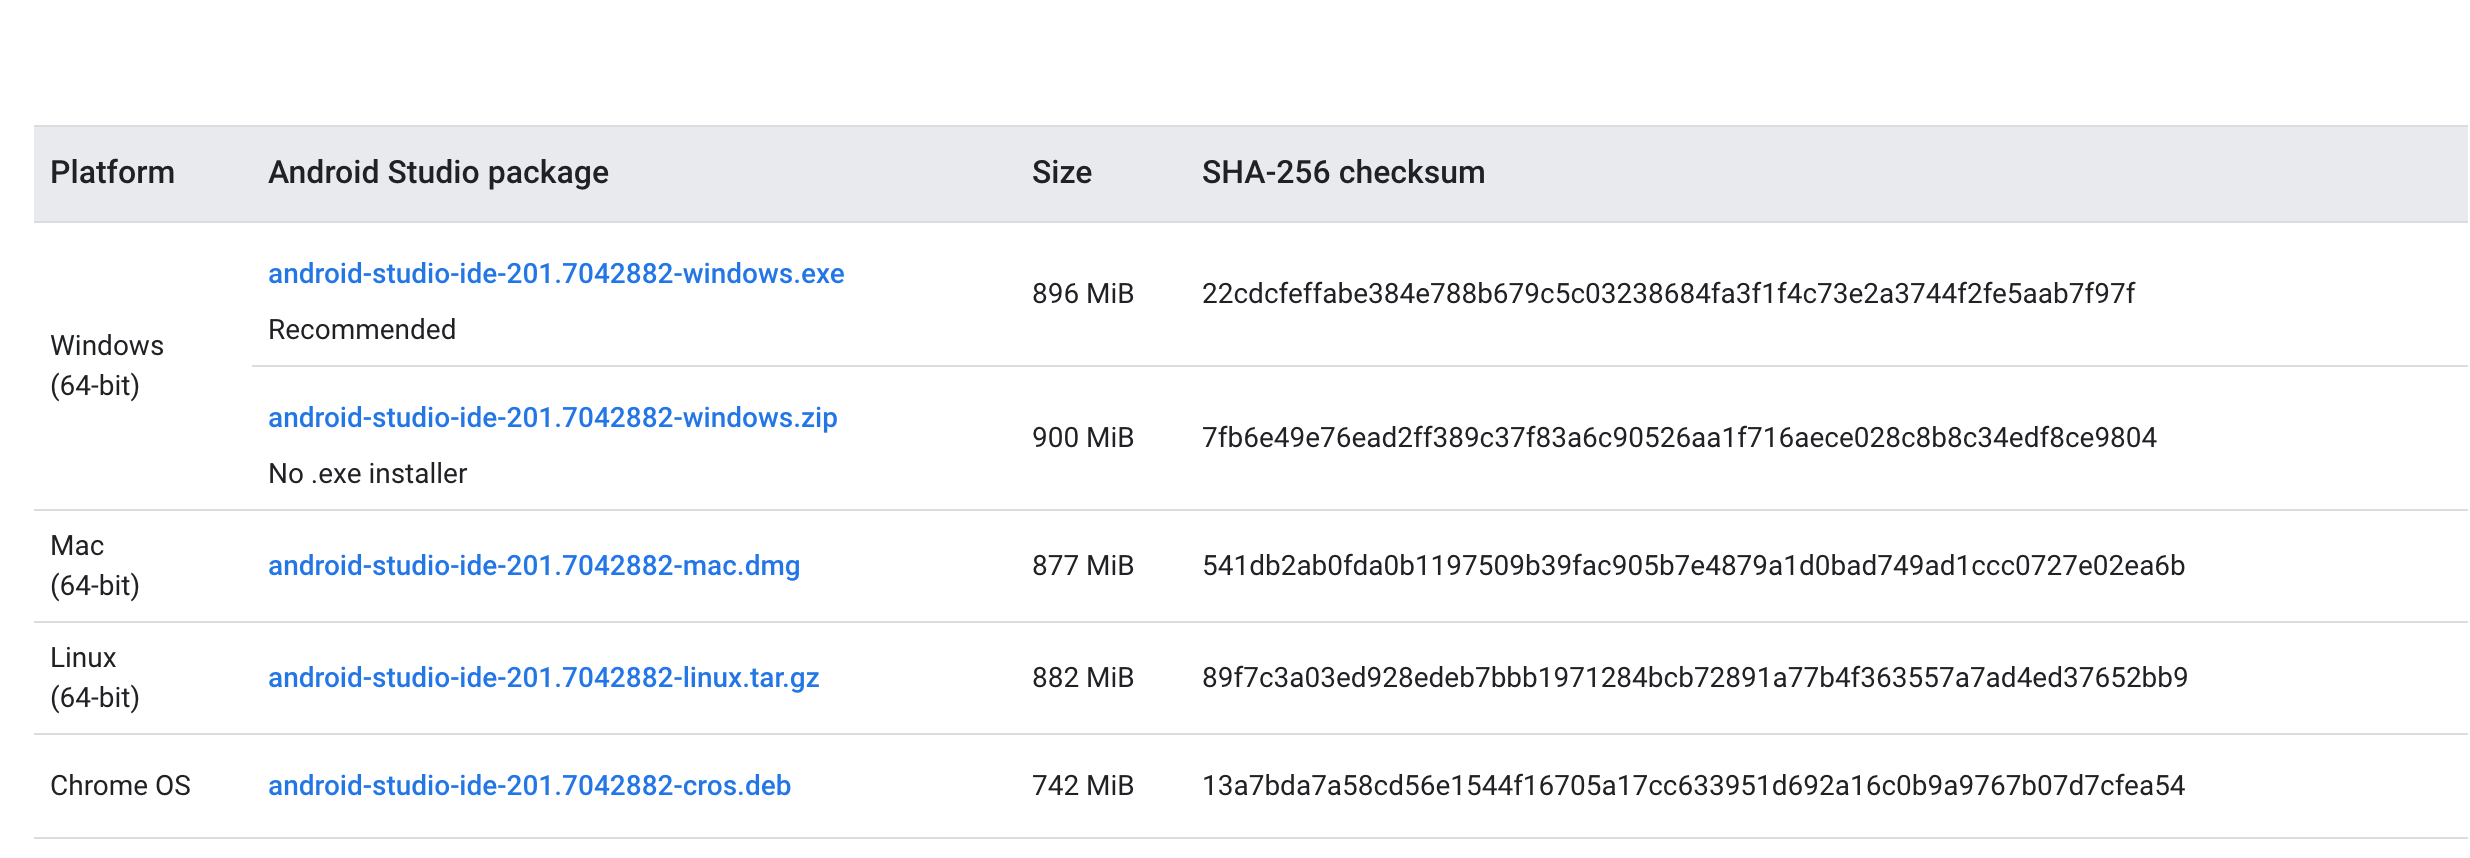
This can be done with the following commands:
wget https://redirector.gvt1.com/edgedl/android/studio/ide-zips/4.1.2.0/android-studio-ide-201.7042882-linux.tar.gz
Now using the tar command, you can unzip the file above.
To run Android Studio, go to the bin directory located in the unzipped Android Studio directory and run the file studio.sh .
This will launch the Android Studio installation, but first, we are going to symbolically link the studio.sh file with the / bin directory . In this way you can run Android Studio from any directory on the command line. Invoke the following command:
| sudo ln -sf /opt/android-studio/bin/studio.sh /bin/android-studio |
If you like the content, we would appreciate your support by buying us a coffee. Thank you so much for your visit and support.