If you’re always deleting files, clearing out useless data, manually running programs, and doing other repetitive tasks on your Windows computer, then it’s worth knowing that there are ways to automate these tasks. In this article, we’ll introduce you to some Windows utilities that can help you automate some common tasks. Then, we’ll give you some examples of how to automate certain tasks
Tools you should know
You may have already heard of the following tools: Command Prompt , PowerShell and Task Scheduler . If not, you will find a summary of each of these tools below.
Command prompt and batch files
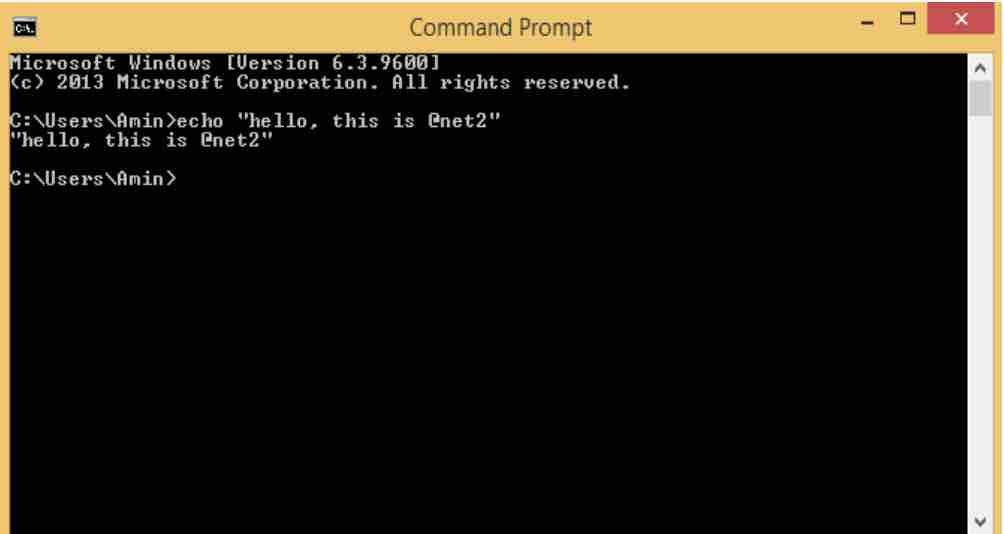
The Command Prompt is a program that interprets commands through the use of a command line interface. It’s the successor to the old MS-DOS system. When you have a file that contains multiple commands or instructions, it’s known as a “batch file,” and typically has a .bat file extension. Batch files are useful for automating repetitive tasks, such as backing up files and folders to a portable drive. To access the command line, just type “cmd” or “Command line” in the Start menu and select the option that comes up.
To create a batch file, all you need to do is compile the necessary commands into a text file with either a “.bat” or “.cmd” extension. Once you’ve done that, you can simply open the file to run it. When you do this, Windows will execute all the commands in the file one after the other, in the order in which they’re programmed in the batch file.
Read: How to disable login screen in Windows 10
PowerShell Scripts
PowerShell is a highly capable management and automation framework designed for advanced users and system administrators. If you require a high level of automation capability, then you should definitely consider using PowerShell.
While the command line is generally easier to learn and use, PowerShell offers greater flexibility and functionality.
To access Windows PowerShell, simply type “PowerShell” into the Start menu search bar. Two programs will come up: “PowerShell” and “PowerShell ISE”. The former is a command line interpreter, while the latter is used for writing scripts (which have a “.ps1” extension) that contain groups of commands, similar to batch files with the “.bat” extension.

Read: An introduction to Windows PowerShell for beginners
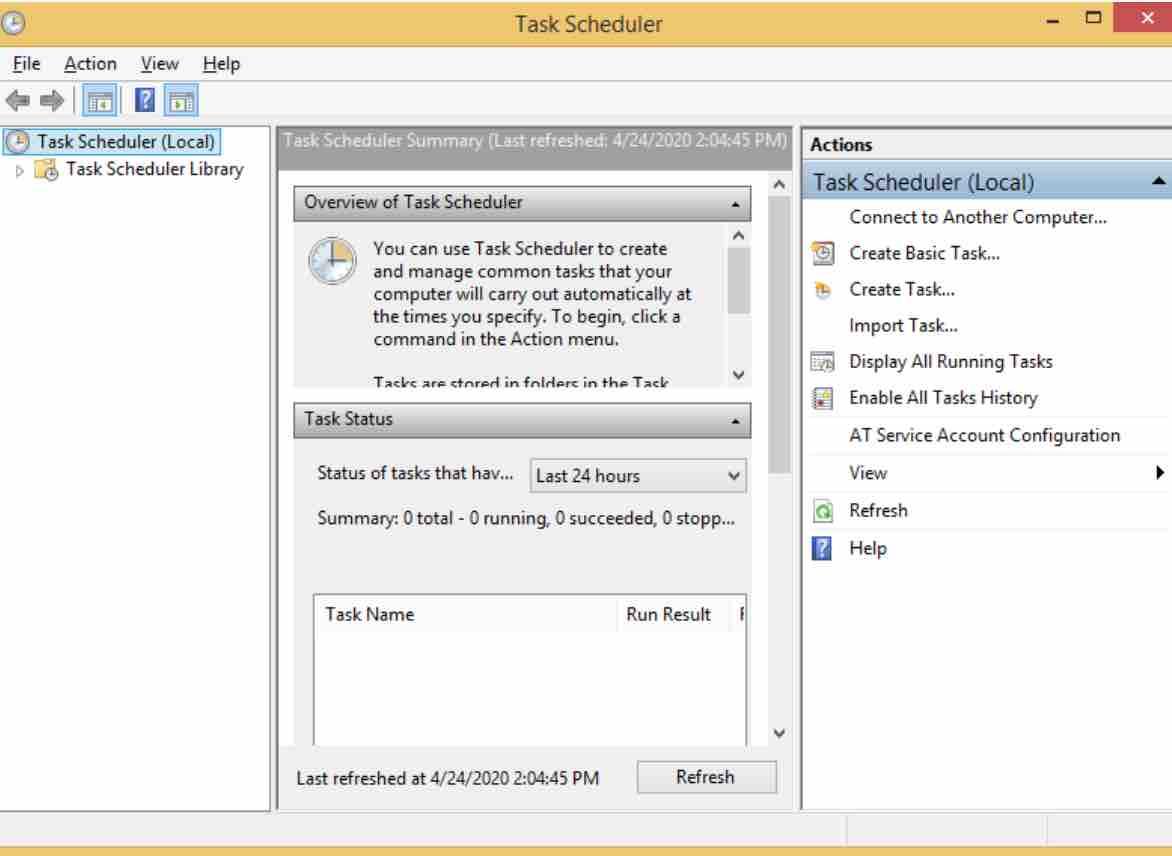
Windows Task Scheduler
The Task Scheduler is another handy Windows tool that can aid in automation. It is a program that launches various programs and scheduled tasks. These scheduled tasks can begin at specific times or at set intervals. Additionally, users can configure the display of messages or notifications when a task is completed and can perform additional actions as needed. Tasks can even be customized to suit individual needs.
To access the scheduler, simply enter “Task Scheduler” into the Start menu search bar. It’s worth noting that some Windows programs and third-party applications (such as Google Chrome) create scheduled tasks for maintenance purposes, so it’s important not to edit or disable any existing tasks.
Read: How to tackle multiple tasks at once on Ubuntu 22.04
Task automation
Now that you know about the essential tools, let’s put them to work and create some scripts and tasks. Once set up correctly, these scripts can take care of routine maintenance tasks on your computer without requiring any manual intervention.
Running multiple applications
Do you frequently use certain files like spreadsheets each time you start up your computer? If so, you can automate this process. First, you’ll need to locate the path of the folders, files, or programs that you want to open automatically when your operating system loads.
For instance, you can create a batch file that opens the Documents folder, Google Chrome browser, and Word document. Here’s some code to get you started. Keep in mind that the variable “% USERPROFILE%” corresponds to your user directory in Windows.
| @echo off:: Open the Documents folder start% USERPROFILE%\Documents\ :: Run Chrome start chrome.exe :: Open the comss.docx document on the desktop start “” “%USERPROFILE%\Desktop\comss.docx” exit |
Running applications as administrator
In the earlier example, you may encounter an issue where the programs launch without administrator rights. Consequently, if a program requires elevated privileges to run, you’ll see a user account control service request that needs manual confirmation, or the program won’t launch.
To tackle this issue, you can make use of the Task Scheduler. This tool built into Windows allows you to run the program with administrator rights automatically, without needing user intervention. You can use the Task Scheduler to run an application or multiple applications (using a batch script). Let’s see how to do this:
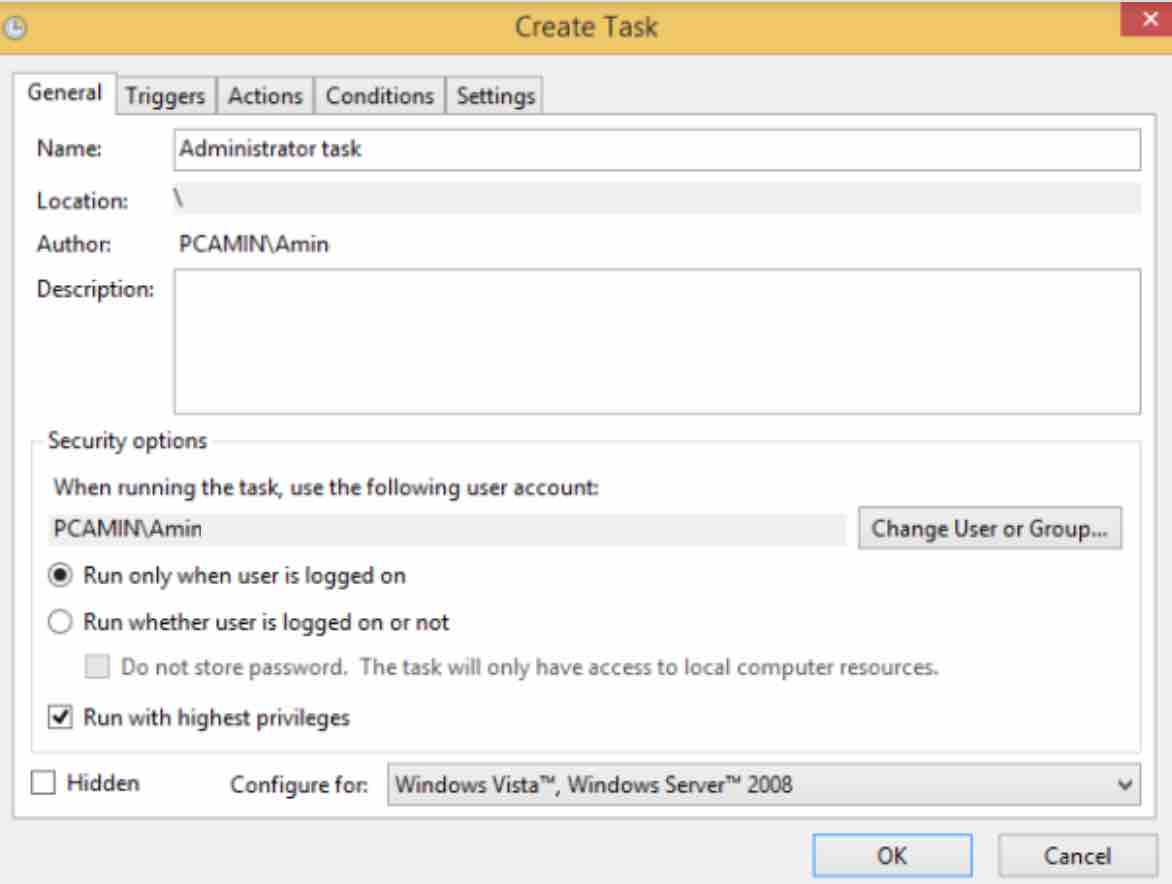
- Open Task Scheduler . Choose Action> Create Task in the top menu or the function of the same name in the “Actions” panel on the right.
- On the “General” tab, specify a name, for example, “Administrator task”, and check the box “Run with the highest permissions”.
- On the “Triggers” tab, click “Create ..” and in the “Start task:” field, specify the option “At startup”.
- On the Actions tab, also click Create …
- In the window that opens, select “Run the program” action, in the “Program / Script” field, specify your executable or batch file and click OK.
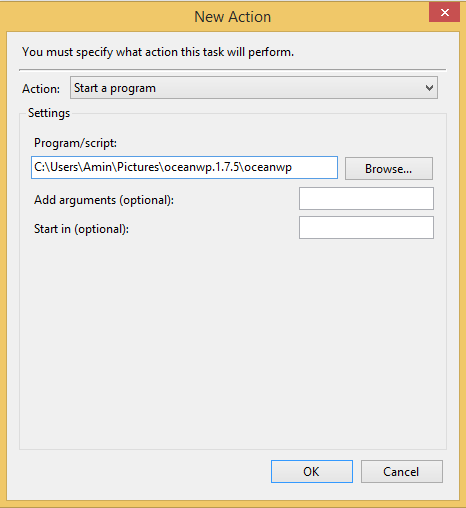
- Now make sure that the option “Perform task on demand” is checked on the “Settings” tab and click OK to add the task.
Everything is ready. Now the specified program will start automatically with administrator rights immediately after starting the system.
Read: Slow Upload Speed in Windows: How to Fix this problem
Delete old files
If you frequently download and test various programs, your computer may accumulate a large number of unnecessary files over time. Fortunately, we can use the batch file to help with this issue.
Similarly, you can create a .bat file to remove old files of a certain extension or files in specific directories or subfolders that are older than a specified time limit. The code below deletes .docx documents in the Documents folder that are older than 20 days (you can change the number of days by editing the value following the /d argument).
| @echo off forfiles /p “%USERPROFILE%\Documents” /s /m *.docx /d -20 /c “cmd /c del @path” echo Document files older than 20 days deleted pause exit |
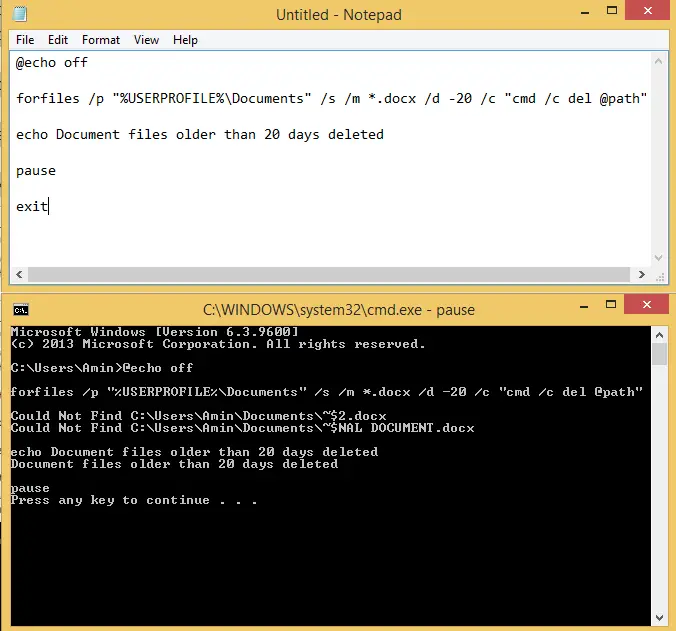
To change the folder path, just modify the value after the /p argument to match the folder you want to target for file deletion. Keep in mind that “% USERPROFILE%” variable corresponds to your user directory on Windows.
Empty Trash
Regularly emptying the recycle bin is a good idea to save disk space. It’s an easy task that won’t take much time, and you can automate it with the Task Scheduler. Here are the steps to set it up and optimize your hard drive space automatically.
- Open Task Scheduler .
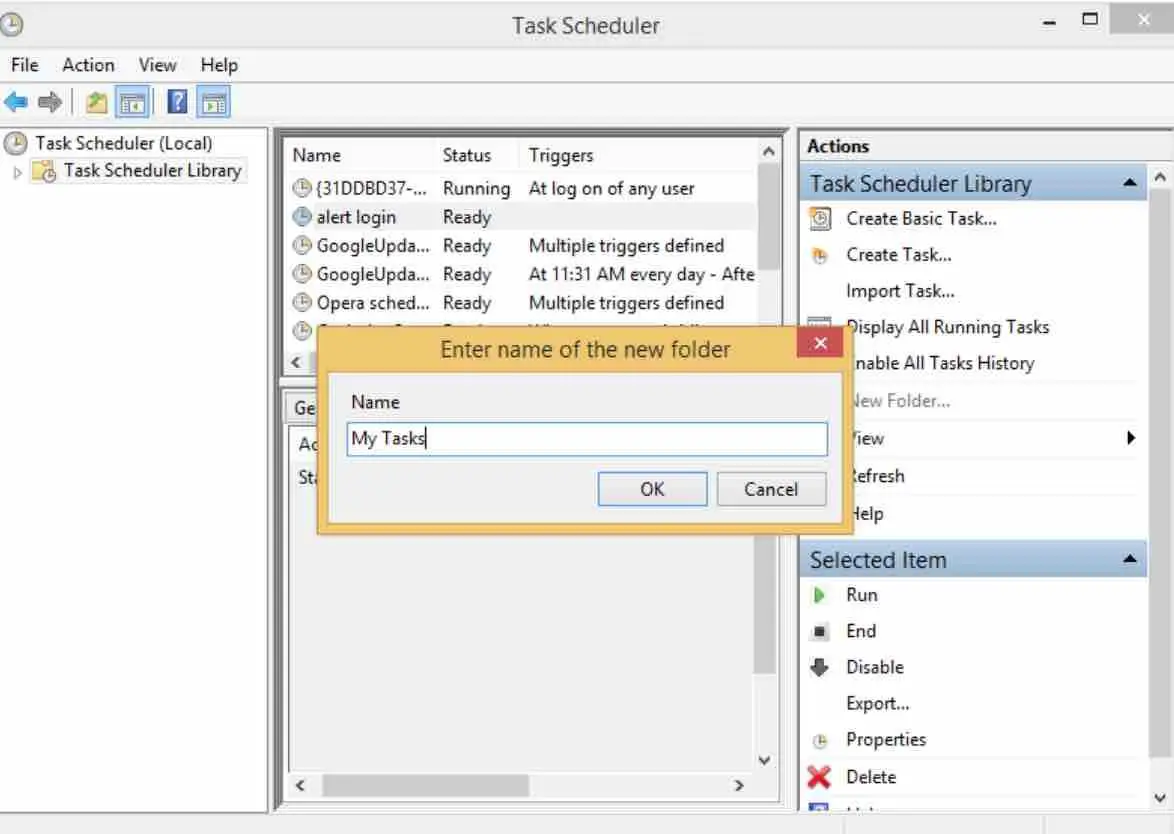
- Open the Task Scheduler Library and select “Create Folder” from the “Action” menu and name it “My Tasks”.
- Select the My Tasks folder and select Create Task from the Action menu.
- In the task creation window, on the General tab, specify the name “Empty Trash”.
- On the “Triggers” tab, click the “Create …” button and in the “Start task:” field in the window that opens, select “Scheduled”.
- Select the “Weekly or monthly” option, depending on your preference and click OK.

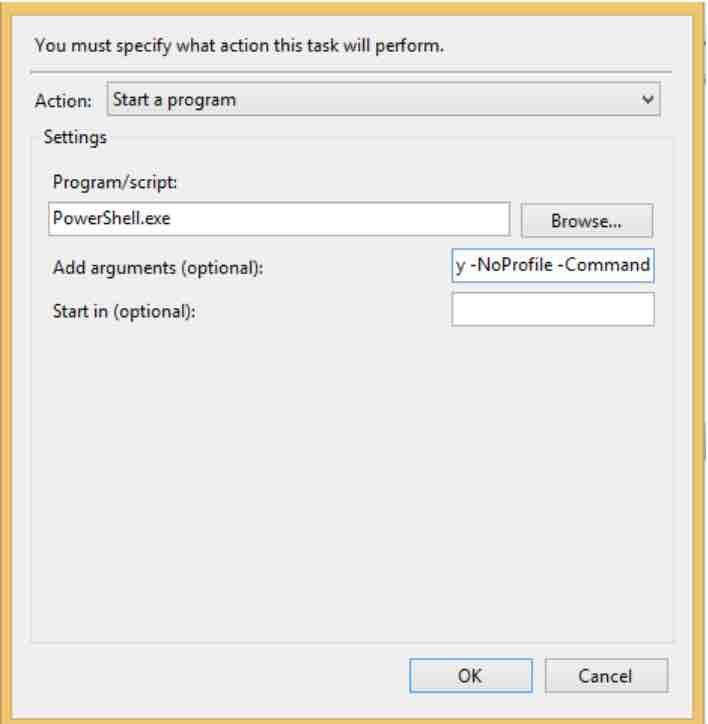
- On the “Actions” tab, select “Create …” and in the “Program / Script” field, enter “PowerShell.exe”
- In the same window, in the “Add arguments (optional)” field, enter the following query -NoProfile -Command “Clear-RecycleBin -Force” and click OK.
Read: How to Find large files on Windows 10 without any app
Create file / folder backup
There are a lot of programs out there that can backup your files pretty well. But, if you want more control and need to backup sensitive files to your external hard drive, then a batch script could be a great solution. It’s easy to use and you don’t have to download anything.
Just keep in mind that this method only backs up specific files and folders, and it doesn’t create a standard system restore point or system backup. This script uses the “robocopy” command to backup the files. Below is the batch file code to backup all the data in your user directory as well as a backup of the system registry:
@echo off
:: Set the folder as backup
set sourcedir = C:\Users\USER
:: Configure the folder of your portable drive
set targetdir = D:\Backup
if not exist “% targetdir%” mkdir “% targetdir%”
echo ## Backing up your profile
robocopy% sourcedir%% targetdir% * / e / j / r: 10 / v
echo ## Backing up your registry
if exist “% targetdir%\regbackup.reg” of “%targetdir%\regbackup.reg”
regedit.exe/e “%targetdir%\regbackup.reg”
echo ## Backup is complete
pause
exit
If you like the content, we would appreciate your support by buying us a coffee. Thank you so much for your visit and support.