In this article, we are going to explain how to clean up your Windows 10 operating system by removing applications, freeing up space and organizing data. These are internal maintenance routines with which you will make Windows go a little faster.
Uninstall the programs you don’t use
The first step is the simplest of all. You just would need to uninstall all the applications that are not necessary. Over the years you can end up accumulating several apps that you do not use. Some of these may be running in the background consuming resources and slowing down your computer.
Read: How to Fix: Ctrl Alt Del not Working
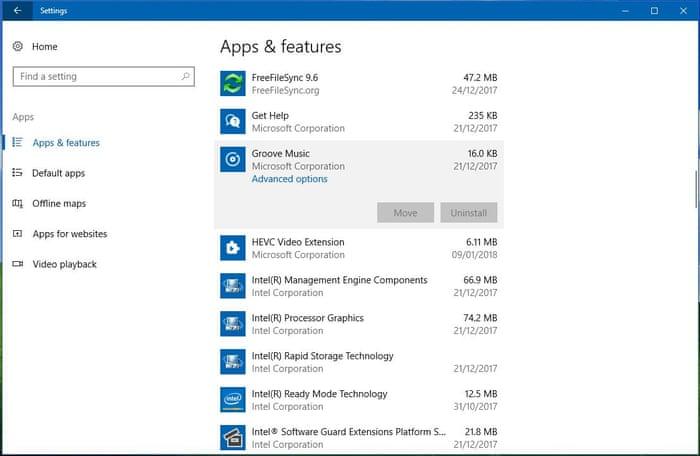
To do so, enter Windows 10 Settings and in it click on the Applications option .
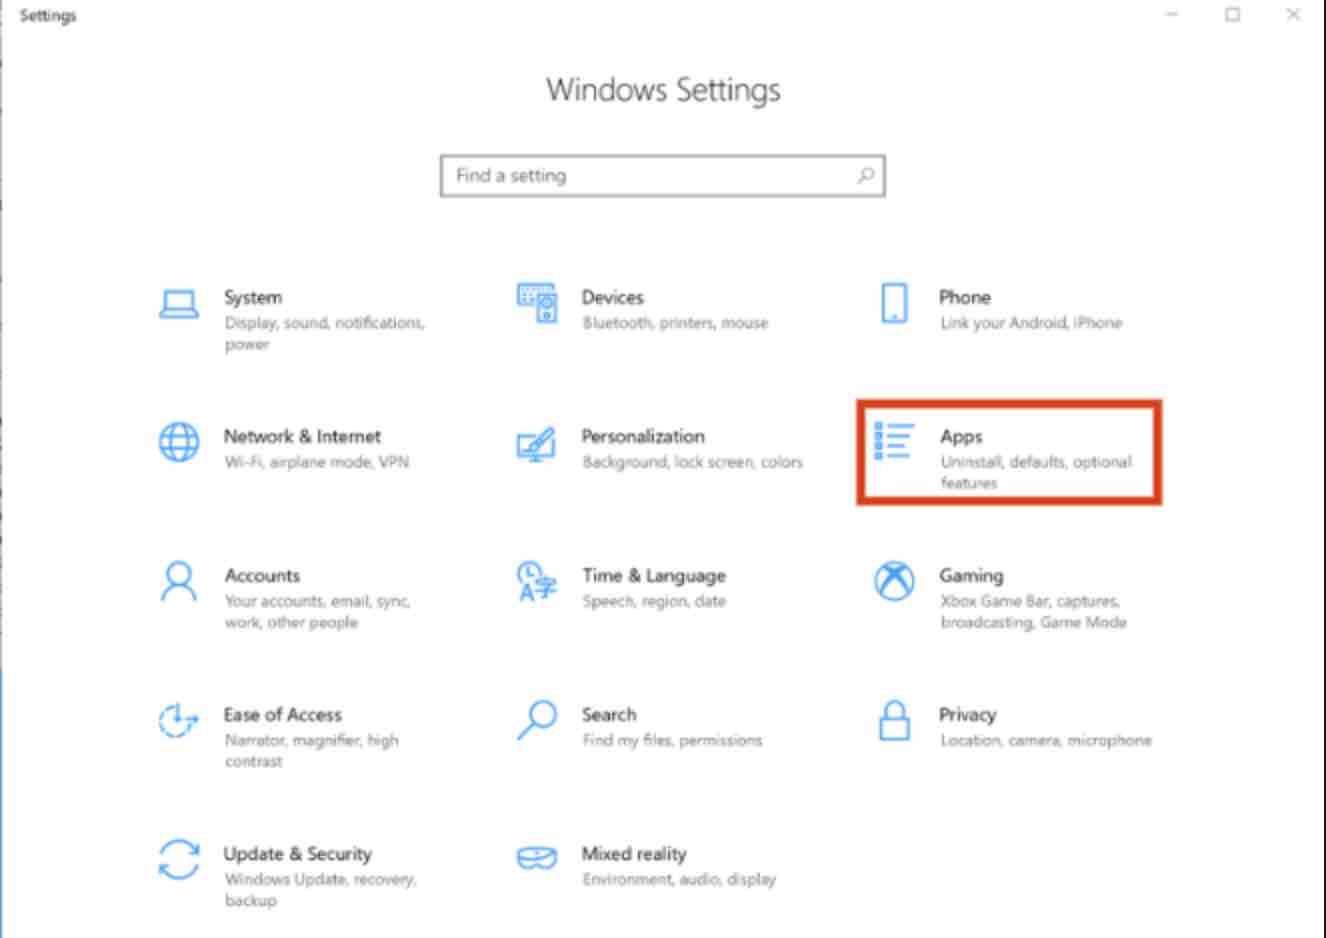
You will get to the Applications and Features menu . In it you will have a search engine to find specific apps, but also the complete list of applications.
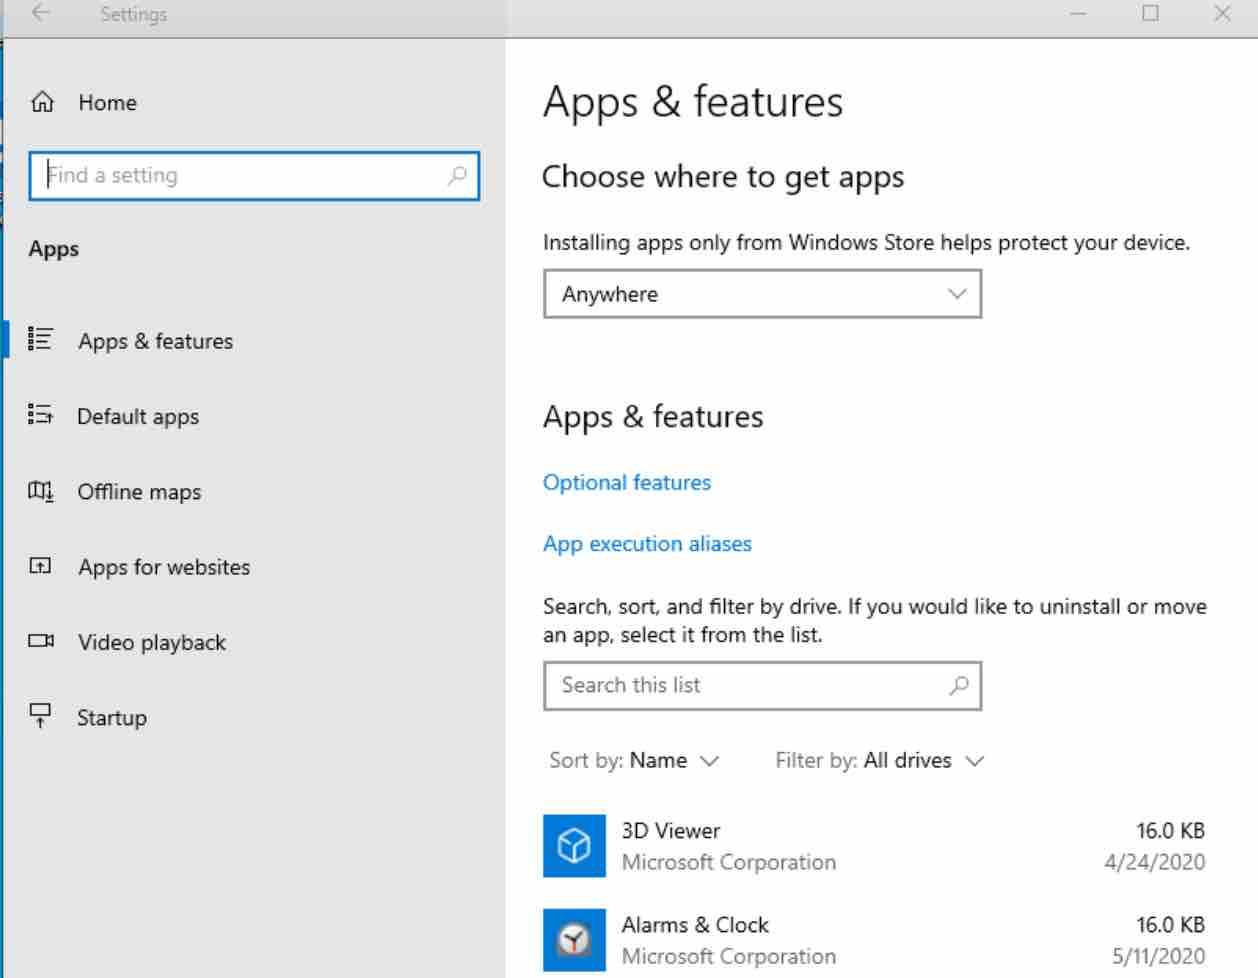
Simply select on the ones you do not use and click on the Uninstall option to proceed to their uninstallation from your computer. Be careful not to delete those created by Microsoft for the basic functioning of the system or any other that you consider useful for your machine.
Sometimes this option of the native configuration of Windows 10 does not work with some applications. It is therefore necessary to resort to the uninstaller feature that was inherited from previous versions of Windows.
Read: 6 Windows Desktop Utilities Every Software Developer Needs
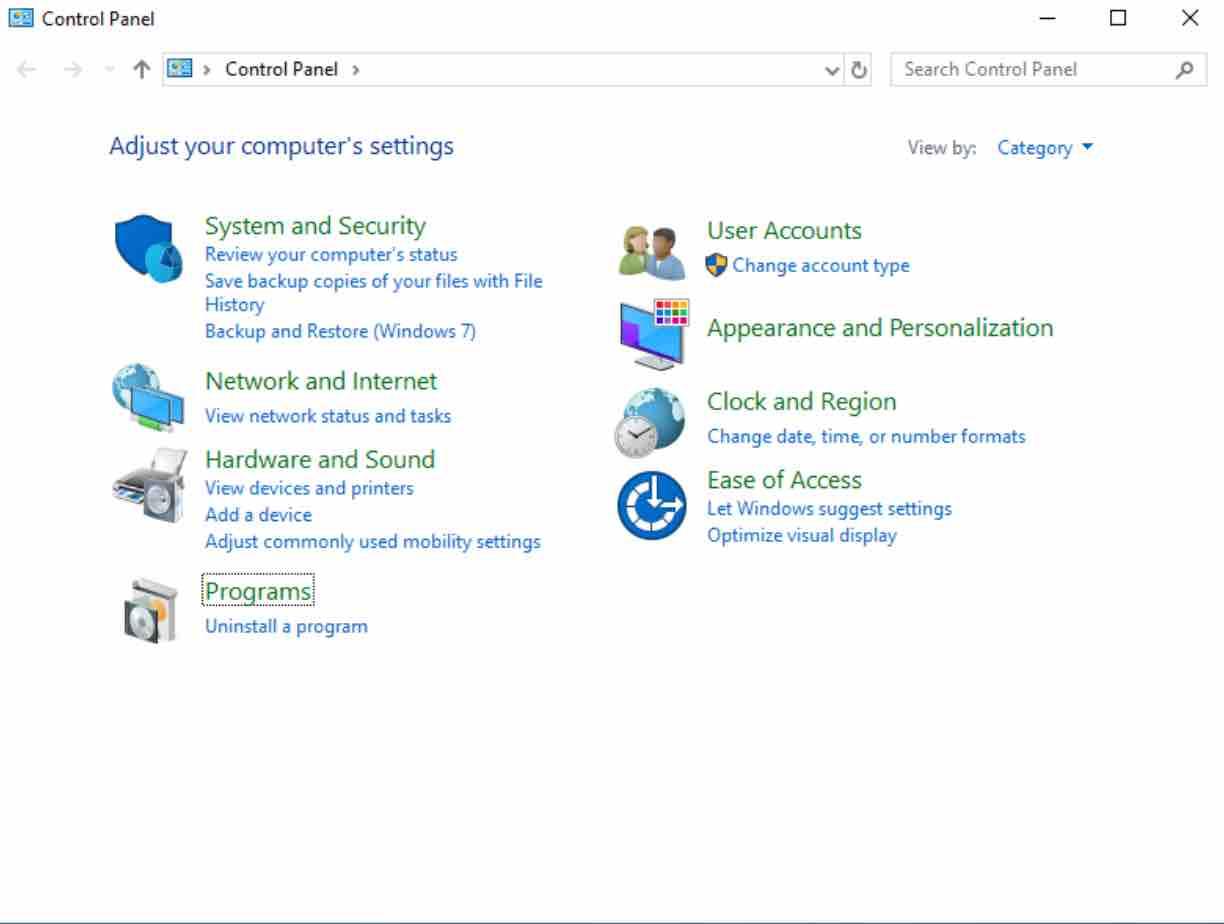
Open the Control Panel in the start menu and click on ‘Uninstall a program’ link at the bottom of the panel.

Windows 10 uninstaller
Once in, you can sort the list of installed applications to find the ones you would like to uninstall. Once you select an app, double-click on it to start the uninstallation. Sometimes it will uninstall itself . Other apps will launch their own native uninstallation tool.
Read: How to speed up your Windows computer
Remove applications that run at startup
There are applications that when installed, configure themselves to run automatically when the computer starts. Surely, having such too many of such apps can slow down the computer startup. To prevent this from happening , press Control + Alt + Delete and choose the Task Manager option .
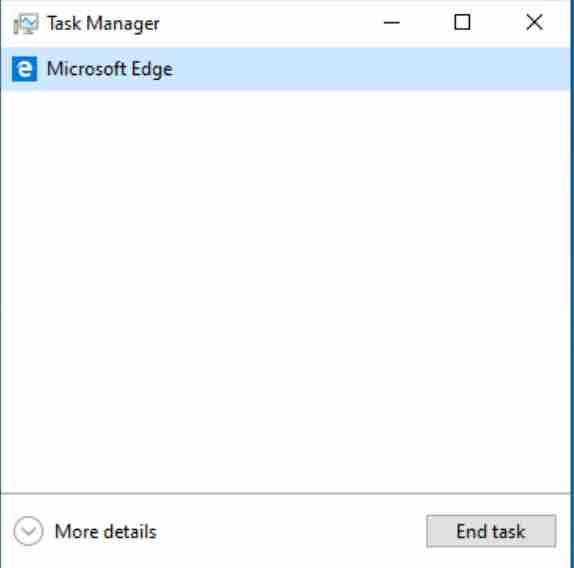
Now click on More details to access all the information.
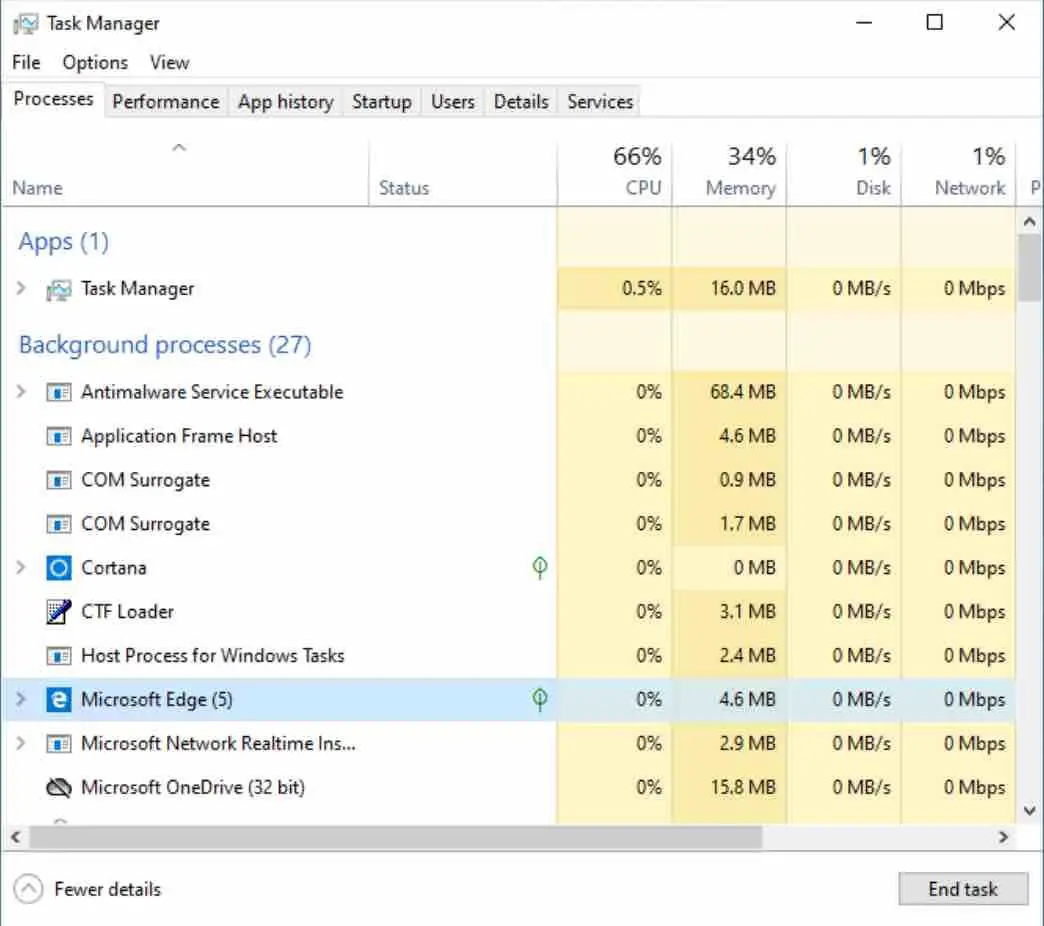
Once you are in the full version of Task Manager , click on the Startup tab on the top row . You will see a list with all the applications that try to launch at startup.
There are two important columns: the Status column, if it is Enabled, the application starts automatically when the PC is turned on. The Startup impact column specifies the way the application penalizes your computer when it launches when the computer starts.
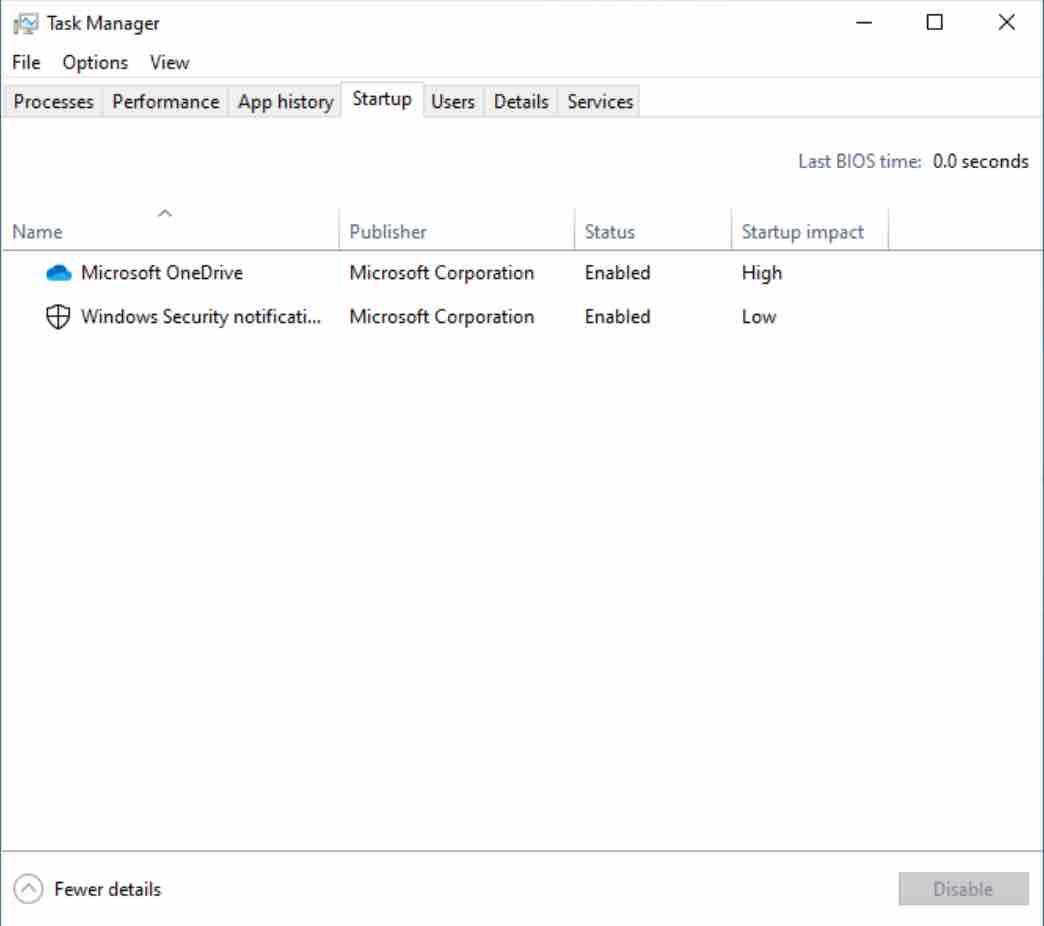
Windows 10 startup programs
With this you can now make informed decisions. Now, click on the application that you do not want to launch when you turn on your computer (1) and click on the Disable button to stop it from starting.
Read: How to reset Windows 10 from scratch
Try to do it with the applications with the highest impact on the startup of your computer.
Sort folders and desktop
The next step would be to bring order to your folder system. Here, you should know that it is not advisable to enter the file explorer and start deleting files or apps, since many applications will create their own folders.
However, it is advisable to look for folders that have the name of applications that you have eliminated or that are simply empty and without content, in order to eliminate any residue that has remained from those apps.
The applications you have installed also create specific folders to download their content, caches, logs and other internal data of the apps.
You will find these folders in C: \ Users \ username \ AppData , where you will see that there are three folders: Local , LocalLow and Roaming .

Open each one of them. You should see several folders with the name of the applications and tools that have hosted files locally.
Windows desktop
Another element that is important to keep clean is the Windows desktop. When you turn on your computer, Windows has to load all the items you have on your desktop. Having therefore too many shortcuts or folders can slow it down a bit.
It is recommended to clean the desktop by removing everything you do not need . If there are things you really need to have accessible, you can try just creating a folder on the desktop and putting them all there.
Use quick access
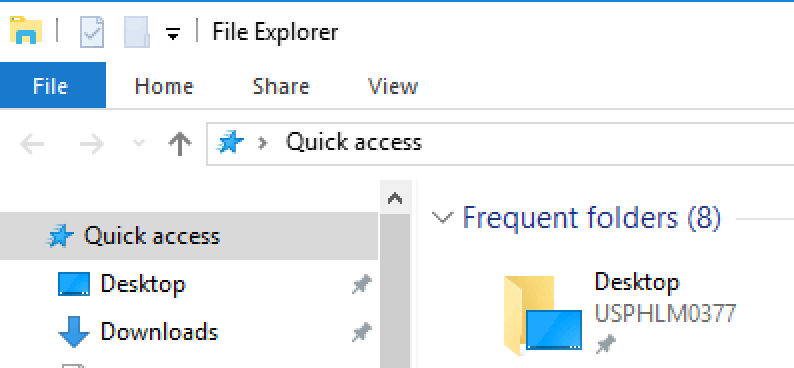
Quick access represents a series of shortcuts that you can put on the left column of the Windows explorer, so that when there are folders that you want to access quickly, they are at hand on the explorer.
Read: How to schedule Windows 10 shutdown
To add folders to the quick access, you just have to right-click on them and choose the option to Pin the Quick Access that will appear in the contextual menu.
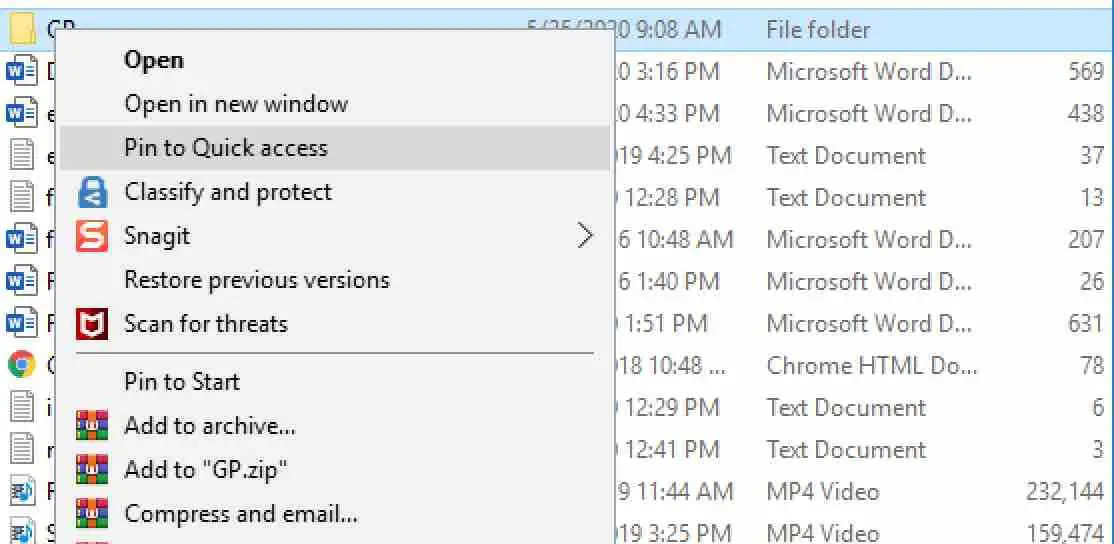
The folders that are on the quick access can be dragged and dropped if you want to change their order. To unpin them from the Quick access section, just right-click on them and select the option ‘Unpin from quick access’.
Find and remove duplicate photos in Windows
If you have duplicate photos on your computer, you are wasting space. In this section, you will be able to find and delete duplicate images . First download the windows 10 duplicate file finder application Find.Same.Images.OK (32 or the 64-bit) from the website .
After installing the application, double-click on it to open it. If it is the first time that you use it, accept its freeware license that qualifies it as a free application.
Once you are inside the application, under the Start button you will see the bar that indicates in which folders to look for duplicate images. Click the ‘three point’ and ‘three point with sum’ buttons on the right side of the address bar to edit the folders you are looking for or add more.
A file explorer window will open up in which you have to select the folders in which you want to find the duplicate images . You can add several, or even choose an entire hard drive like C :.
Once you have selected the folder or folders in which you want to search for duplicate images, click on the Start button to start the search process.
Once the search is complete, you will see the results in a list at the bottom. There are two columns, and on each side you will see one of the two duplicate photos.
If you click on them, you will see a preview so that you will be able to check them manually.
Free up space on your hard drive
If what you want is to free up space on your hard drive , it is important not to use applications that annoy more than they help, but resort to the native alternative of Windows 10 itself .
To run it, open the start menu and type in cleanmgr to bring up the Disk Cleanup application .
Free up disk space Windows 10
Then, right-click on it, and in the pop-up menu click on Run as administrator so that it offers you all the options.
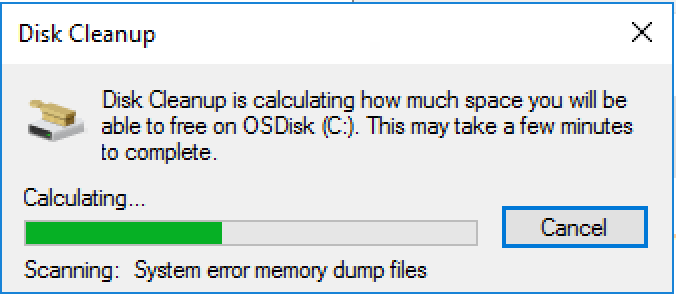
When the disk cleaning app opens, the first thing you will see is a window where you have to choose the hard drive you want to clean to free up space . Choose the hard drive you want to clean and click OK .
Then the Disk Cleanup (windows 10 cleanup application) will calculate what files it can clean up in Windows and how much space it can save. This process can take anywhere from a few seconds to a few minutes depending on your computer, your hard drive and the files that have accumulated.
When done, the app will now show you a list with various file types that you can delete and the size that would be freed up with it.
When you click on each one, it will explain in detail what is deleted, so select the file types you want to delete and click OK.
Activate the storage sensor
Another method to clean the storage of your Windows computer, and especially to keep it as clean as possible , is to activate the storage sensor.
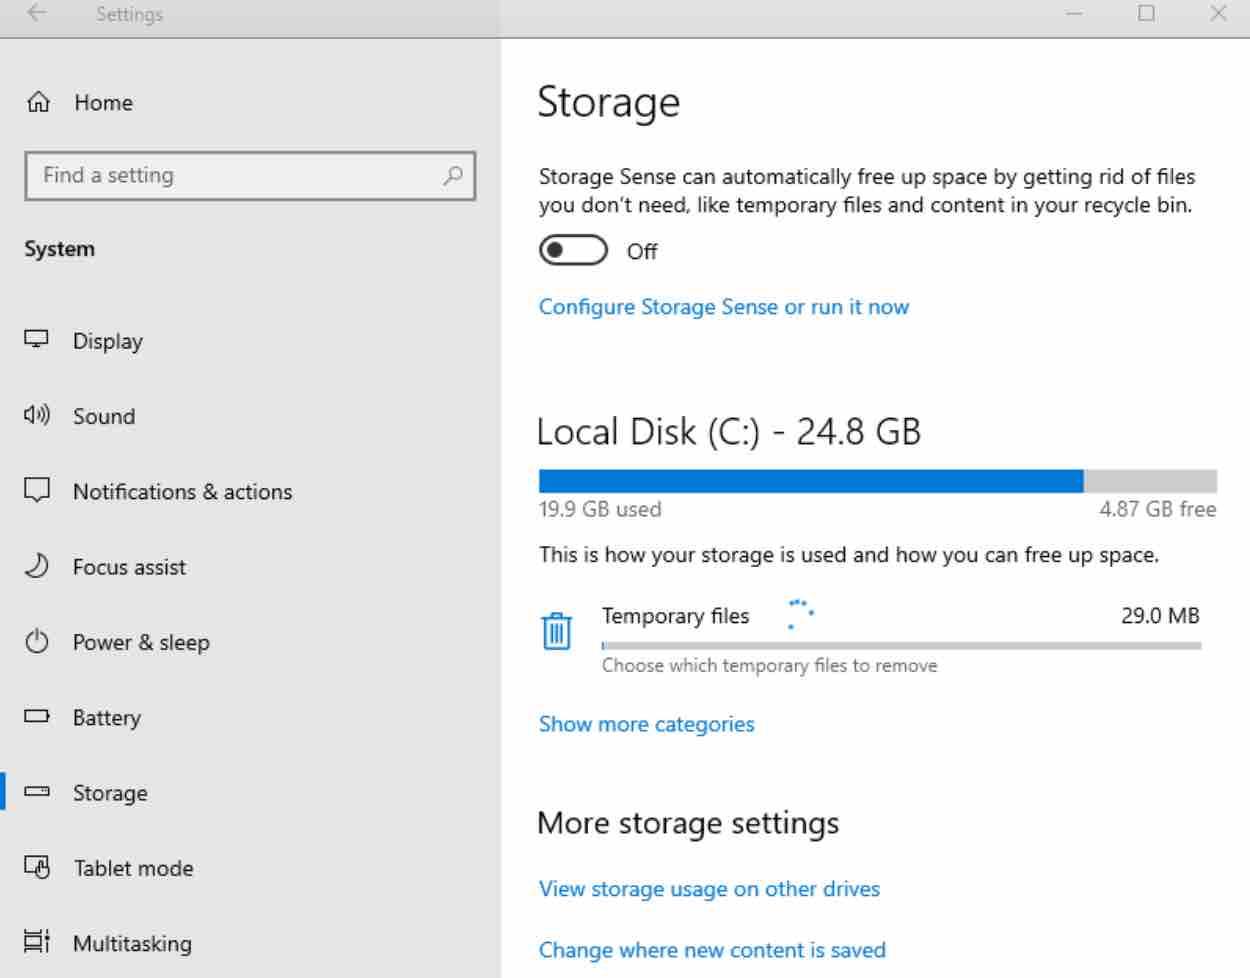
It is a system that periodically cleans the residual files that may remain on your computer. To access it, go to Windows settings, and once inside go to System and then Storage .
When you go into the storage settings, you can manually activate the sensor (something you could also do on the main screen) and configure it. By default, the space occupied by applications that you do not use will be cleaned, although you can also activate the elimination of temporary files in disuse or the automatic deletion of the content of your download folder.
One-click delete all temporary files
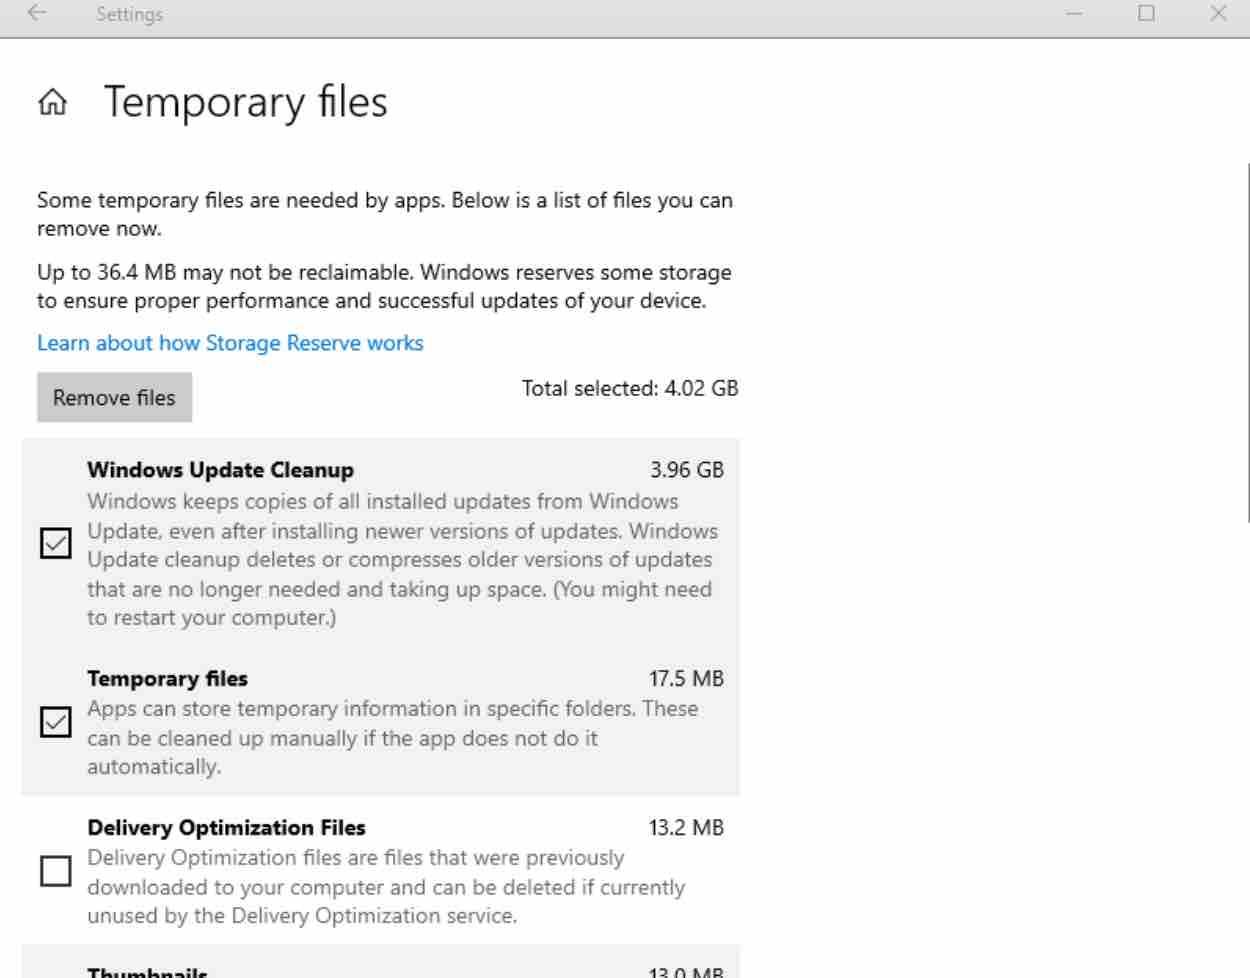
Windows 10 also has the option to delete temporary files specifying which ones you want to remove specifically. To do this, go into Windows settings, and once inside go to System and then Storage . There, click on the temporary files section that will appear in the graph that indicates what types of files are occupying the storage of your hard drive.
Windows 10 clean temp files
You will enter the temporary files section, where all the types of temporary files you have on your computer will be listed. Here, you just have to select the ones you want to delete and press the Remove files button that appears on top.
Read: Best apps to share the clipboard between Windows 10 and Android
Keep in mind that over time several gigabytes of files can accumulate, both from the copies of the updates and from the thumbnails of multimedia files or others.
Windows 10 malware removal
And since you are cleaning Windows thoroughly, another almost essential step is to scan your computer for any type of virus or malware . For this you can download a third-party antivirus , or use the native Windows antivirus as shown below .
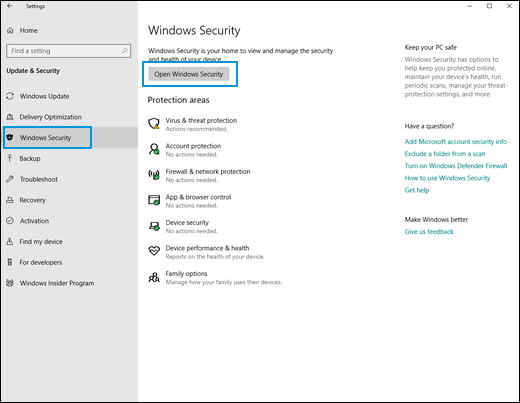
To start, click the option Open Windows Security in section Update & security under Settings.
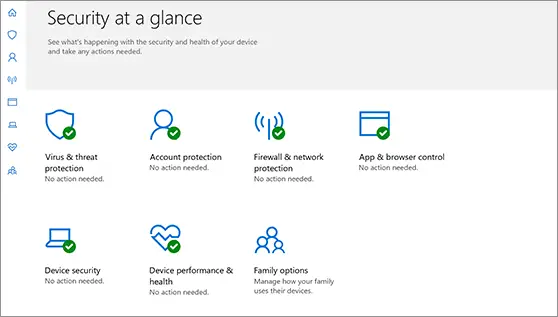
Now click on the ‘Virus and threat protection’ option which has a shield icon.
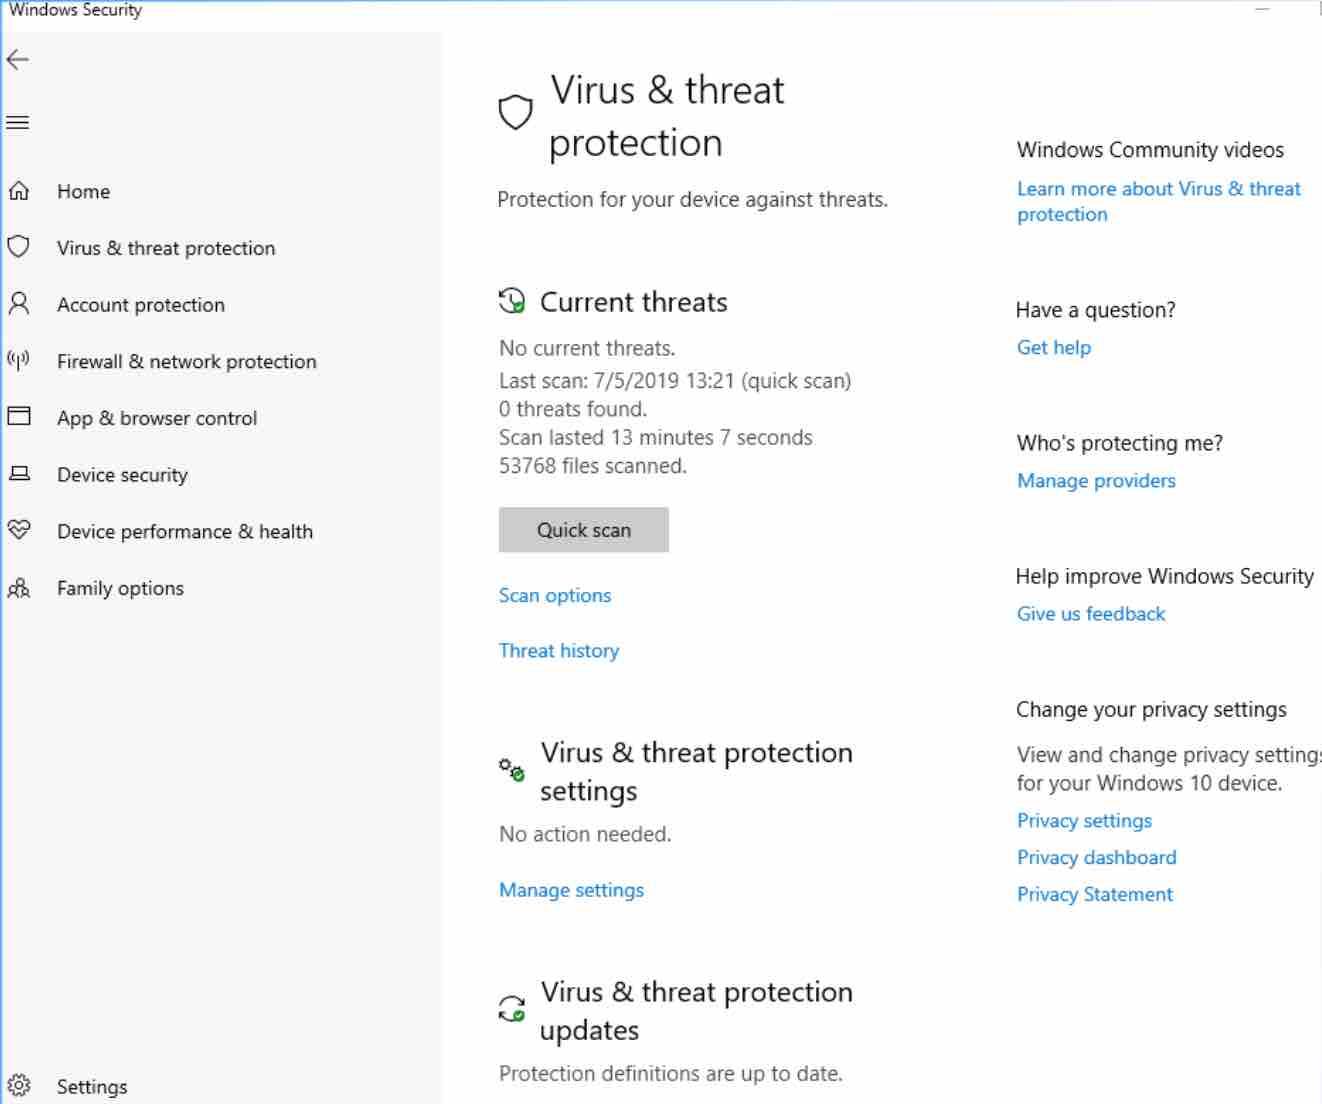
Once on this screen, just click on the Quick Scan button now to start a system scan. This won’t find all threats, but will detect the most important ones. You can also click Scan Options for more detailed analysis in which you will be able to choose four types of analysis .
The first is the quick analysis that you could also do on the previous screen. Then you have a complete and thorough scan that will thoroughly analyze the computer and will take more than an hour to complete. You can also make a custom scan of your selected folders and a quick analysis offline that will take just 15 minutes.
What to do if the Downloads folder loads slowly
Windows has been dragging a small but annoying problem in its Downloads folder ever since Windows Vista . The problem persists in Windows 10 and sometimes it takes several seconds for the folder to load its contents.
To fix this, go to your Downloads folder in Windows file explorer and right click on the folder background. In the pop-up menu choose the Properties option .
Once you have entered the Downloads properties you will see that you have six tabs to choose from. Click on the Customize button , where you will see a section called ‘Optimize this folder for’. Now you just have to click on the drop-down tab , choose General elements and accept.
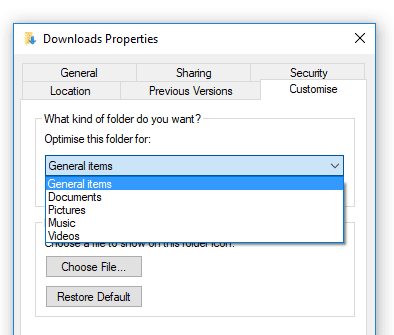
If your Downloads folder was optimized for images, videos or any other specific file that’s what may have been causing the rest of the files to load much slower . However, if the problem is not solved with this change and you already had it optimized for general elements, you should take a look at the hard drive, because it could be due to another problem.
Be very careful with the Windows registry
The last step would be to delete from the Windows registry all the remaining references of an uninstalled program. Here it is important that you know that you are going to be delving into the a delicate territory of your operating system, so it is not recommended to touch anything if you are not totally sure of what you are doing as you could cause serious errors in Windows.
To access the registry, press the Win + R key combination on your keyboard to open the application launcher, type regedit and press Enter .
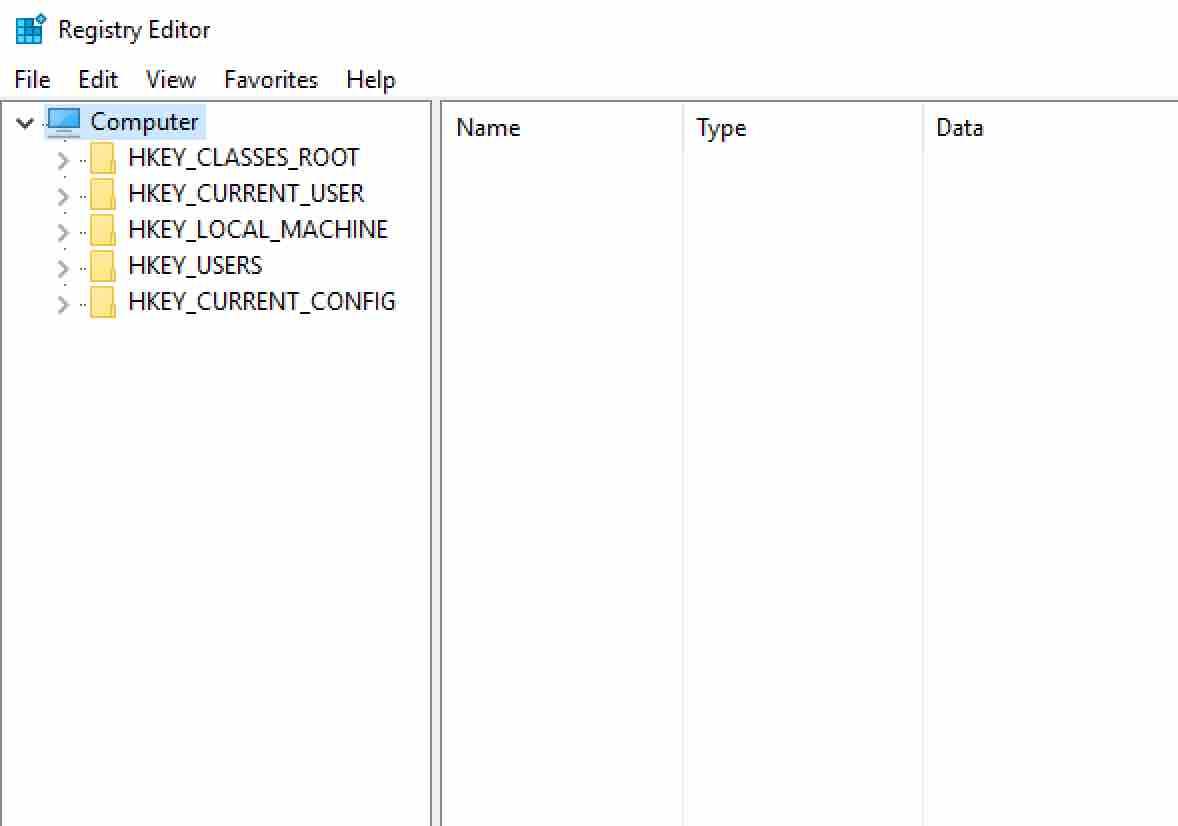
As soon as you are in the Registry Editor, the first thing you have to do is go to File -> Export … to export the current state. In case something goes wrong you can always go back to the previous state.
Once this is done, go to HKEY_USERS / .DEFAULT / Software and look for any folder or program file that has a name related to the program you have uninstalled and delete it by right-clicking and choosing the Delete option .
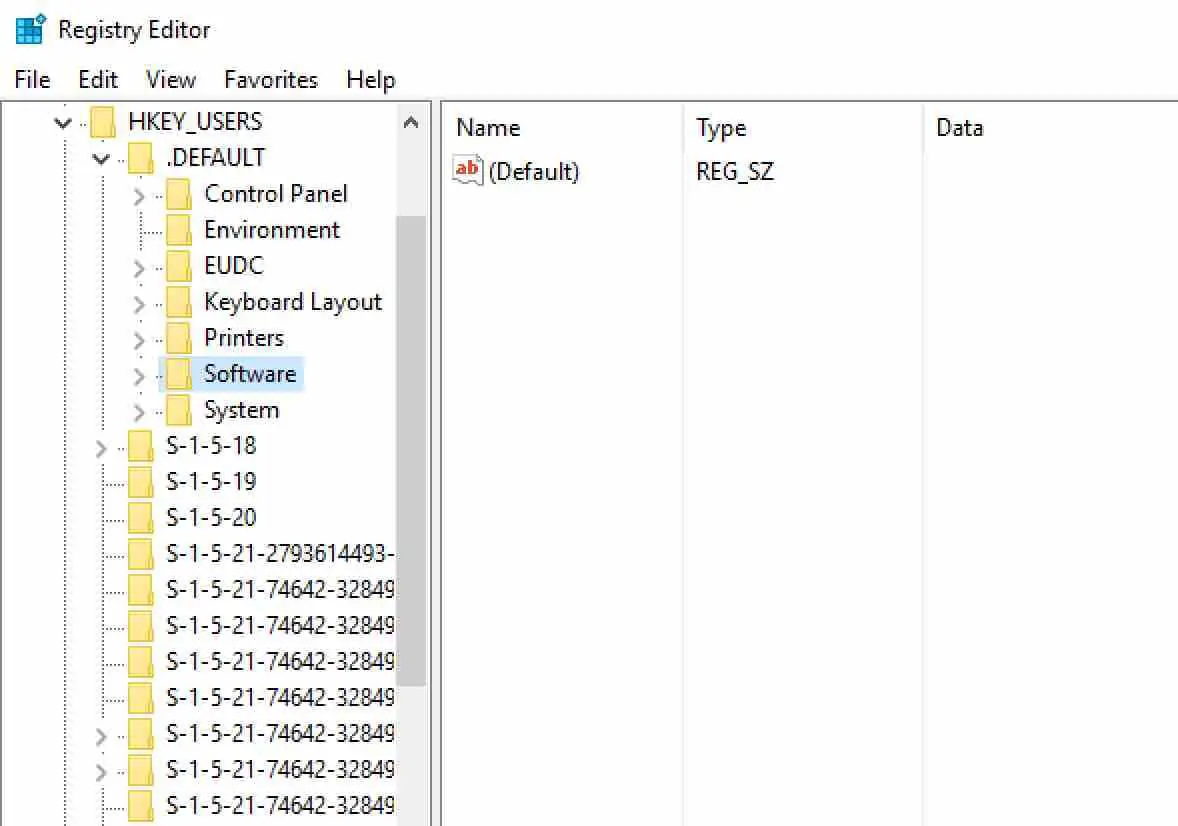
Be careful if you have multiple applications from the same developer. For example, don’t delete the Adobe folder if you want to delete the InDesign application, since you would also delete Adobe Acrobat, Photoshop or any other program.
Once this is done, navigate in the registry editor to HKEYCURRENTUSER \ Software , HKEYLOCALMACHINE \ SOFTWARE and HKEYLOCALMACHINE \ SOFTWARE \ Wow6432Node to search there for any remaining references to the application.
In case you can’t find anything, you can also go to the menu of the program to File -> Search to try to automatically detect the related entries using the name of the removed application. Once you remove these last references from the registry, you will have completed the process of removing any trace of an application from your computer.
Reset apps
If you want to clean your computer without uninstalling applications, you can try to restore or repair the applications you have installed. To do this, go to Windows Settings , and click on the Applications option to access the settings related to the applications you have installed.
By default, on the left column you will be on the Apps and features section , which is where the applications you have installed are listed. What you should do now is click on one of the applications and when more options are displayed, click on the Advanced Options button .
This option will only appear for applications that are compatible with the possibility of resetting and repairing. Most compatible applications are those that you install from the Windows 10 app store.
Once inside the advanced options of an application, scroll down until you find the Repair and Reset options .
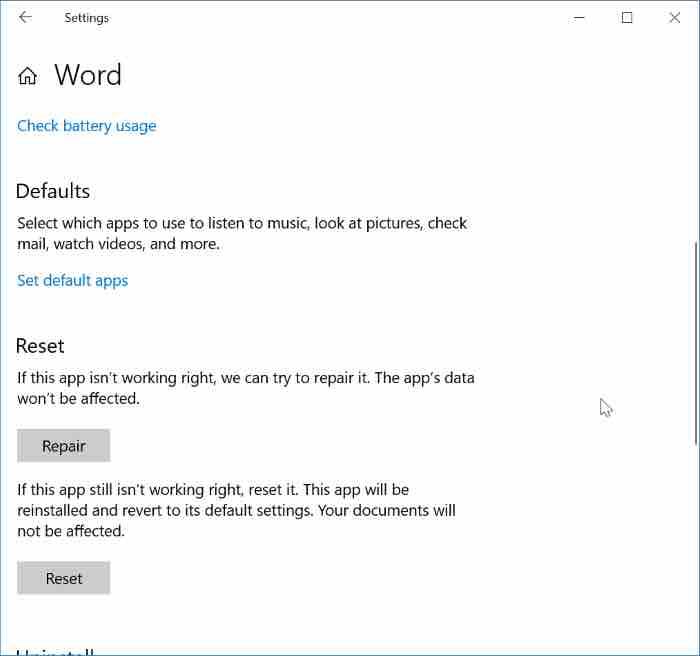
- Repair application : The application data will not be erased. Windows will simply look at possible application errors and try to repair them.
- Reset application : You will lose all the data of the application, unless it saves some of them in the cloud as in the case of Microsoft Edge. The application will reinstall and return to the default settings.
It is very possible that in many of the applications, such as those of Twitter, Spotify and other third parties, you do not find the option to Repair , so you have no choice but to directly reset them. Fortunately, all the information in these remains synchronized in your account, so you will recover the lost data as soon as you identify yourself in them.
If all the above fails … You would need to reset Windows
With these tips, you should have been able to leave your computer clean at the software level. But there is always the possibility that it is not enough or there are corrupted files, or that you are too busy to carry all the above.
In those cases, the last resort would be to reset your computer with some of the different modes that are available. To do this, enter Windows Settings and click on the Update and security option .
Once inside the Update and security options , click on the Recovery section that you have in the left column.
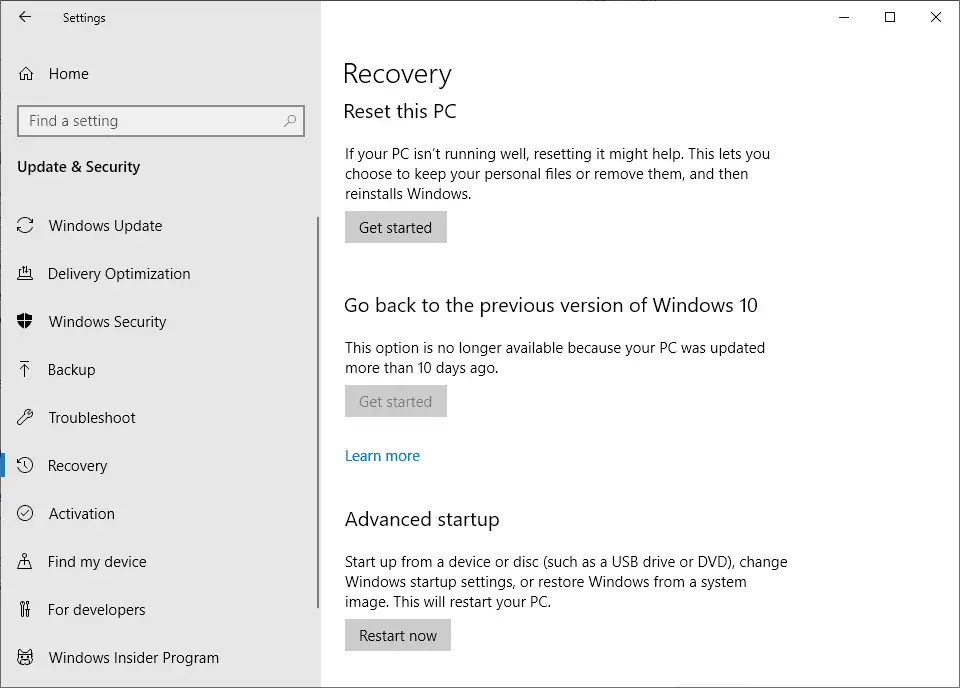
Once inside , press the Get started button that is located in the ‘Reset this PC’ section . Here, you can now choose between restoring keeping your personal files or restoring Windows from scratch .
If you like the content, we would appreciate your support by buying us a coffee. Thank you so much for your visit and support.